Poe-tay-toe, Poe-tah-toe…To prime or not to prime… Both of these statements will likely be argued by each camp until the end of time. I recognize that each builder must make the exceedingly personal choice of whether to prime their build or not…This is something that I have done much research on, and have decided that I’ll choose to prime my airframe – it will add time and weight to my project, but my hope is that this investment prevents potential long-term corrosion from being a nagging concern in the decades to come.
My Process
I did a bunch of research ahead of time on the various methods people use for priming, my process isn’t original – it’s derivative from some of the process shared by Build, Fly, Go’s Video, as well as many other accounts from Van’s Airforce on the topic (too many contributors to mention); without further ado, here’s what I did:
- Clean all parts: I clean using PreKote (which is essentially an exceptionally fancy soap and pre-painting process which is non-toxic), I spray each piece with the PreKote product, scrub to a lather with Gray Scotchbrite pads, then rinse thoroughly with water; I then left all parts to dry thoroughly. Note: I only did a single prekote application, instructions want two, but based on other’s procedures I’ve read and a thorough scrubbing, my dice-roll of a single application worked fantastically!
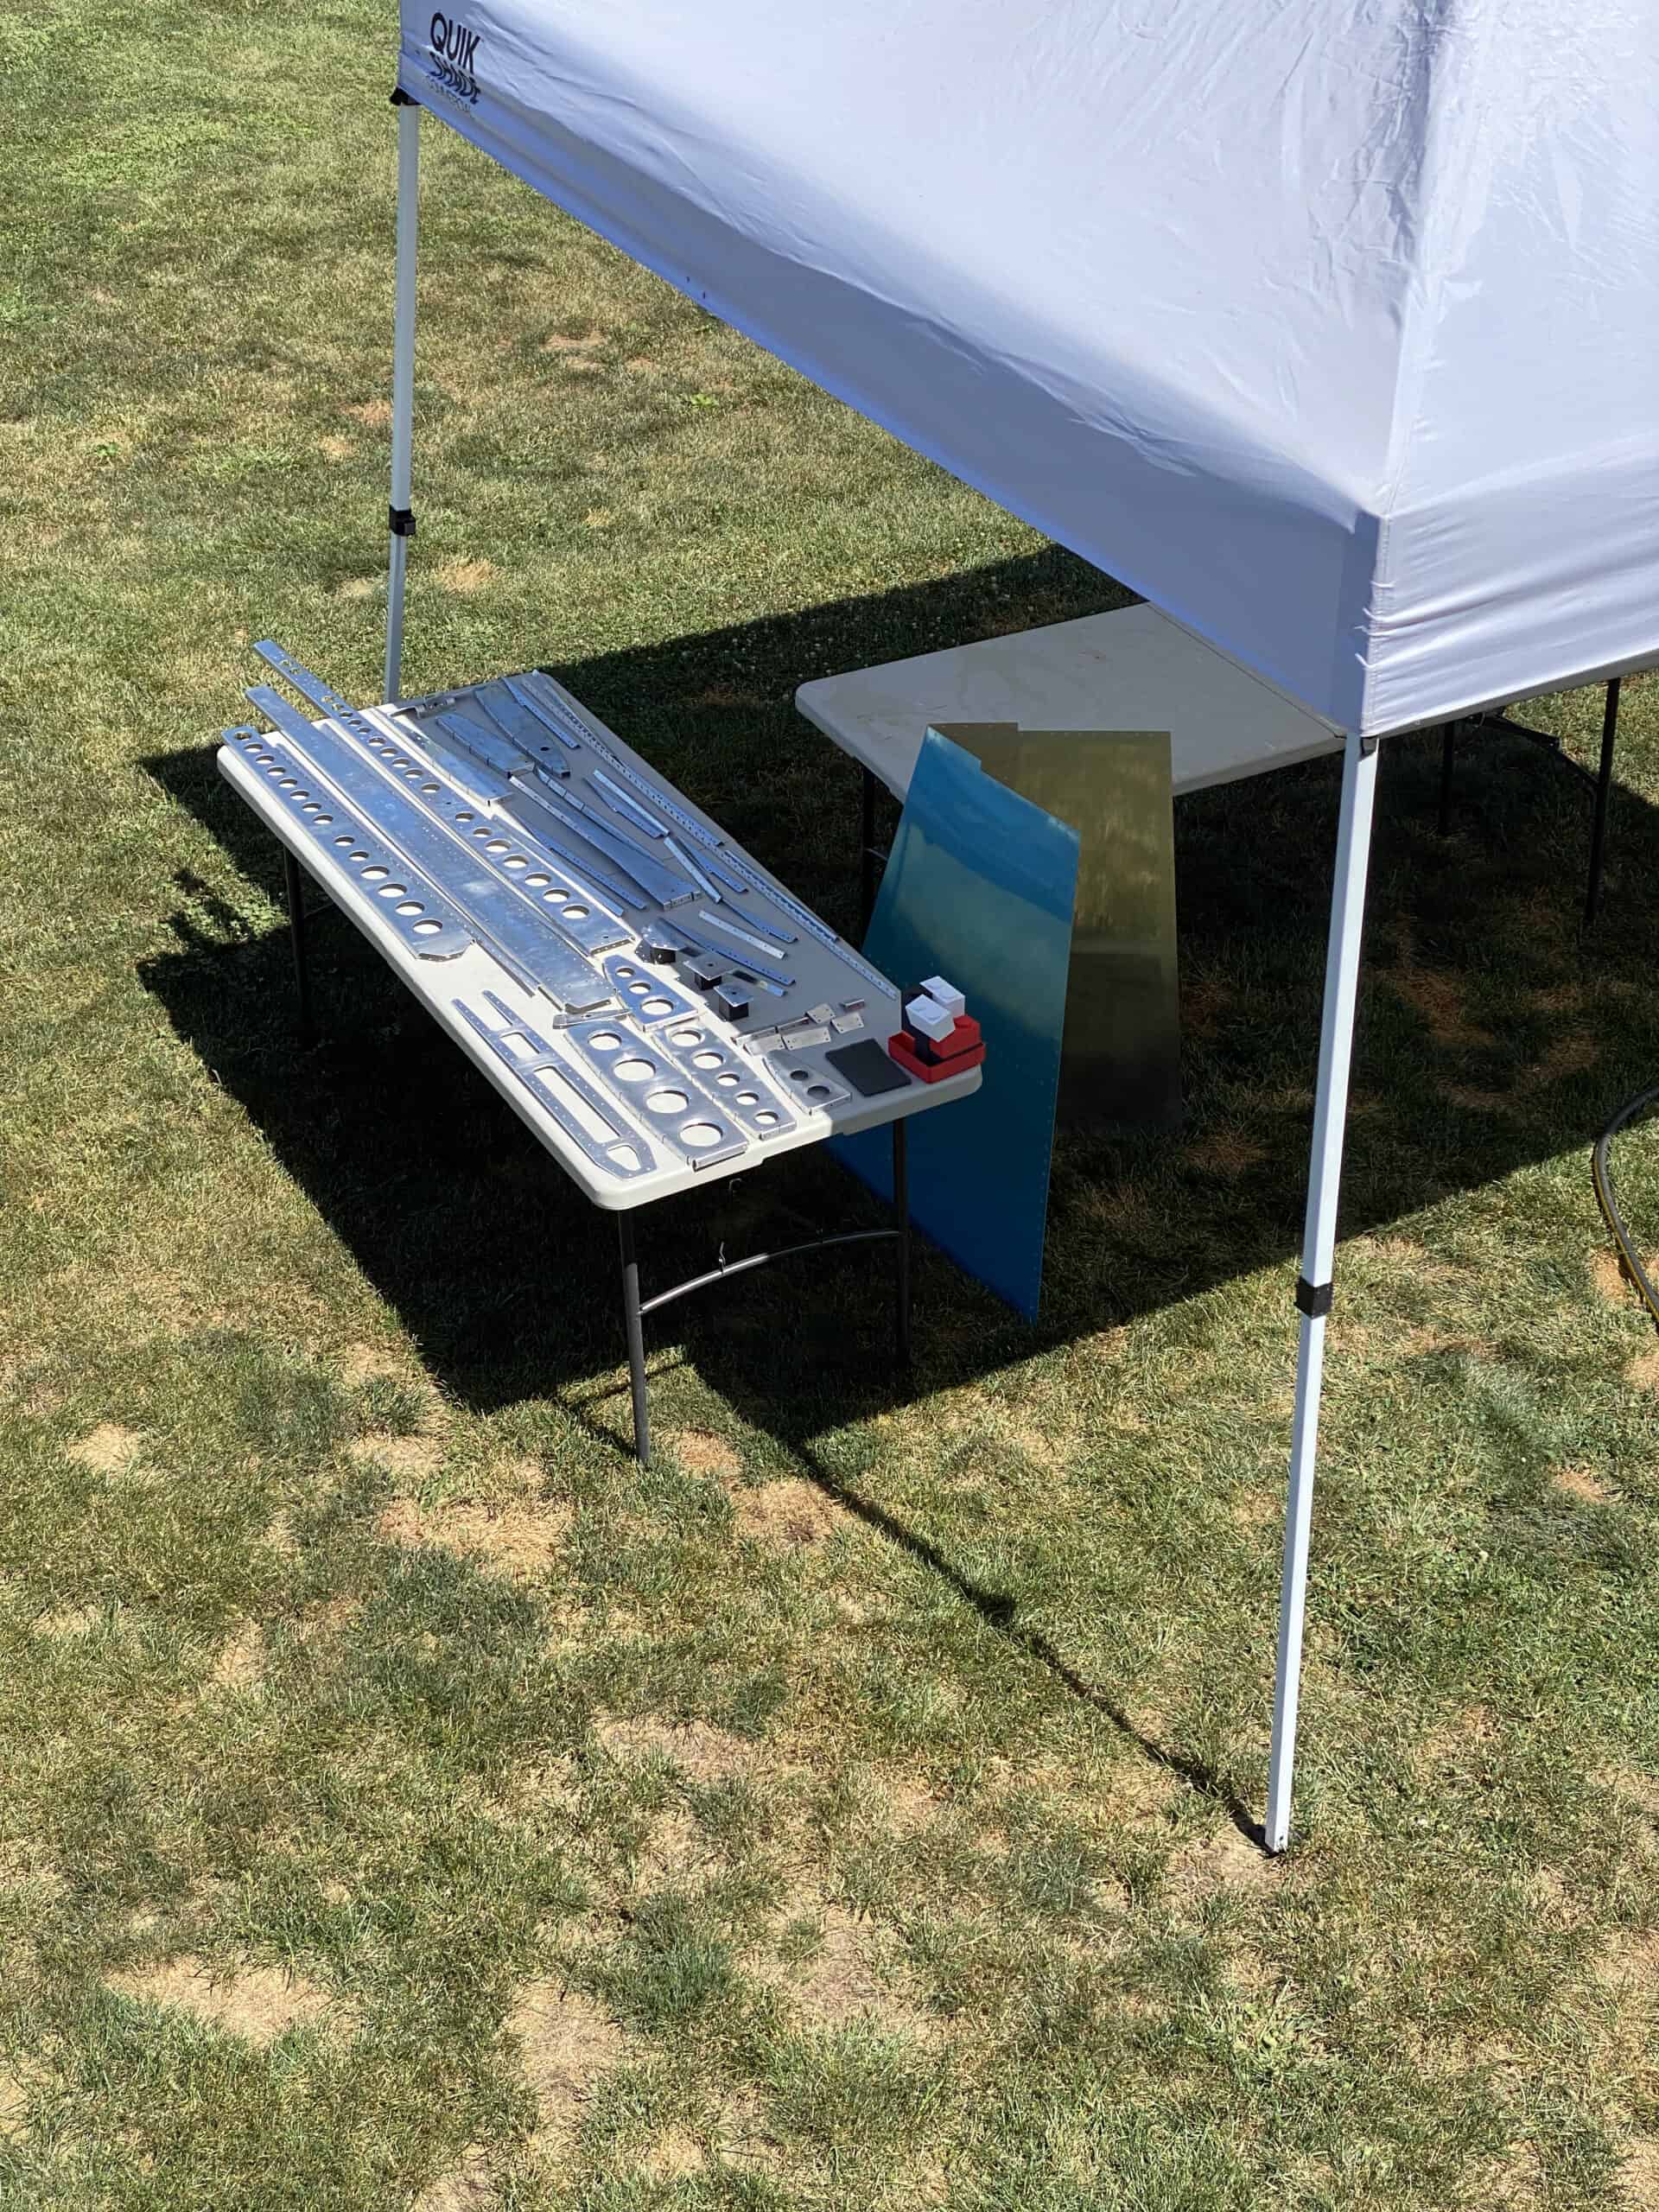
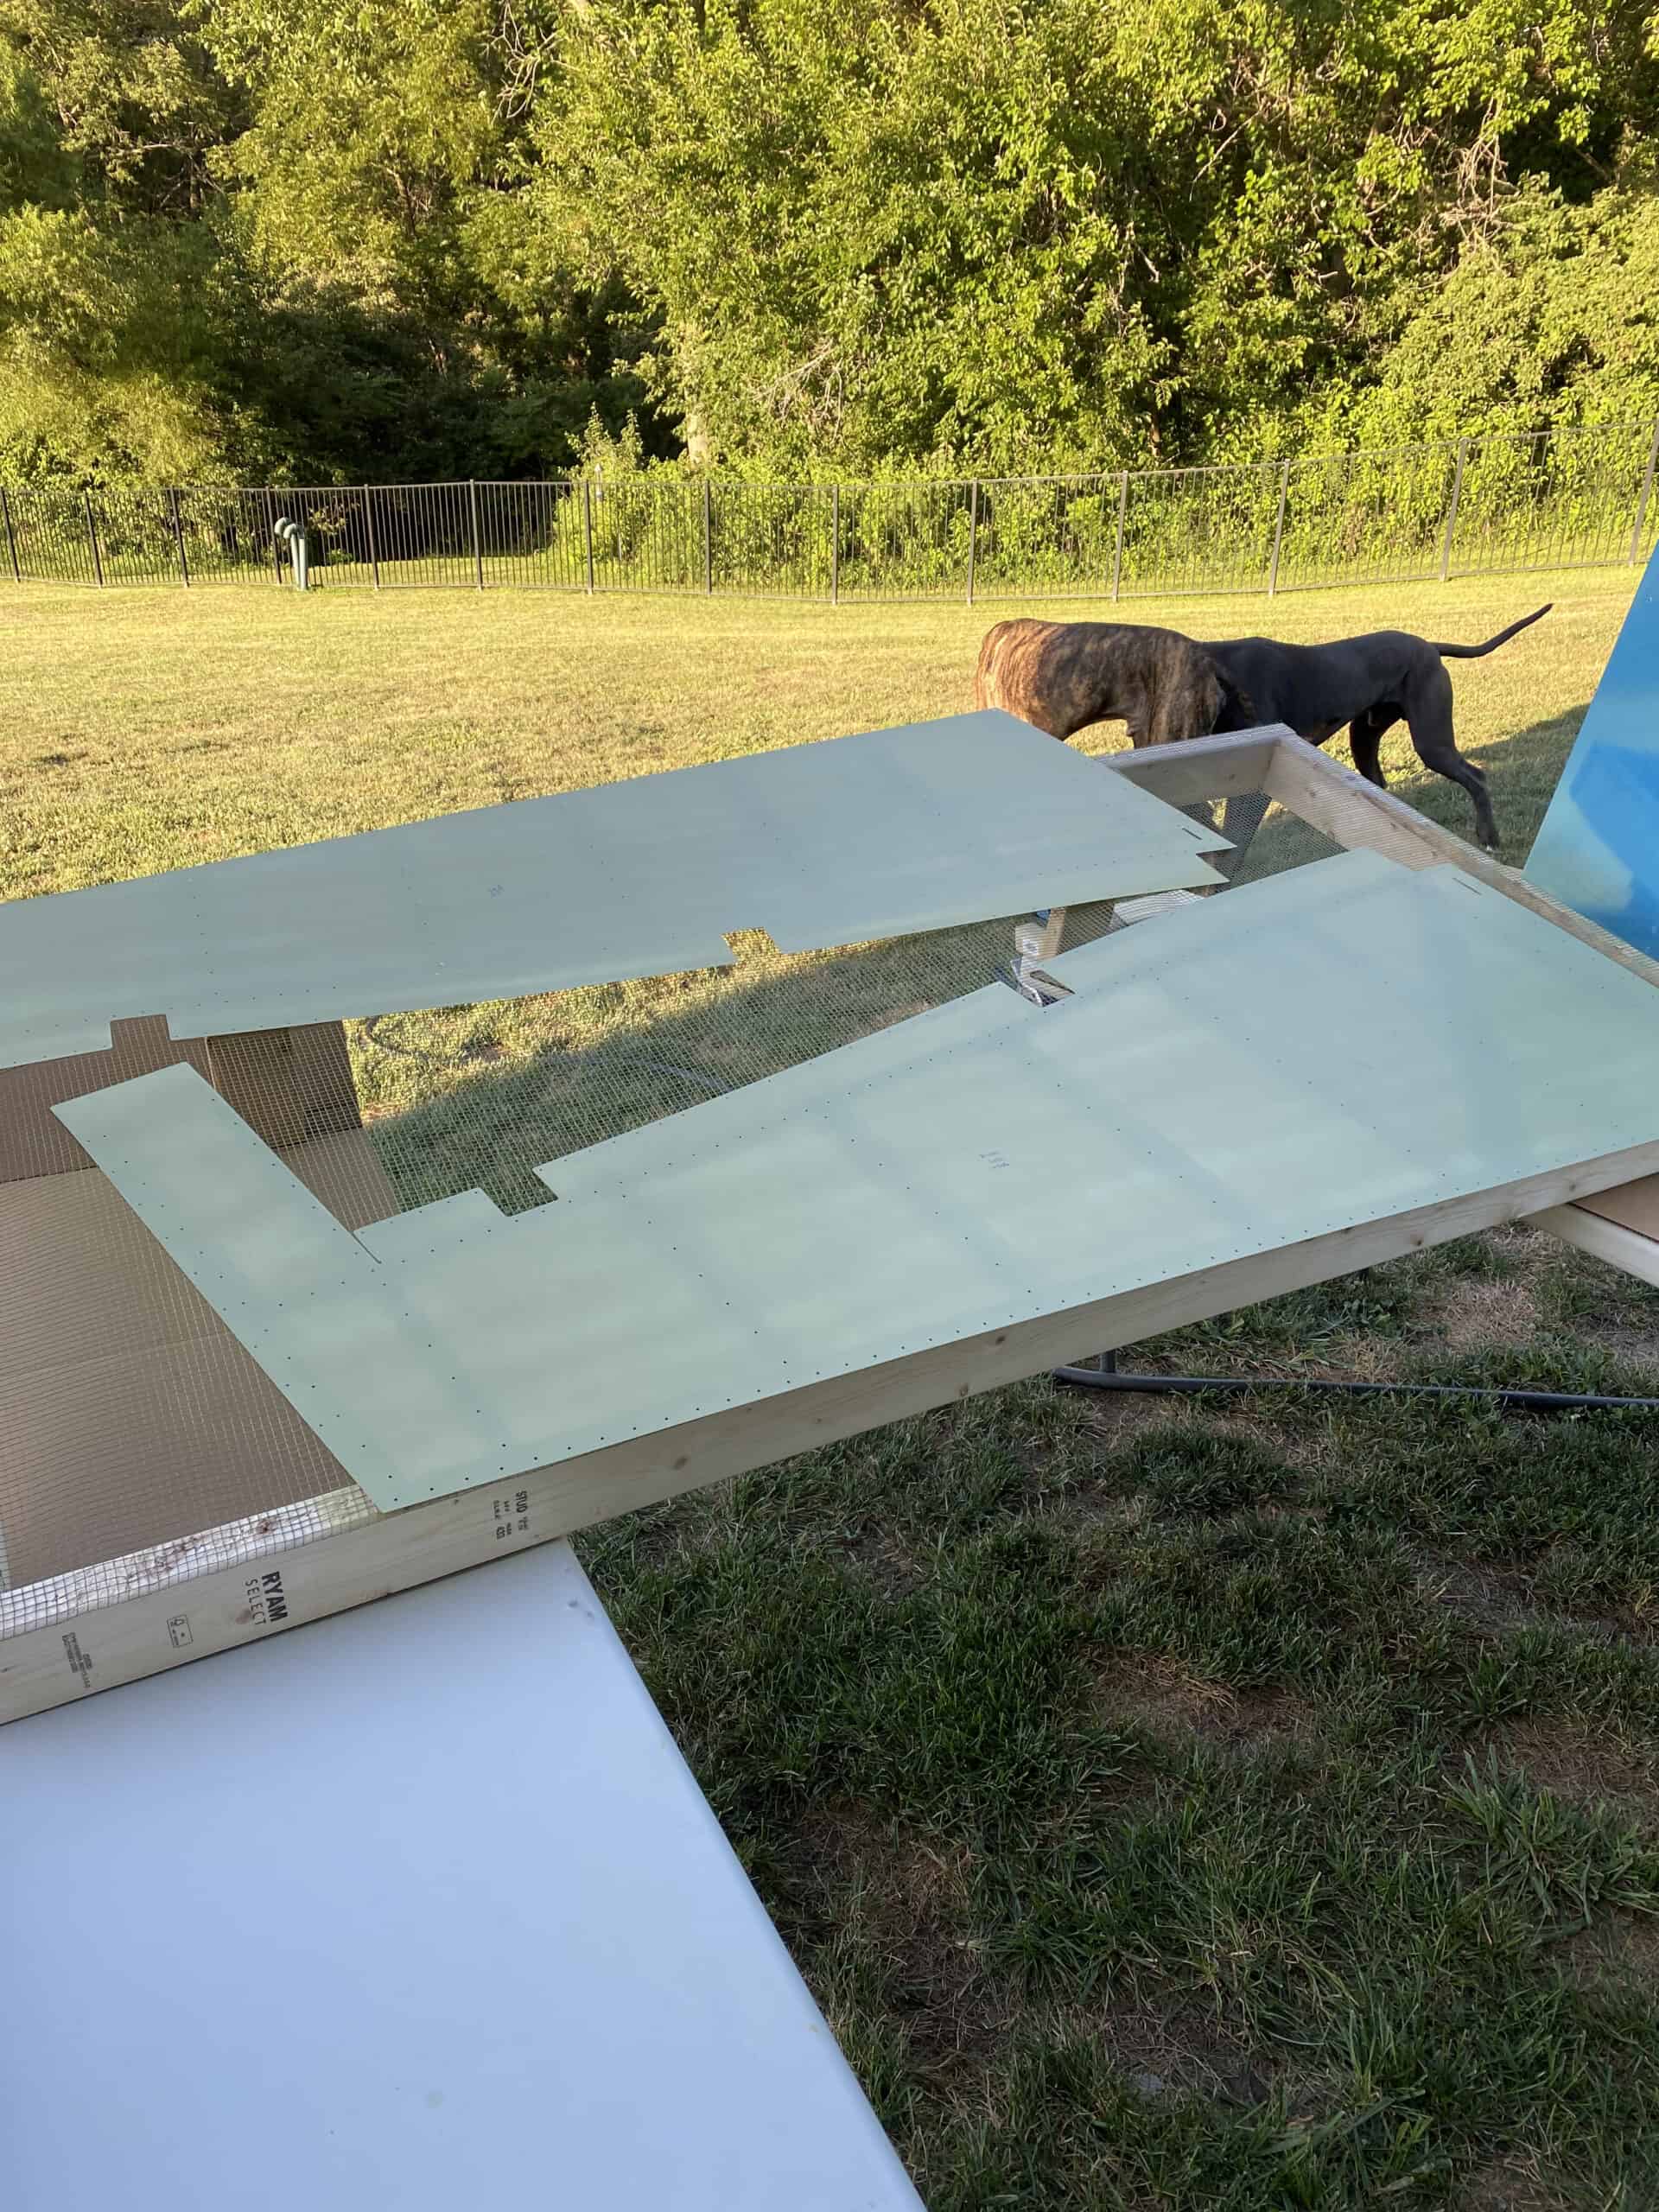
- Build my Spray table: I built a 5′ x 3′ frame made from 2x4s, and then made a couple of propped-up legs to give the frame some angle (intention is that the frame can be set on folding tables for spraying). I then covered the frame with hardware mesh leftover from our chicken coop. Obviously, I won’t have to do this [build a table] each time, but this ended up working pretty great for me; the ‘legs’ are about 12″ long and rotate in for easy storage of the table.
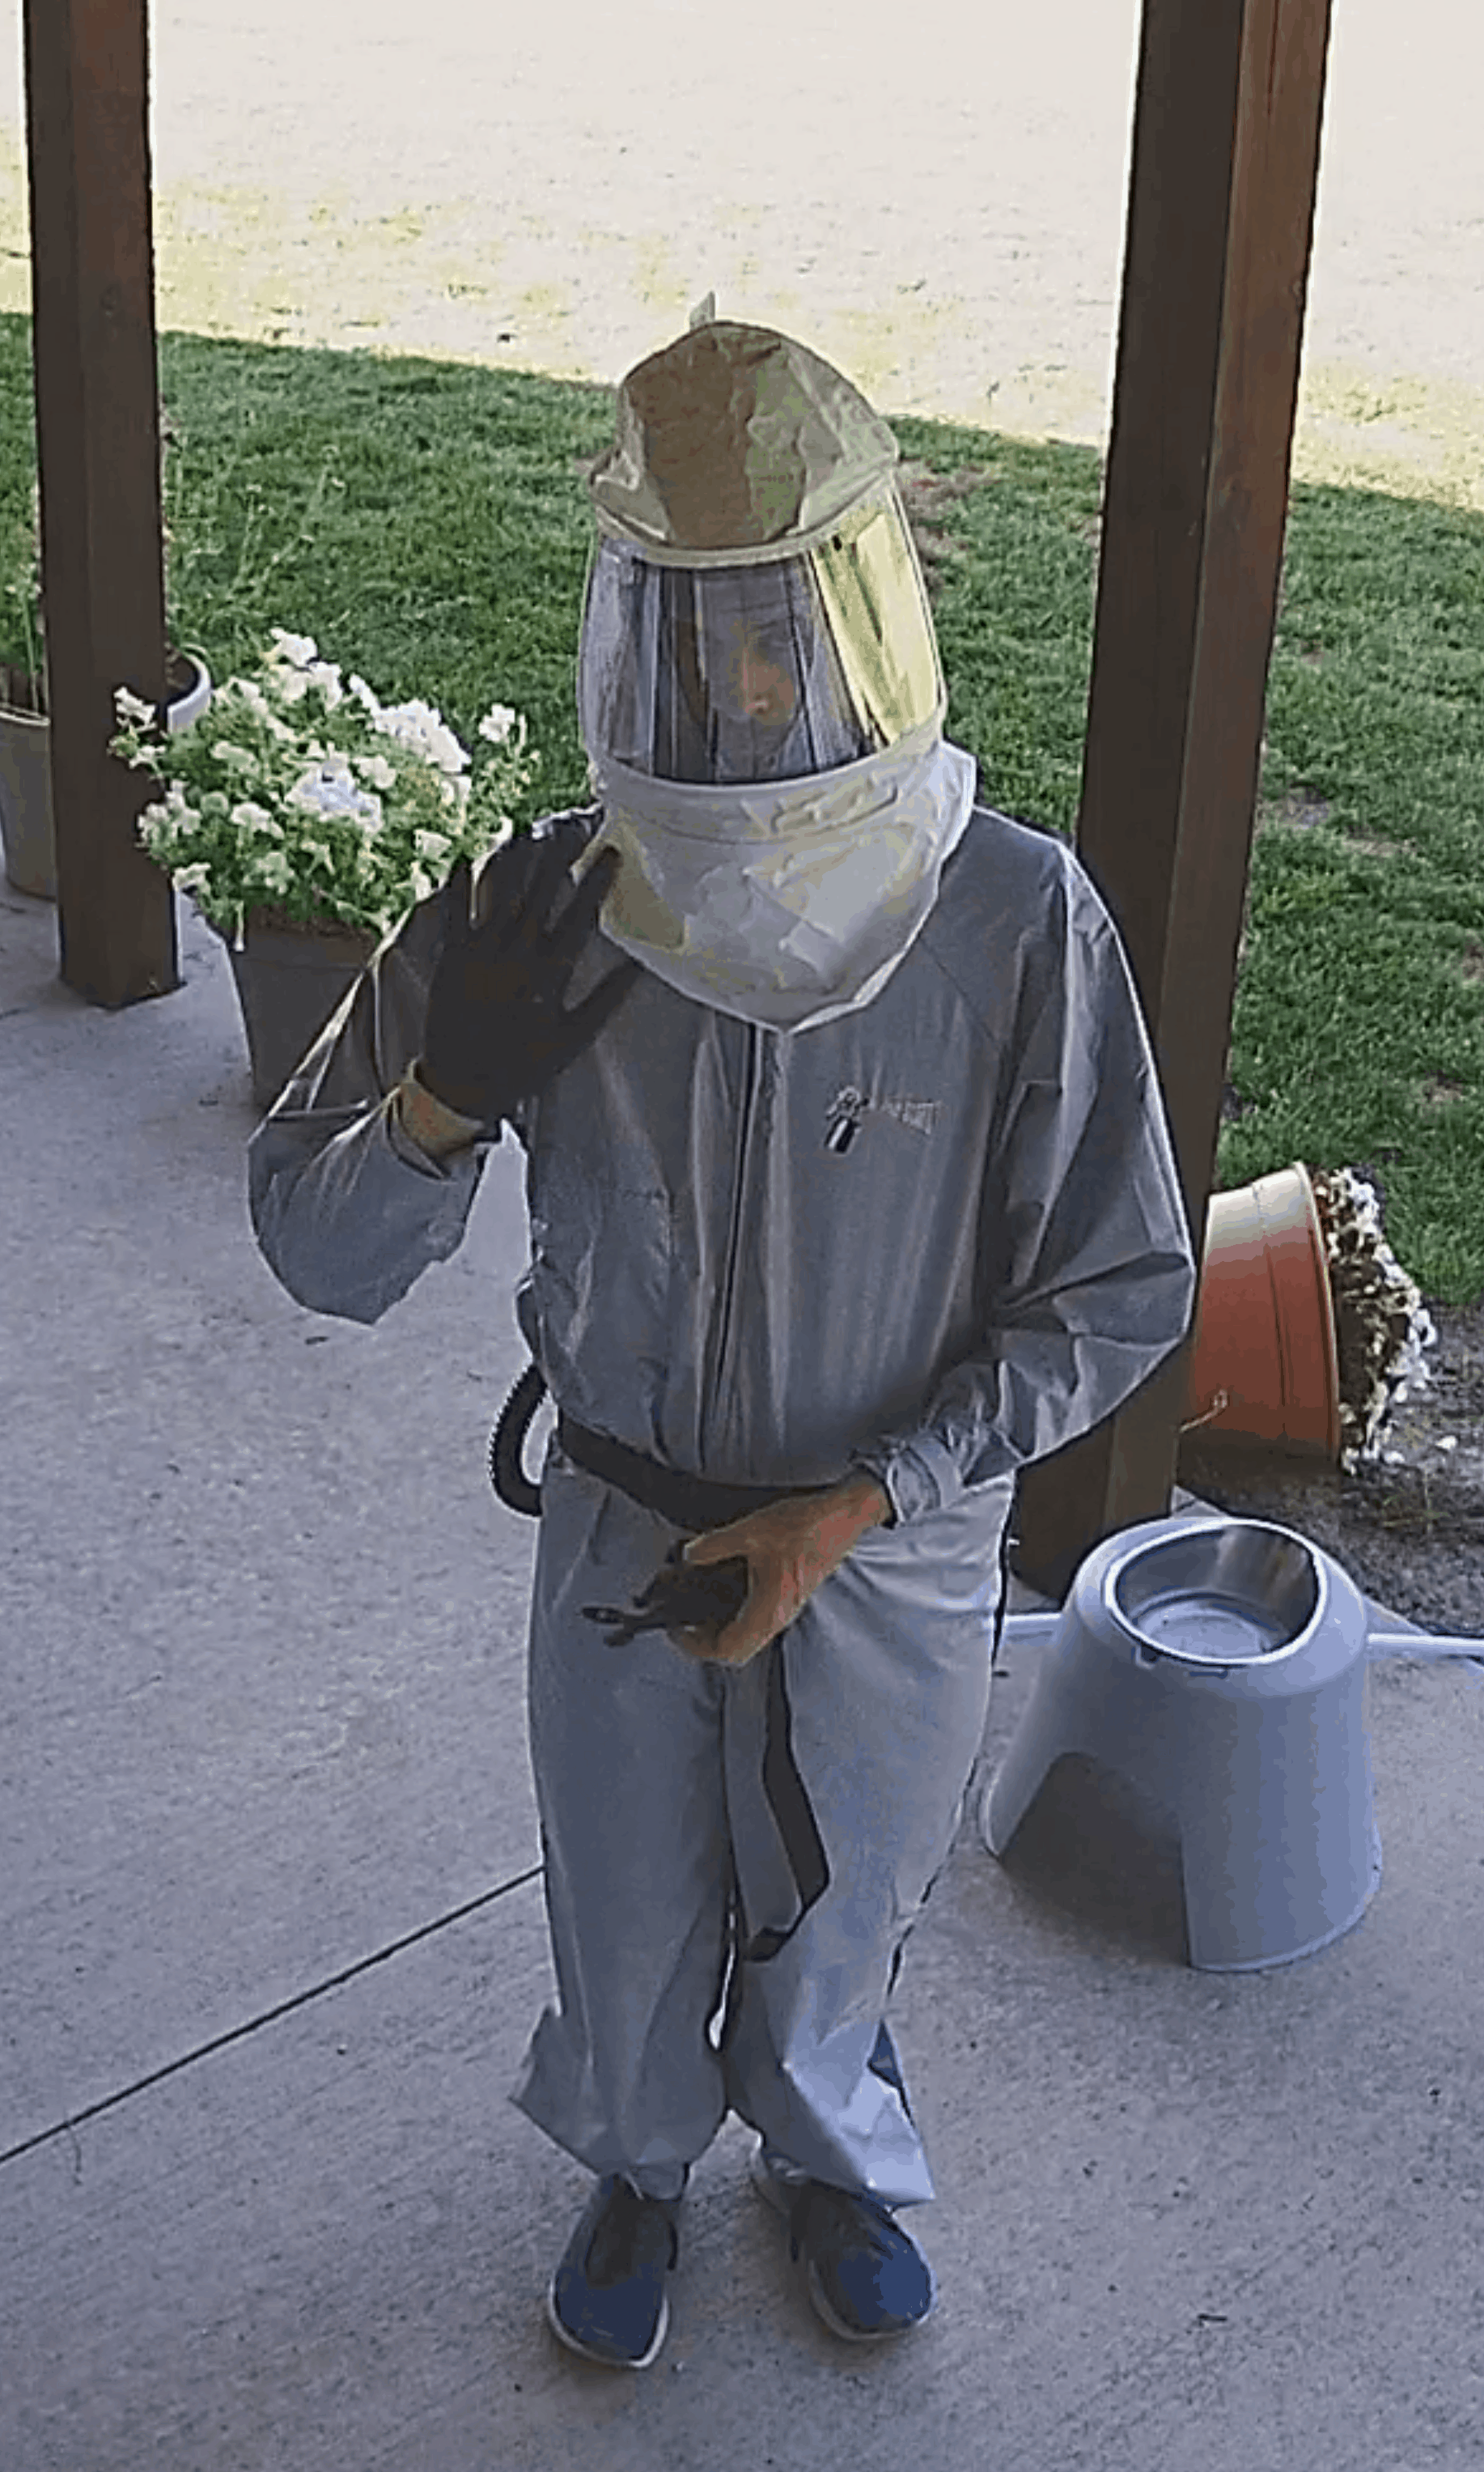
- Shooting Primer: I’m using Azko’s 2 part Epoxy Primer (namely: 463-12-8 and CA-116). After much deliberation, I chose this due to its fabled durability, despite the safety procedures it requires. This is an industrial coating with nasty stuff (isocyanates) which demands a powered-air respirator and full coverage of skin whenever the cans are opened and especially after the two parts are mixed. The usage of this product is straightforward enough – a 30 minute induction time post initial mix, I let it sit for about 40 minutes after mixing – I used clean stir sticks for each part, mixed in the PPS cup I was using, and then sealed the PPS cup. I extracted liquid from the cans using clean syringes, which I’ll dispose of after each use. I mixed to line ‘3’ on the PPS cup, which yielded 8oz of primer for my project today (a SWAG, that actually was pretty accurate). I sprayed using the 3M PPS 2.0 gun and it worked surprisingly well; the only challenge I had was spraying the VS skins (I had funky glare from the sun that made seeing what I was spraying a challenge). Aside from that, the only other challenge was the fact that my angle aluminum parts for the rudder blew around from the spray air). After spraying, I let parts dry a few minutes, then flipped and sprayed the other side.
- Cure and Clean up: Parts were allowed to cure outside for approximately 4 hours before I moved them indoors for the night. I used the TR-19 thinner to clean the few parts of the gun that needed cleaning, and packed up my respirator, gun, tables, etc. Full cure is achieved in 24 hours.
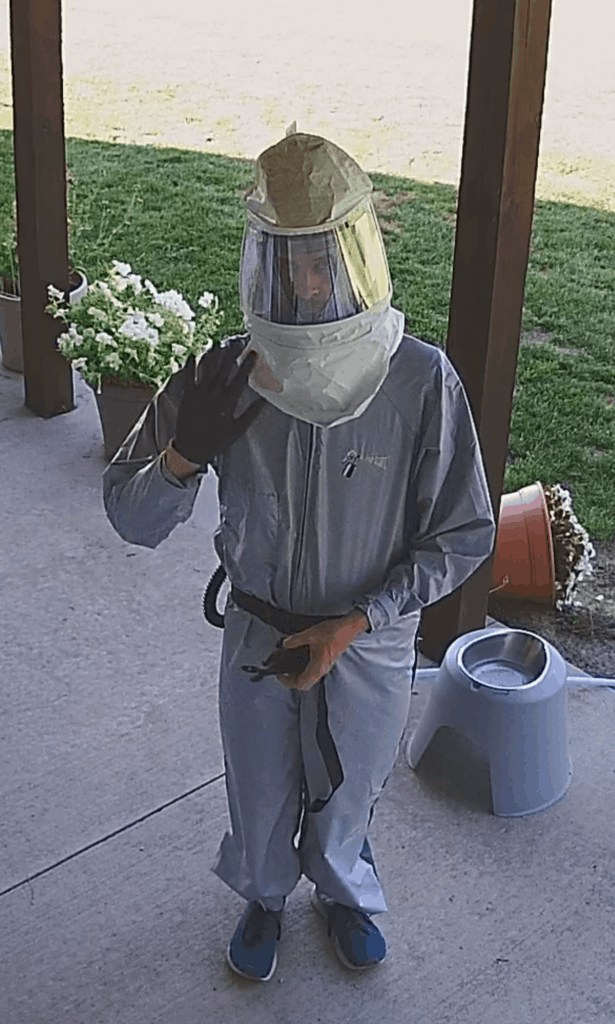
Safety isn’t pretty, but it’s important (note the knocked over flower pot from my air hose) 
Parts all cleaned and drying 
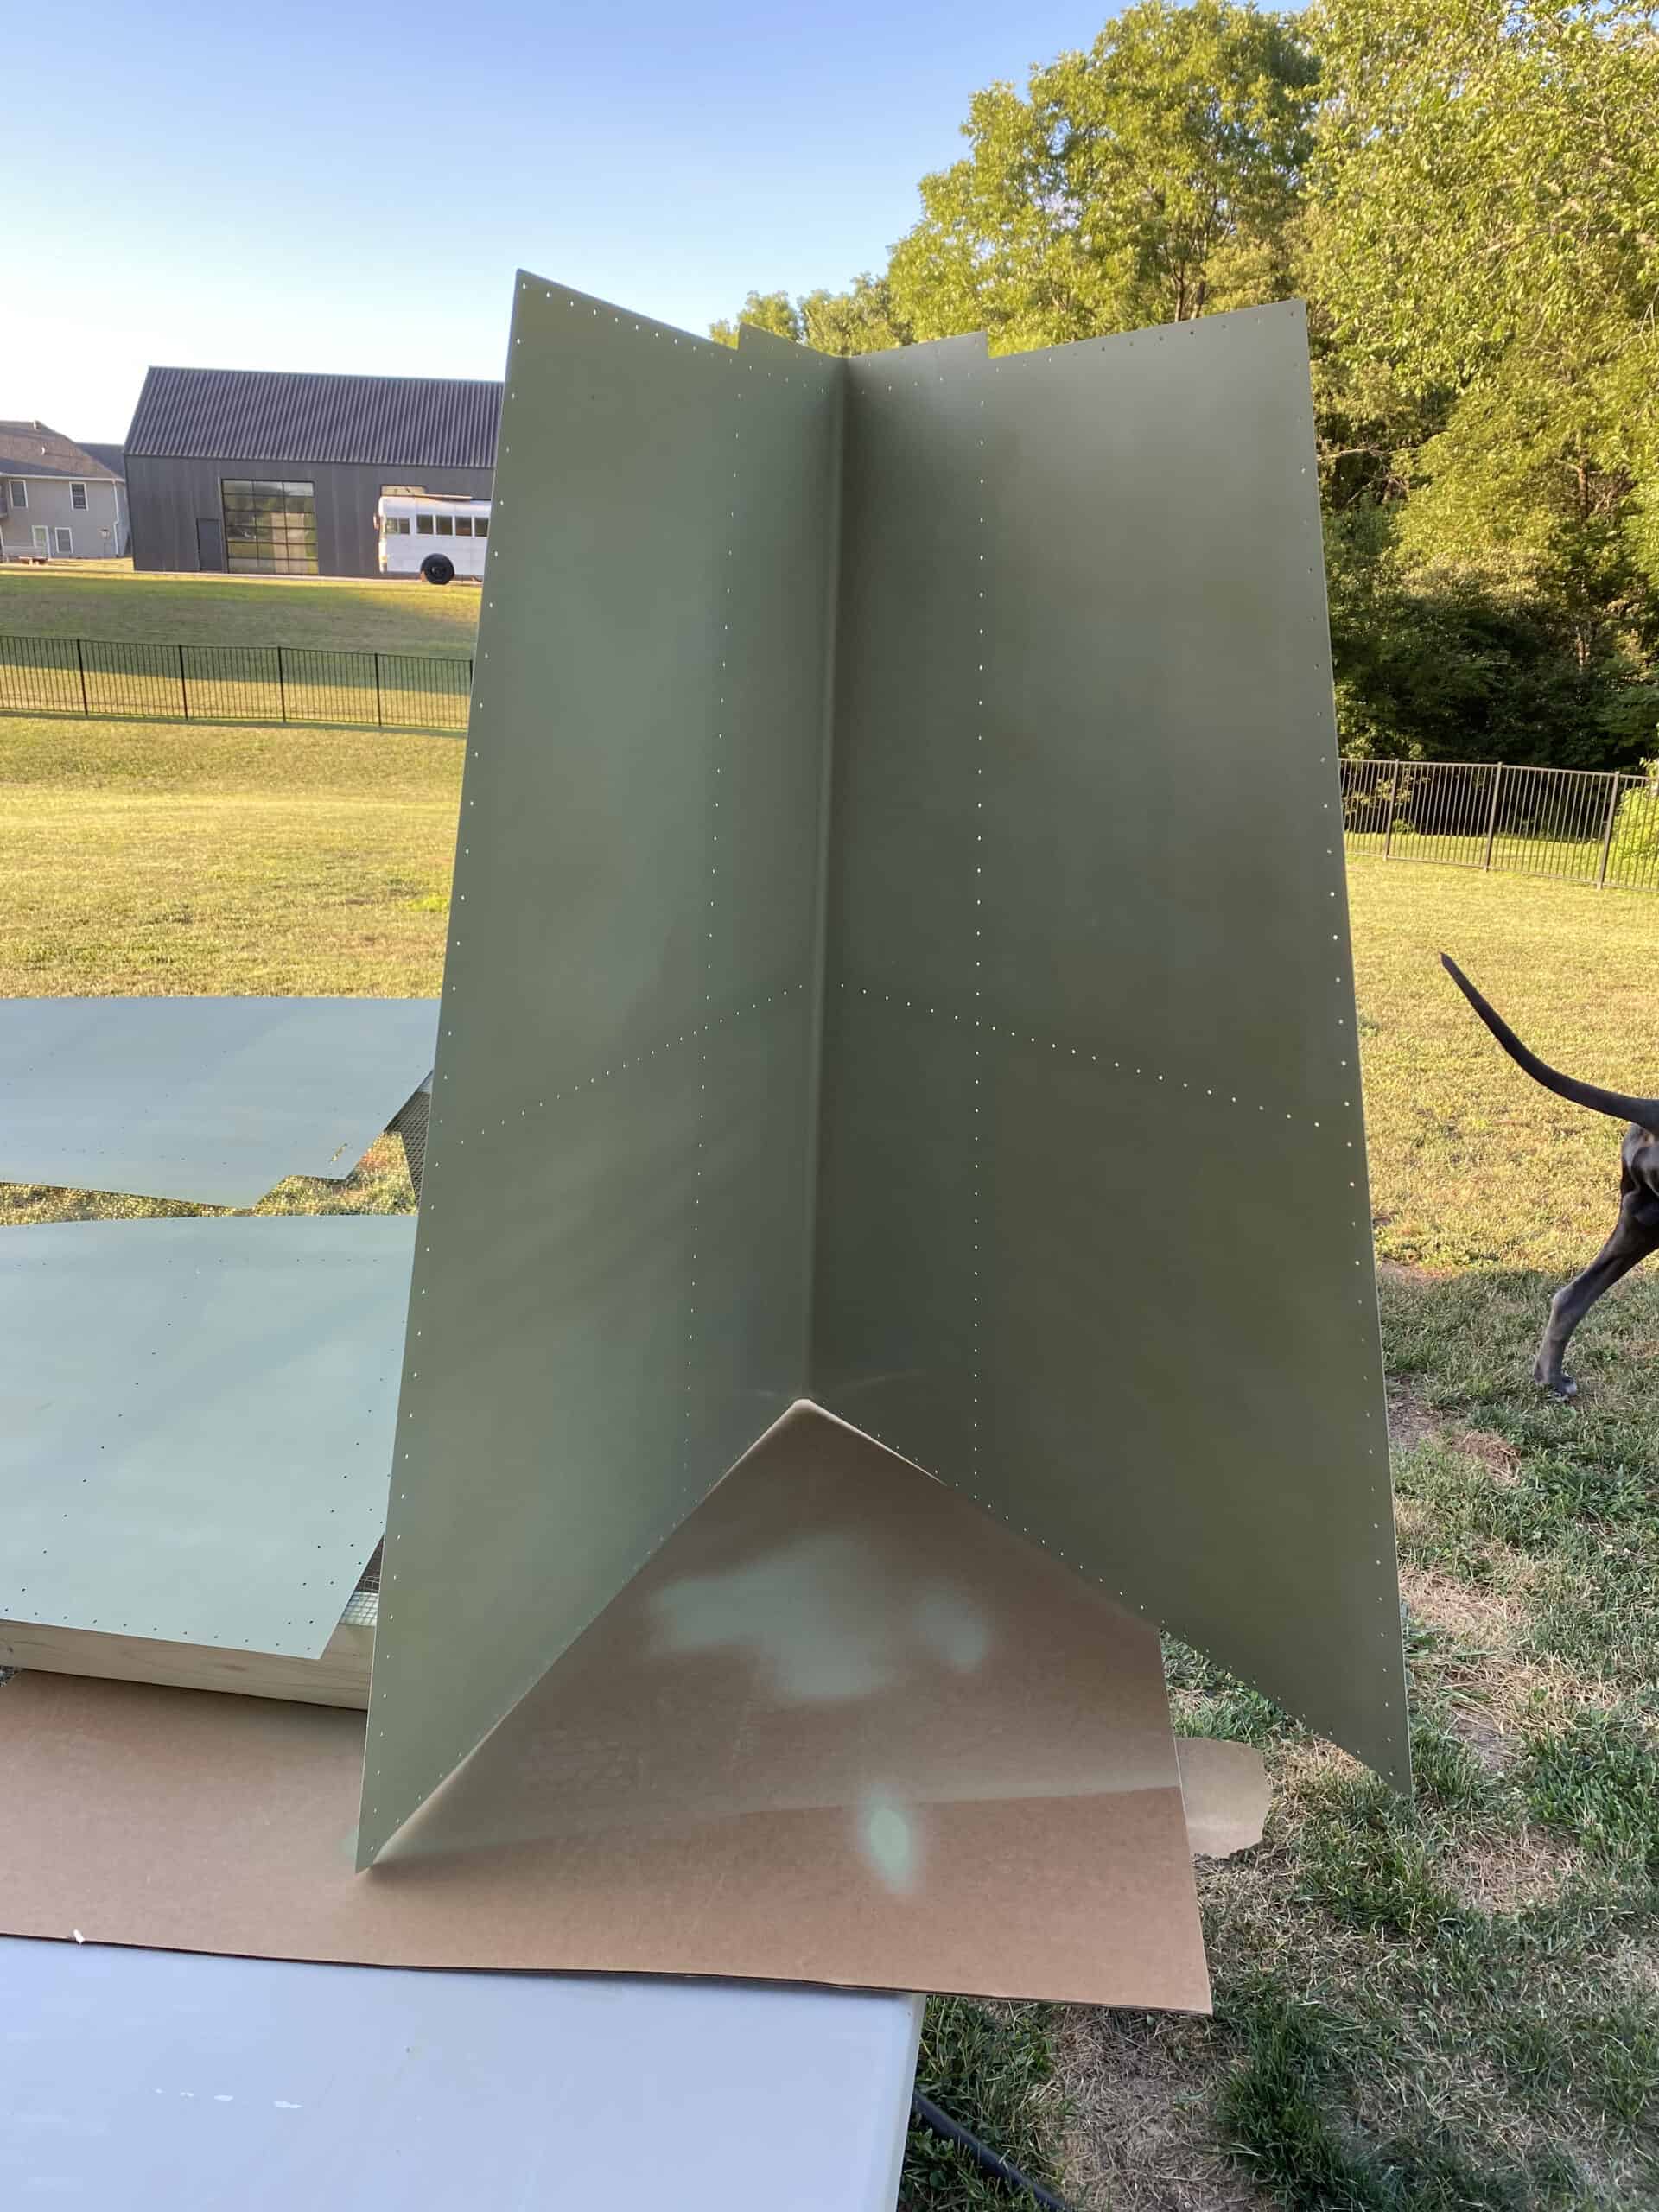
Vertical Stabilizer 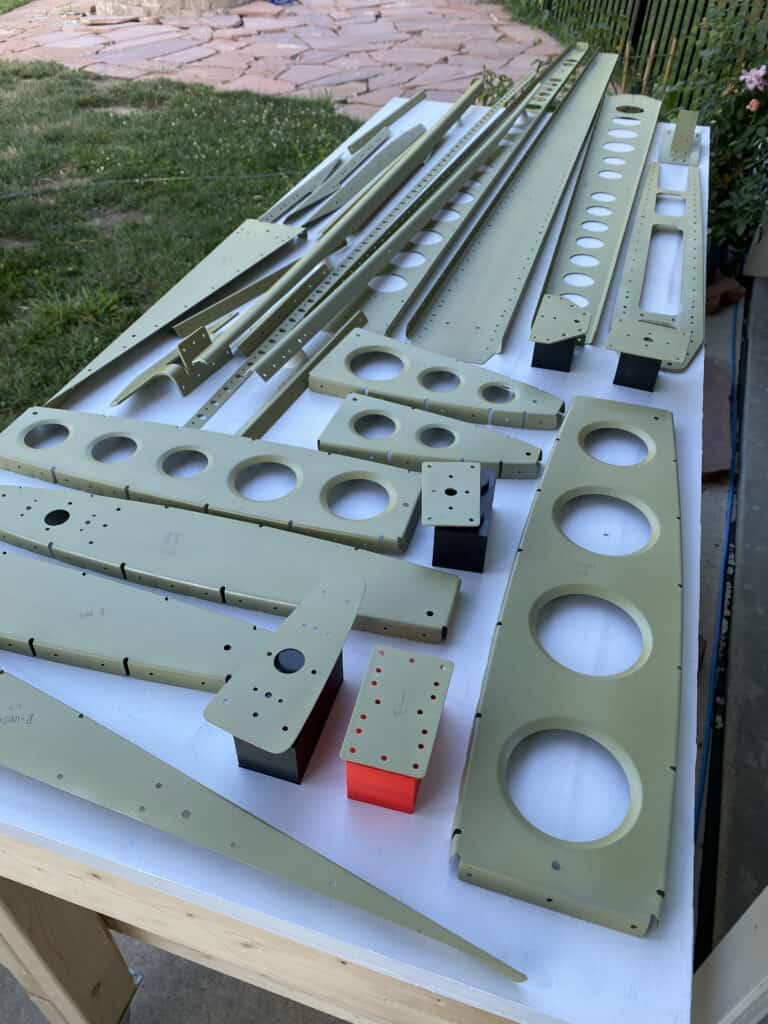
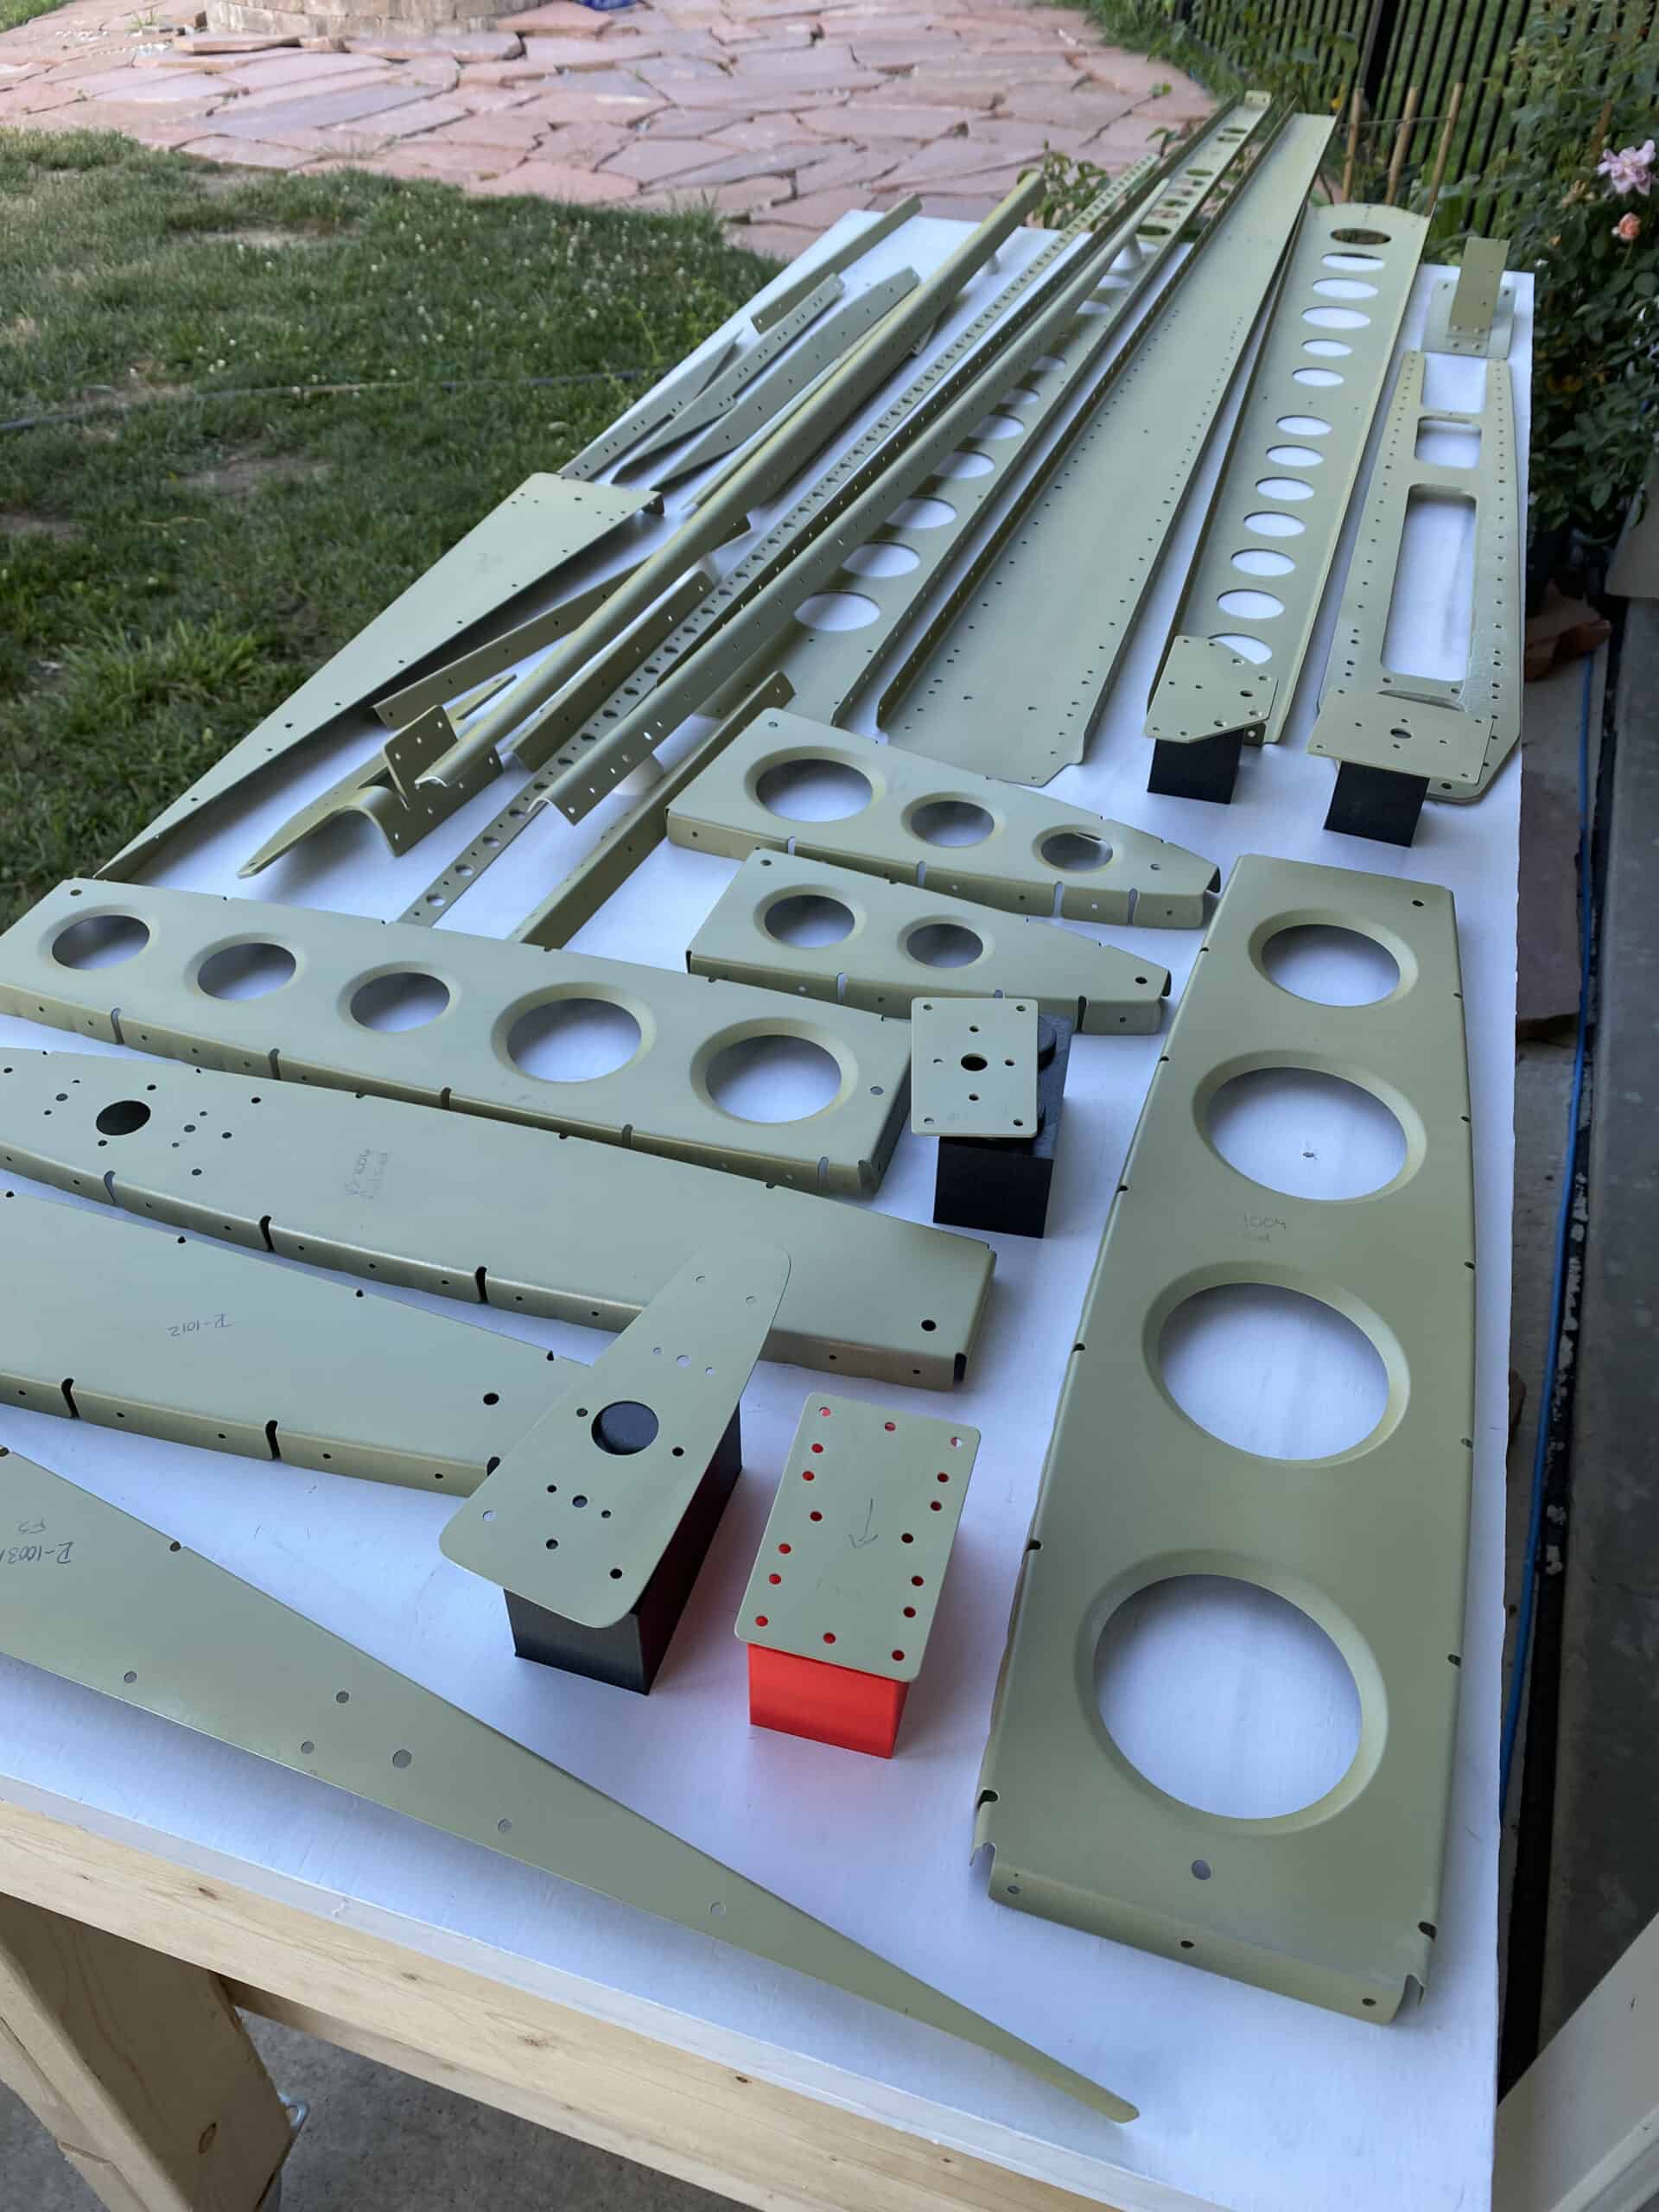
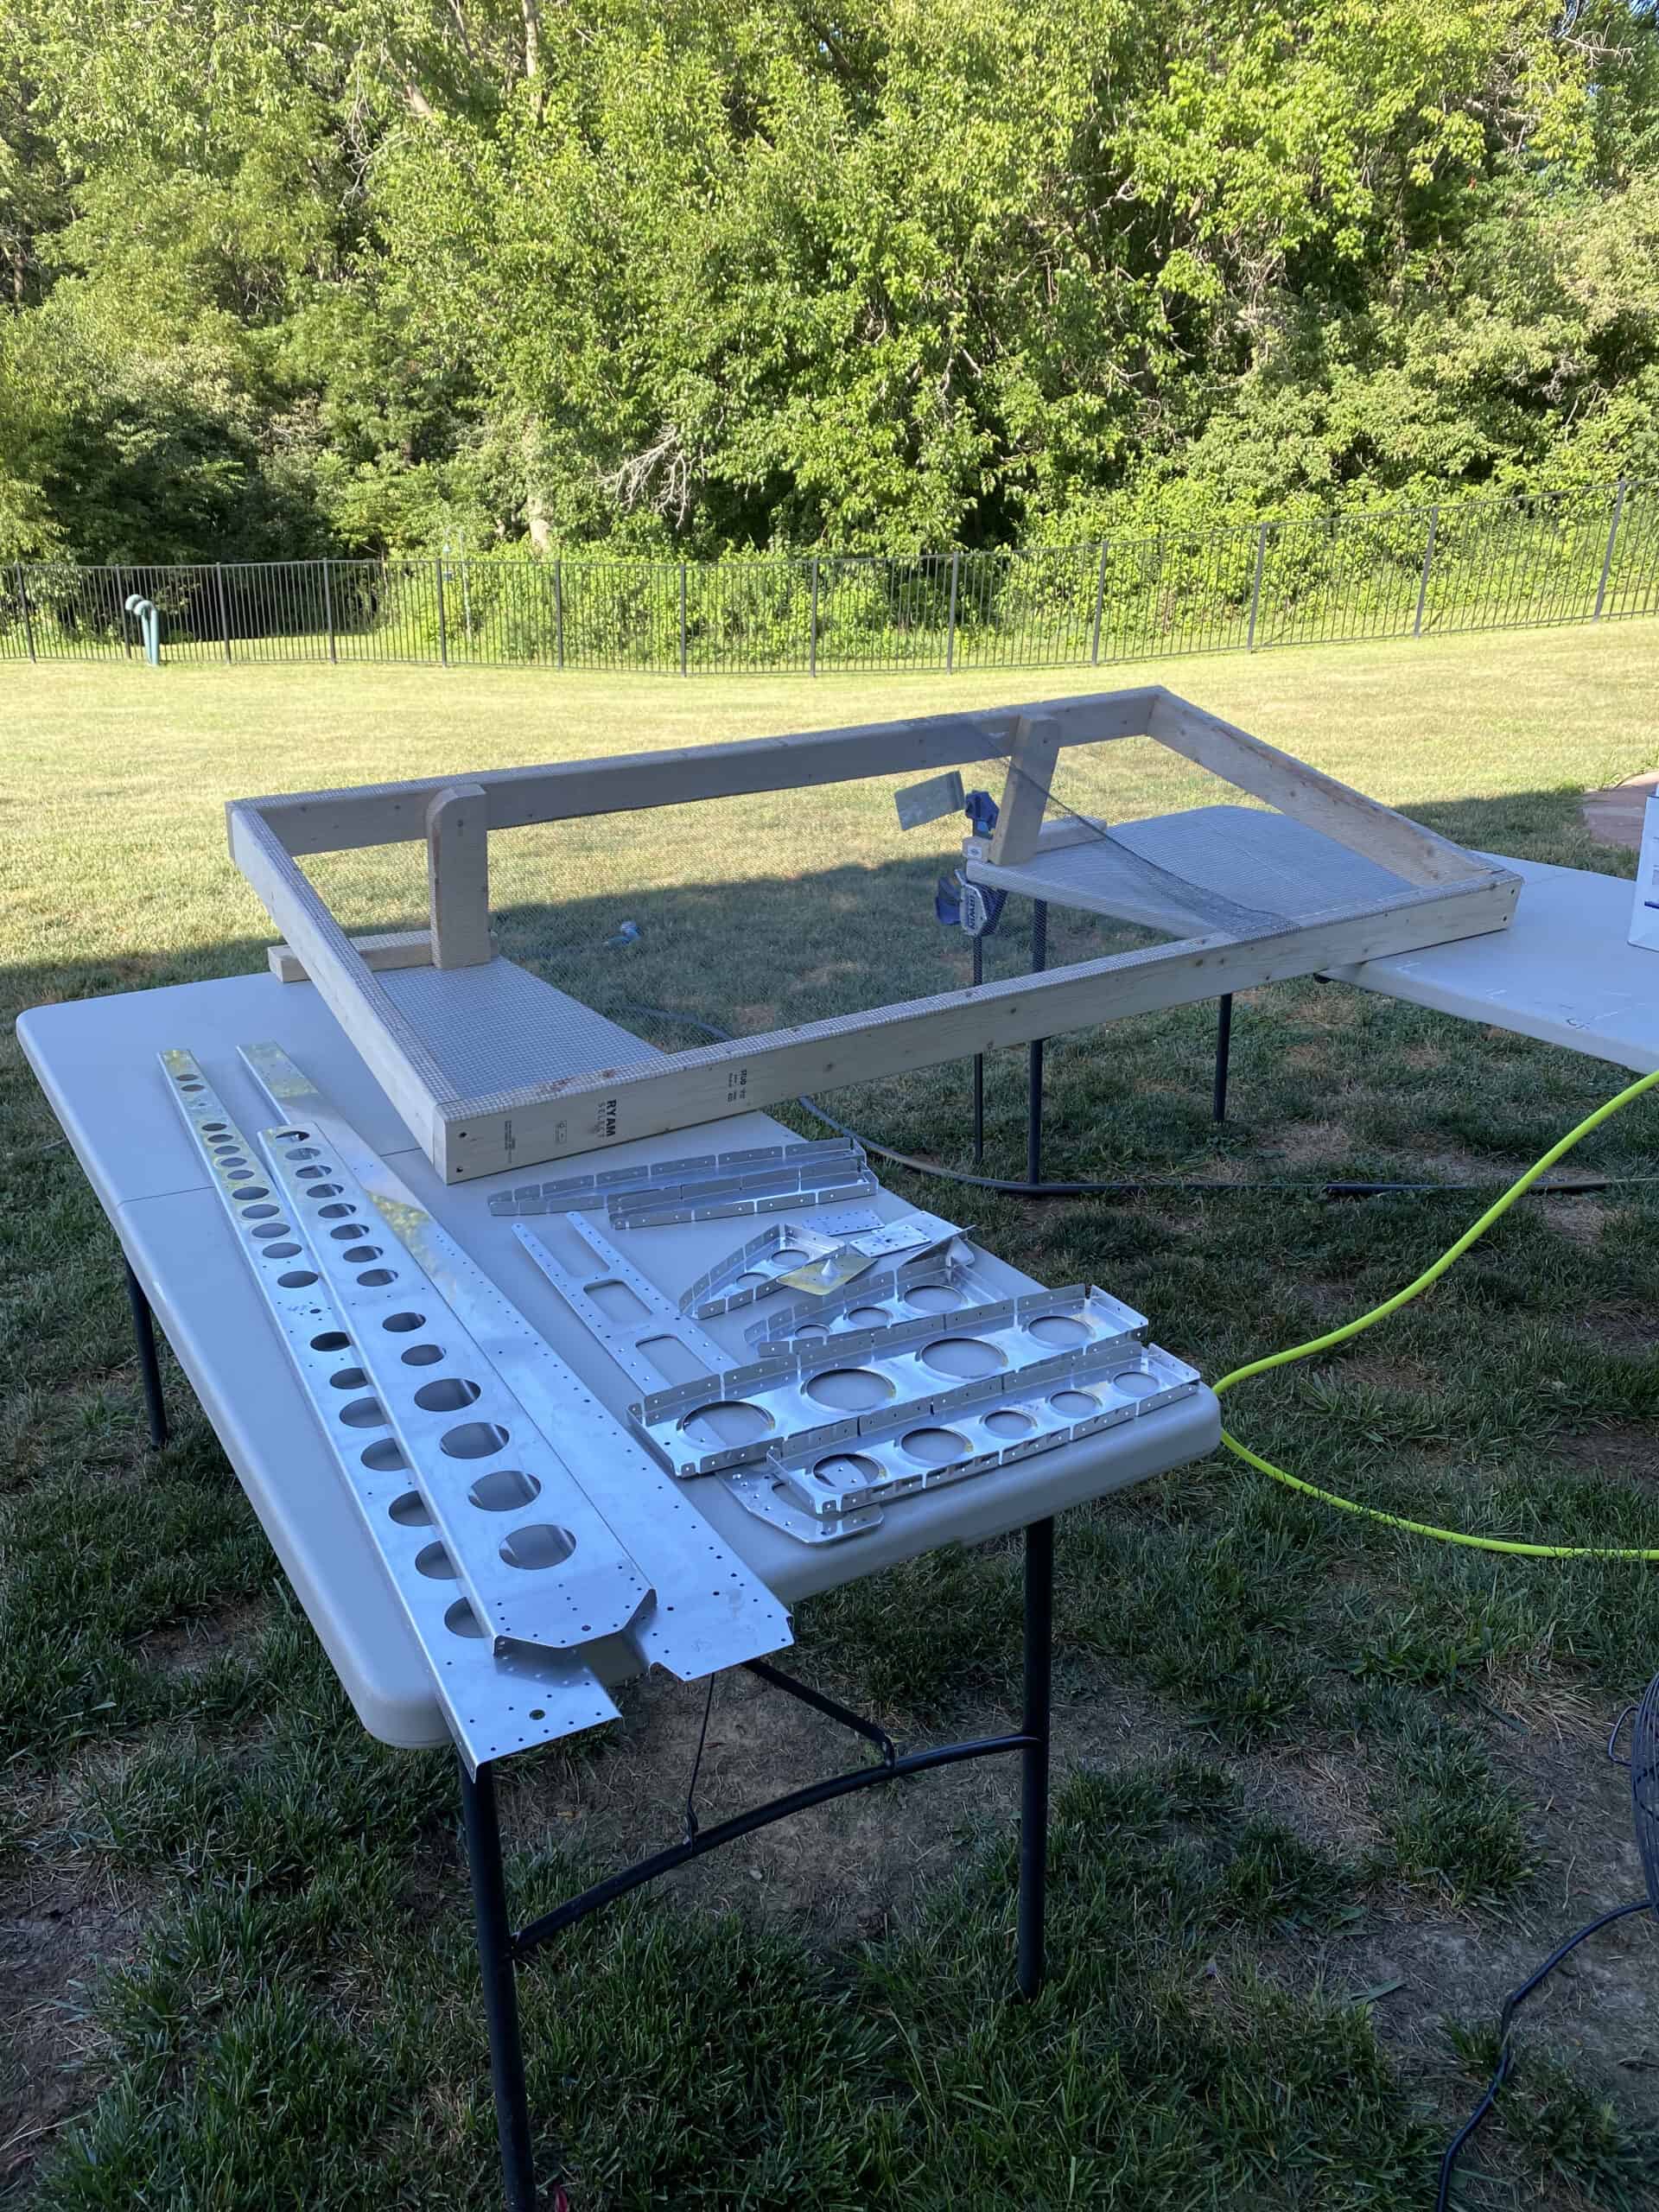
Table of parts curing 
Rudder skins (shadows are from the areas that were deburred using Scotchbrite pads) 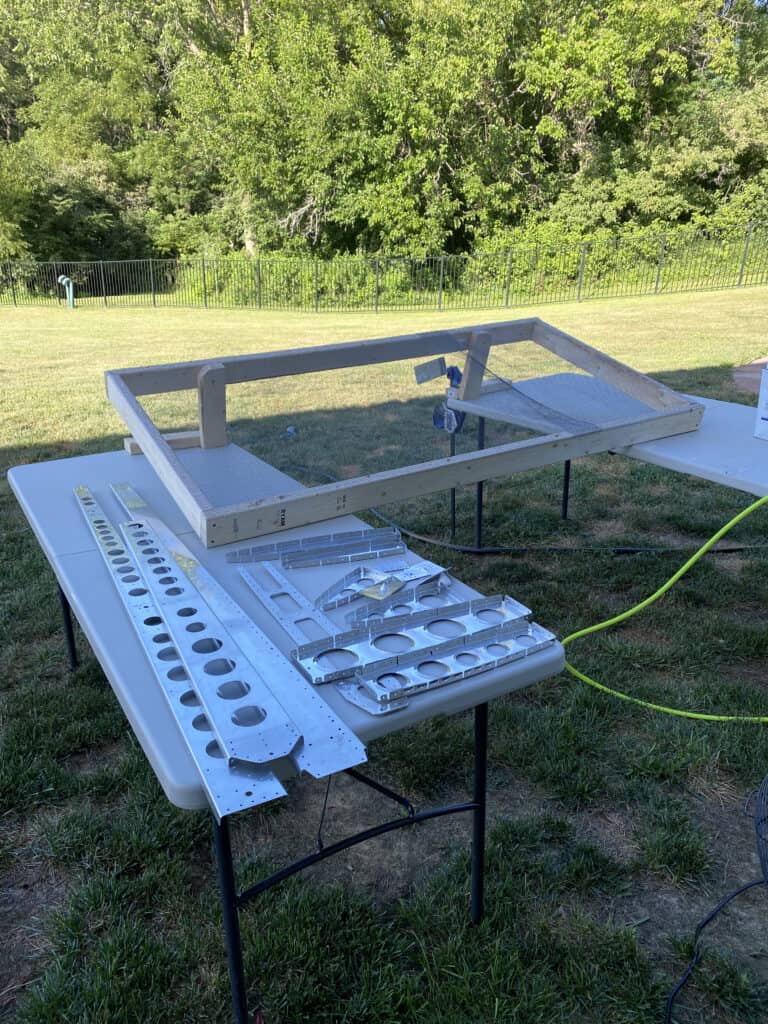
My priming setup (I later added two pieces of cardboard to protect the tables a bit)
Tools and Products
Here’s the things I used and some links to find them
- Primer: I’m using Azko Nobel’s 2 part Epoxy Primer, again – it’s an industrial coating and demands respect to use it safely. Make sure you are using this with all of the cautions mentioned by the manufacturer, and I strongly encourage you to research the correct handling techniques and processes for this product. I got mine from Aircraft Spruce: https://www.aircraftspruce.com/catalog/cspages/akzoprimer.php
- Powered Air Ventilator: I’m using a Hobby Air Respirator, personally I went with the HobbyAir1 with the Air Supplied Hood, and I’m quite pleased with it. The hose will be quite warm near the unit after it’s been running for an hour or so, I know some people dunk the hose in a tub of cold water, but I didn’t do that yet. I chose the Hood method to make it easy to protect face while also getting a bunch of good clean air. I also picked up a ‘Premium Paint Suit’ from them – and having only ever used the cheap $10 Tyvek suits – this thing was way better. I ordered direct from axis Air Group, and it came within a week of ordering: https://axispro.com/index.php?l=product_detail&p=4
- Spray Gun: I’m using the 3M Accuspray Paint Gun System, and I picked up their starter pack and a bunch of extra cups from Amazon (at the time, it was the cheapest option). I went with this option as I knew it would be a ‘good enough’ gun for shooting primer, will be fully compatible with the easy-clean-up promises of the PPS system, and would be a decided upgrade from my old HVLP gun. This is a good one to shop around for, and I know there are much better guns out there, this just happens to be the one I’m using (for now): https://www.amazon.com/gp/product/B001UNZIP8/
- In line Desiccant Air Dryer: I know dry air while spraying any coating is super important, so I picked up and installed a desiccant dryer for this job – mode of operation it really straightforward. It holds color-changing desiccants, blue when dry, pink as they absorb moisture. After my priming session, half of the desiccant had gone from blue to light pink, so I feel satisfied it was doing it’s job (plus, I didn’t experience any of the signs that water has gotten into the spray. Again, there’s a thousand options for these out there: https://www.amazon.com/gp/product/B083V5CLZT. I’ll also put the smaller-cousin of this on my gun next time around, just for good measure.
Results
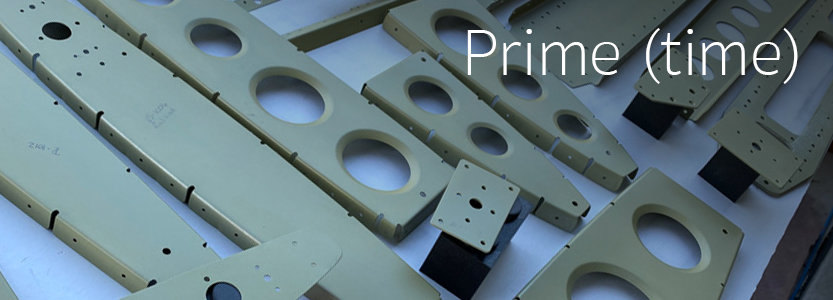
Overall, I’m really pleased with this – the coating looks great, it’s smooth, and it makes the plane look more real (it’s a common color used on commercial and military planes too). I did a few scratch tests and I haven’t been able to get the primer to come off, so I’m pleased with the adhesion and surface finish of it. Not bad for an amateur painter’s first time spraying a new product.
Lessons-learned? Next time around, I’ll make sure to have some better supplemental lighting for any pieces that aren’t able to be seen easily; I’ll likely also work harder at properly estimating the paint volume to use (since, let’s be honest) I got lucky and guessed right on this one. For winter-spraying, I’ll have to do this indoors – I’ll plan to build a spray-booth if needed for that, and use an explosion-proof exhaust fan to pull vapors out of the shop, my hope is that I can avoid that as much as possible.

Pingback: August 2021 – JerAero