I’ll establish my non-special-topic posts (e.g. the time I spend in the shop working on things) as a single post per month – this will largely mirror my builder’s log on EAA’s Builders Log Site here: https://eaabuilderslog.org/?s=JerAmyRV-10
August Summary
I was really happy with the progress I made in August, I had been (mentally) slowed down prior to this month as I had been mentally procrastinating on priming as I hadn’t yet solidified my process, setup, or tool usage. Once I got over that block and successfully primed the VS and rudder components, I was able to make a good amount of progress.
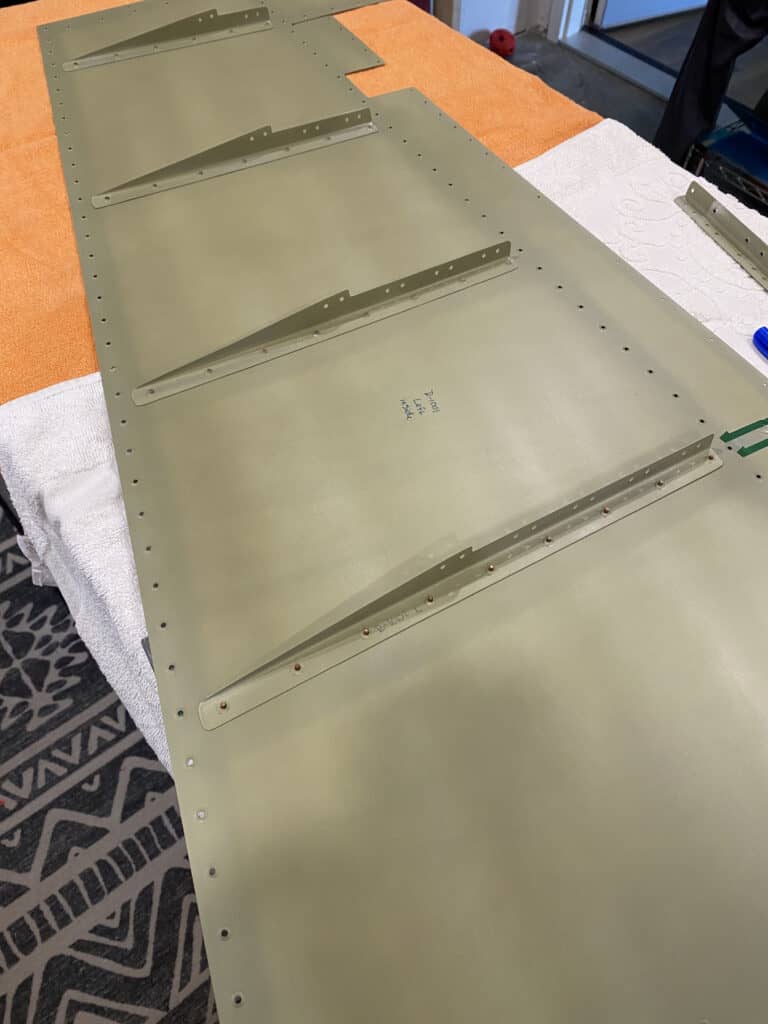
This month saw the first rivet set on the Vertical Stabilizer, and doing the final assembly really starting to make things ‘feel real’, and also served to bolster my motivation on the project. I have gotten the vertical stabilizer as far as I can for now, it’s ready for it’s pre-close inspection from my EAA Technical Counselor, and the Rudder is well on it’s way too.
Learnings from this month:
- Since I’m dimpling after priming out of order with the instructions, be sure to cross-reference parts and make sure to dimple prior to doing any final assemblies. Luckily, I really only got ‘caught’ on this one with the bottom web of the rudder, so not too much re-work, but it did involve drilling out some rivets, dimpling, then re-assembling; plus…using a pop-rivet dimple die to set some dimples where I had already riveted in the rudder horn.
- Get a box to hold all of the priming materials – will make priming day easier and I can seal any odors in the box (e.g. priming drips/drops on cans, etc.)
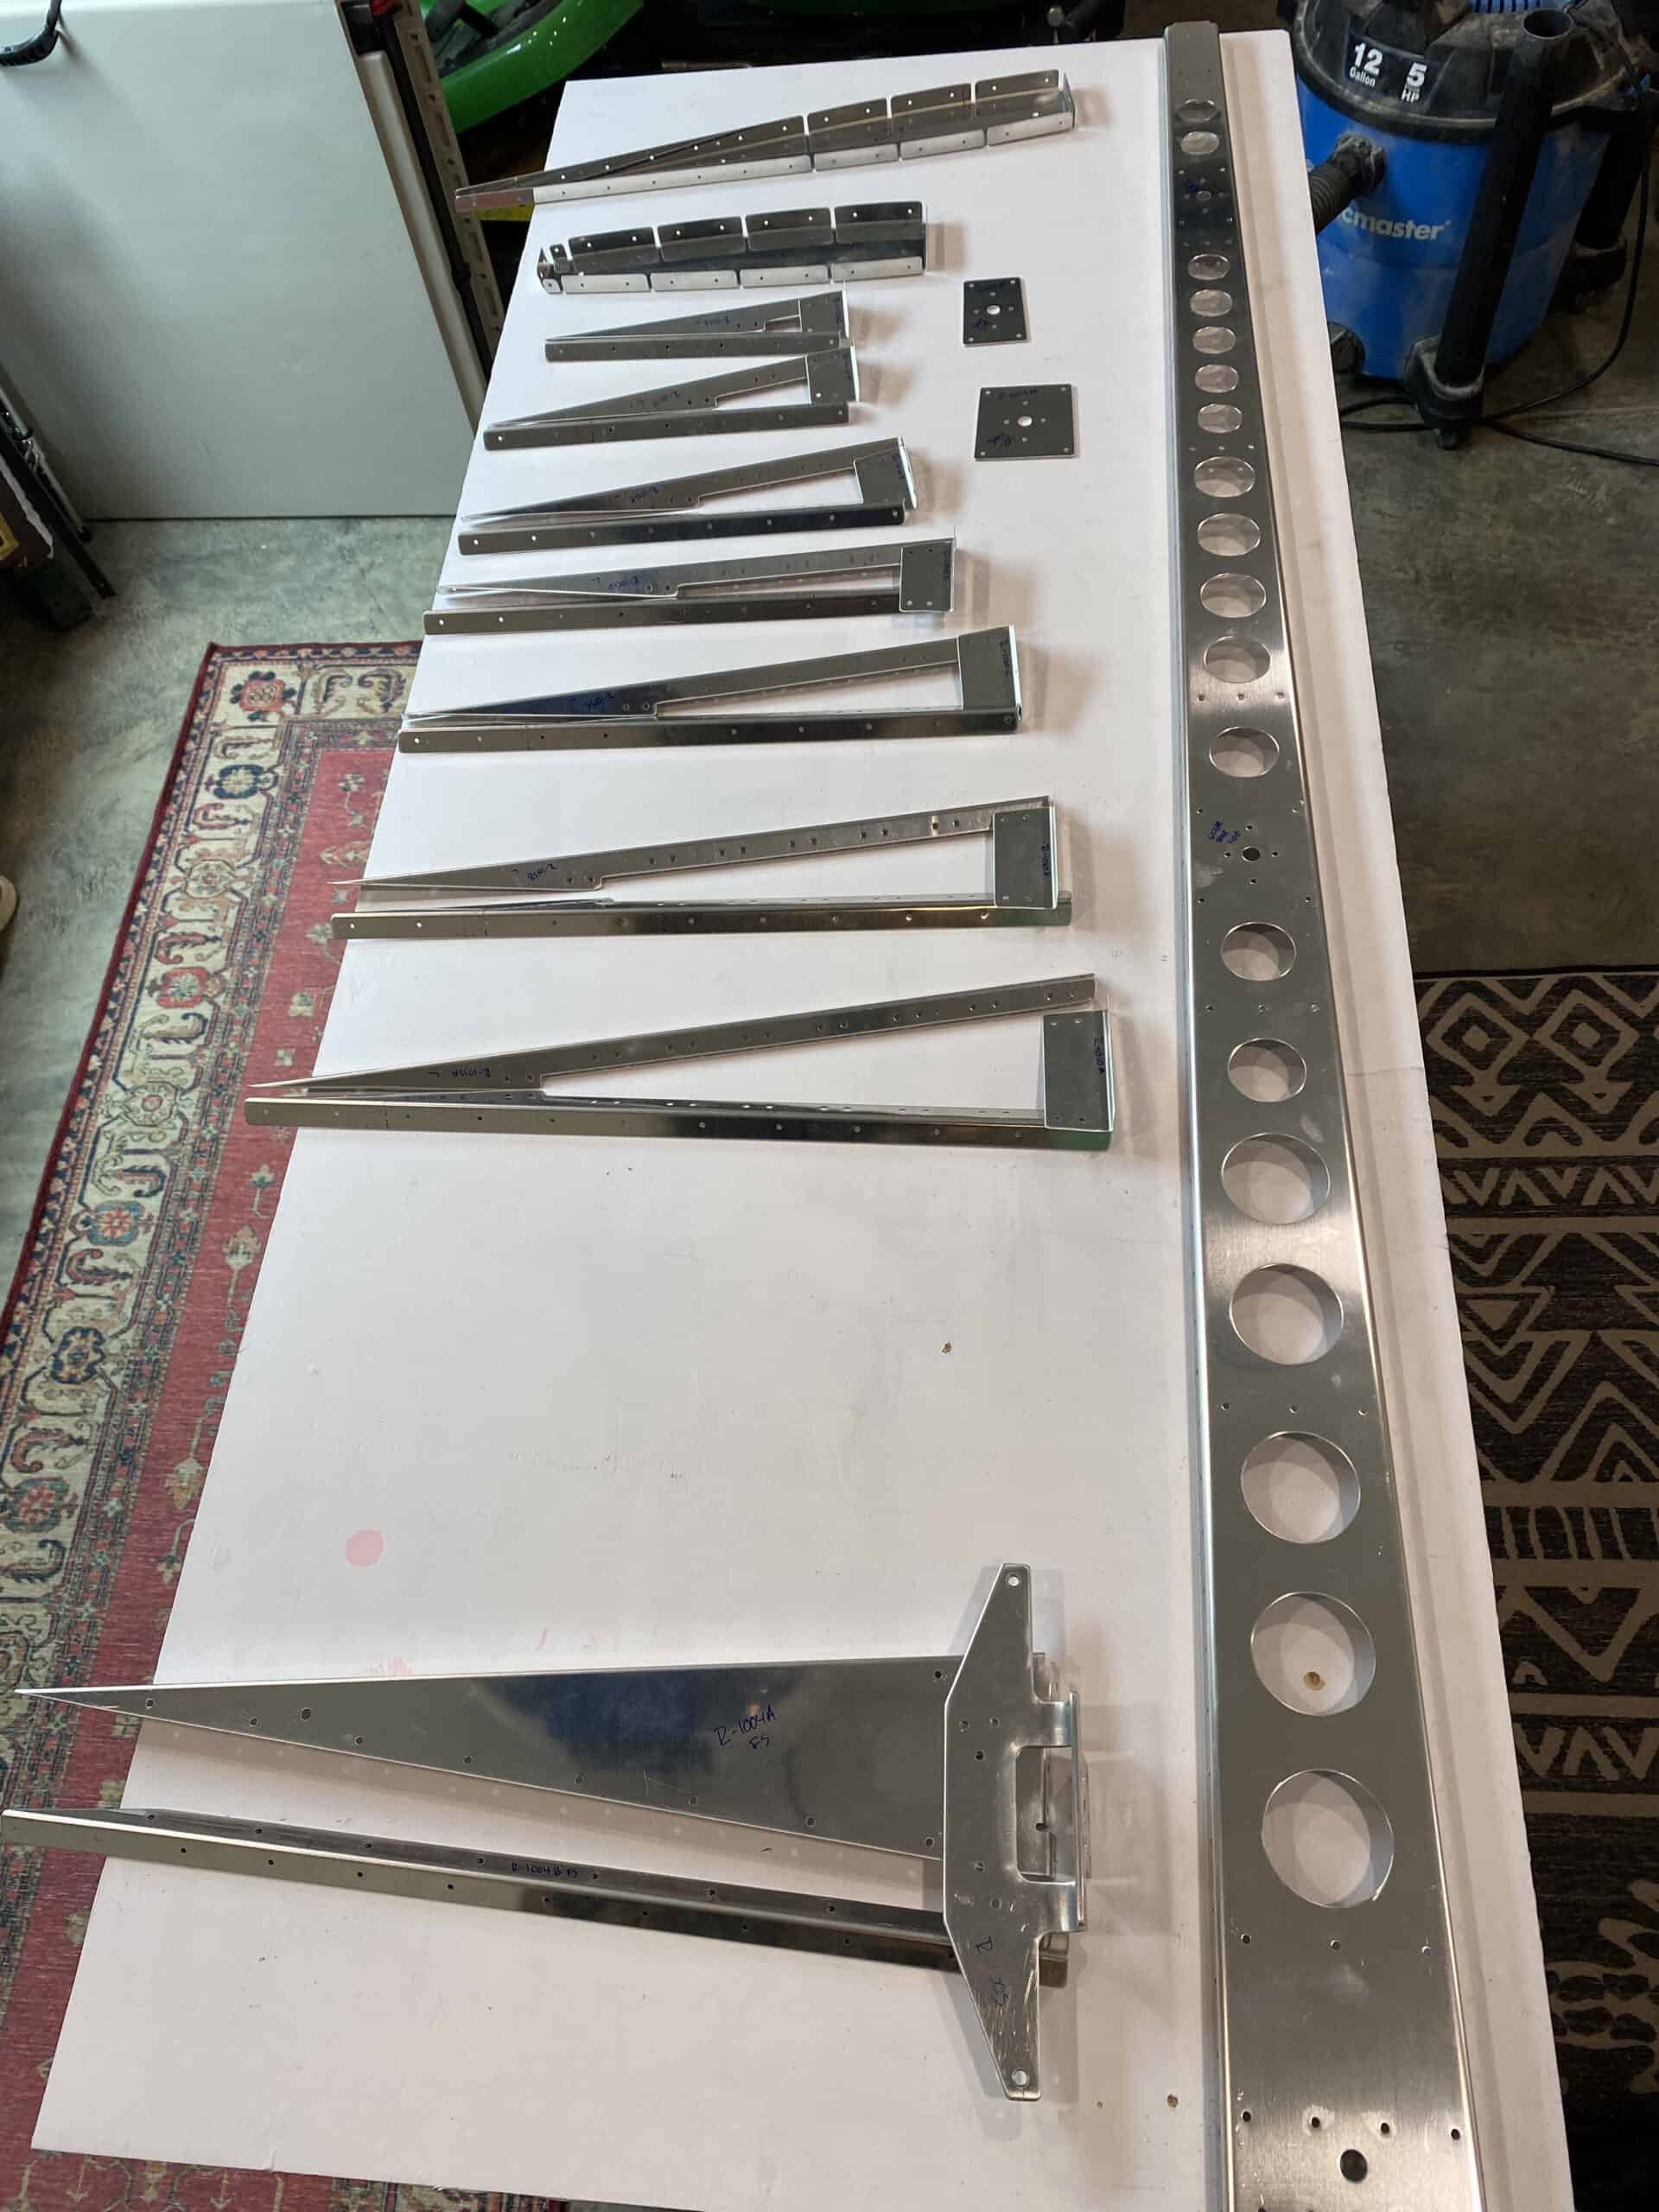
August 29, 2021
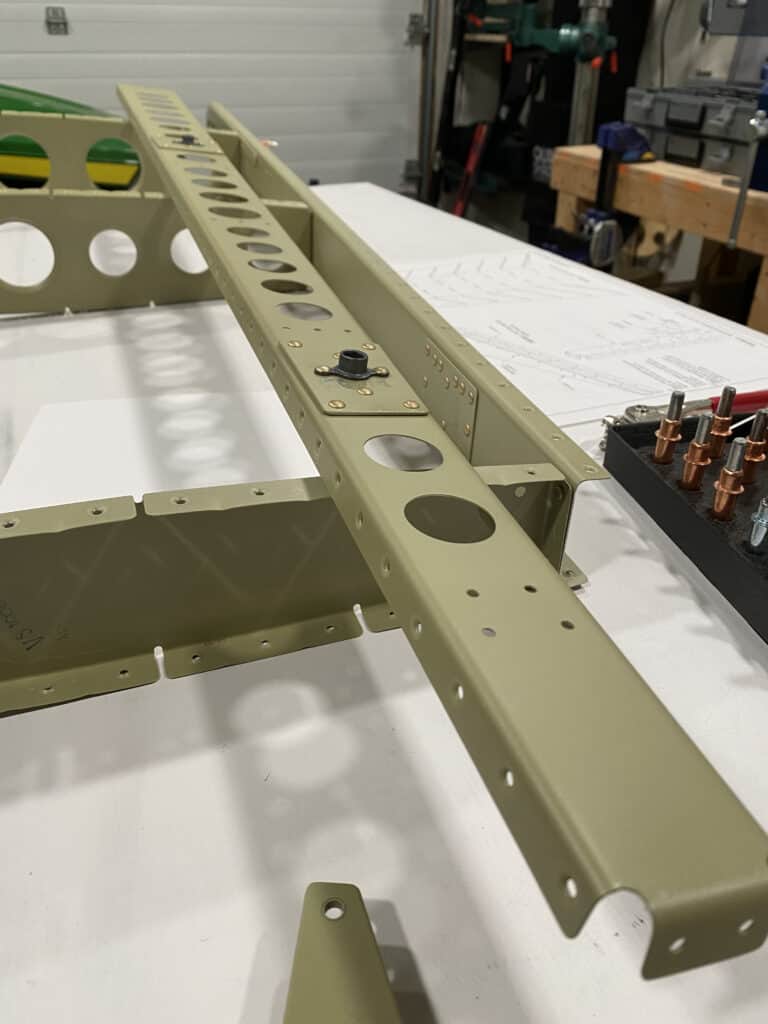
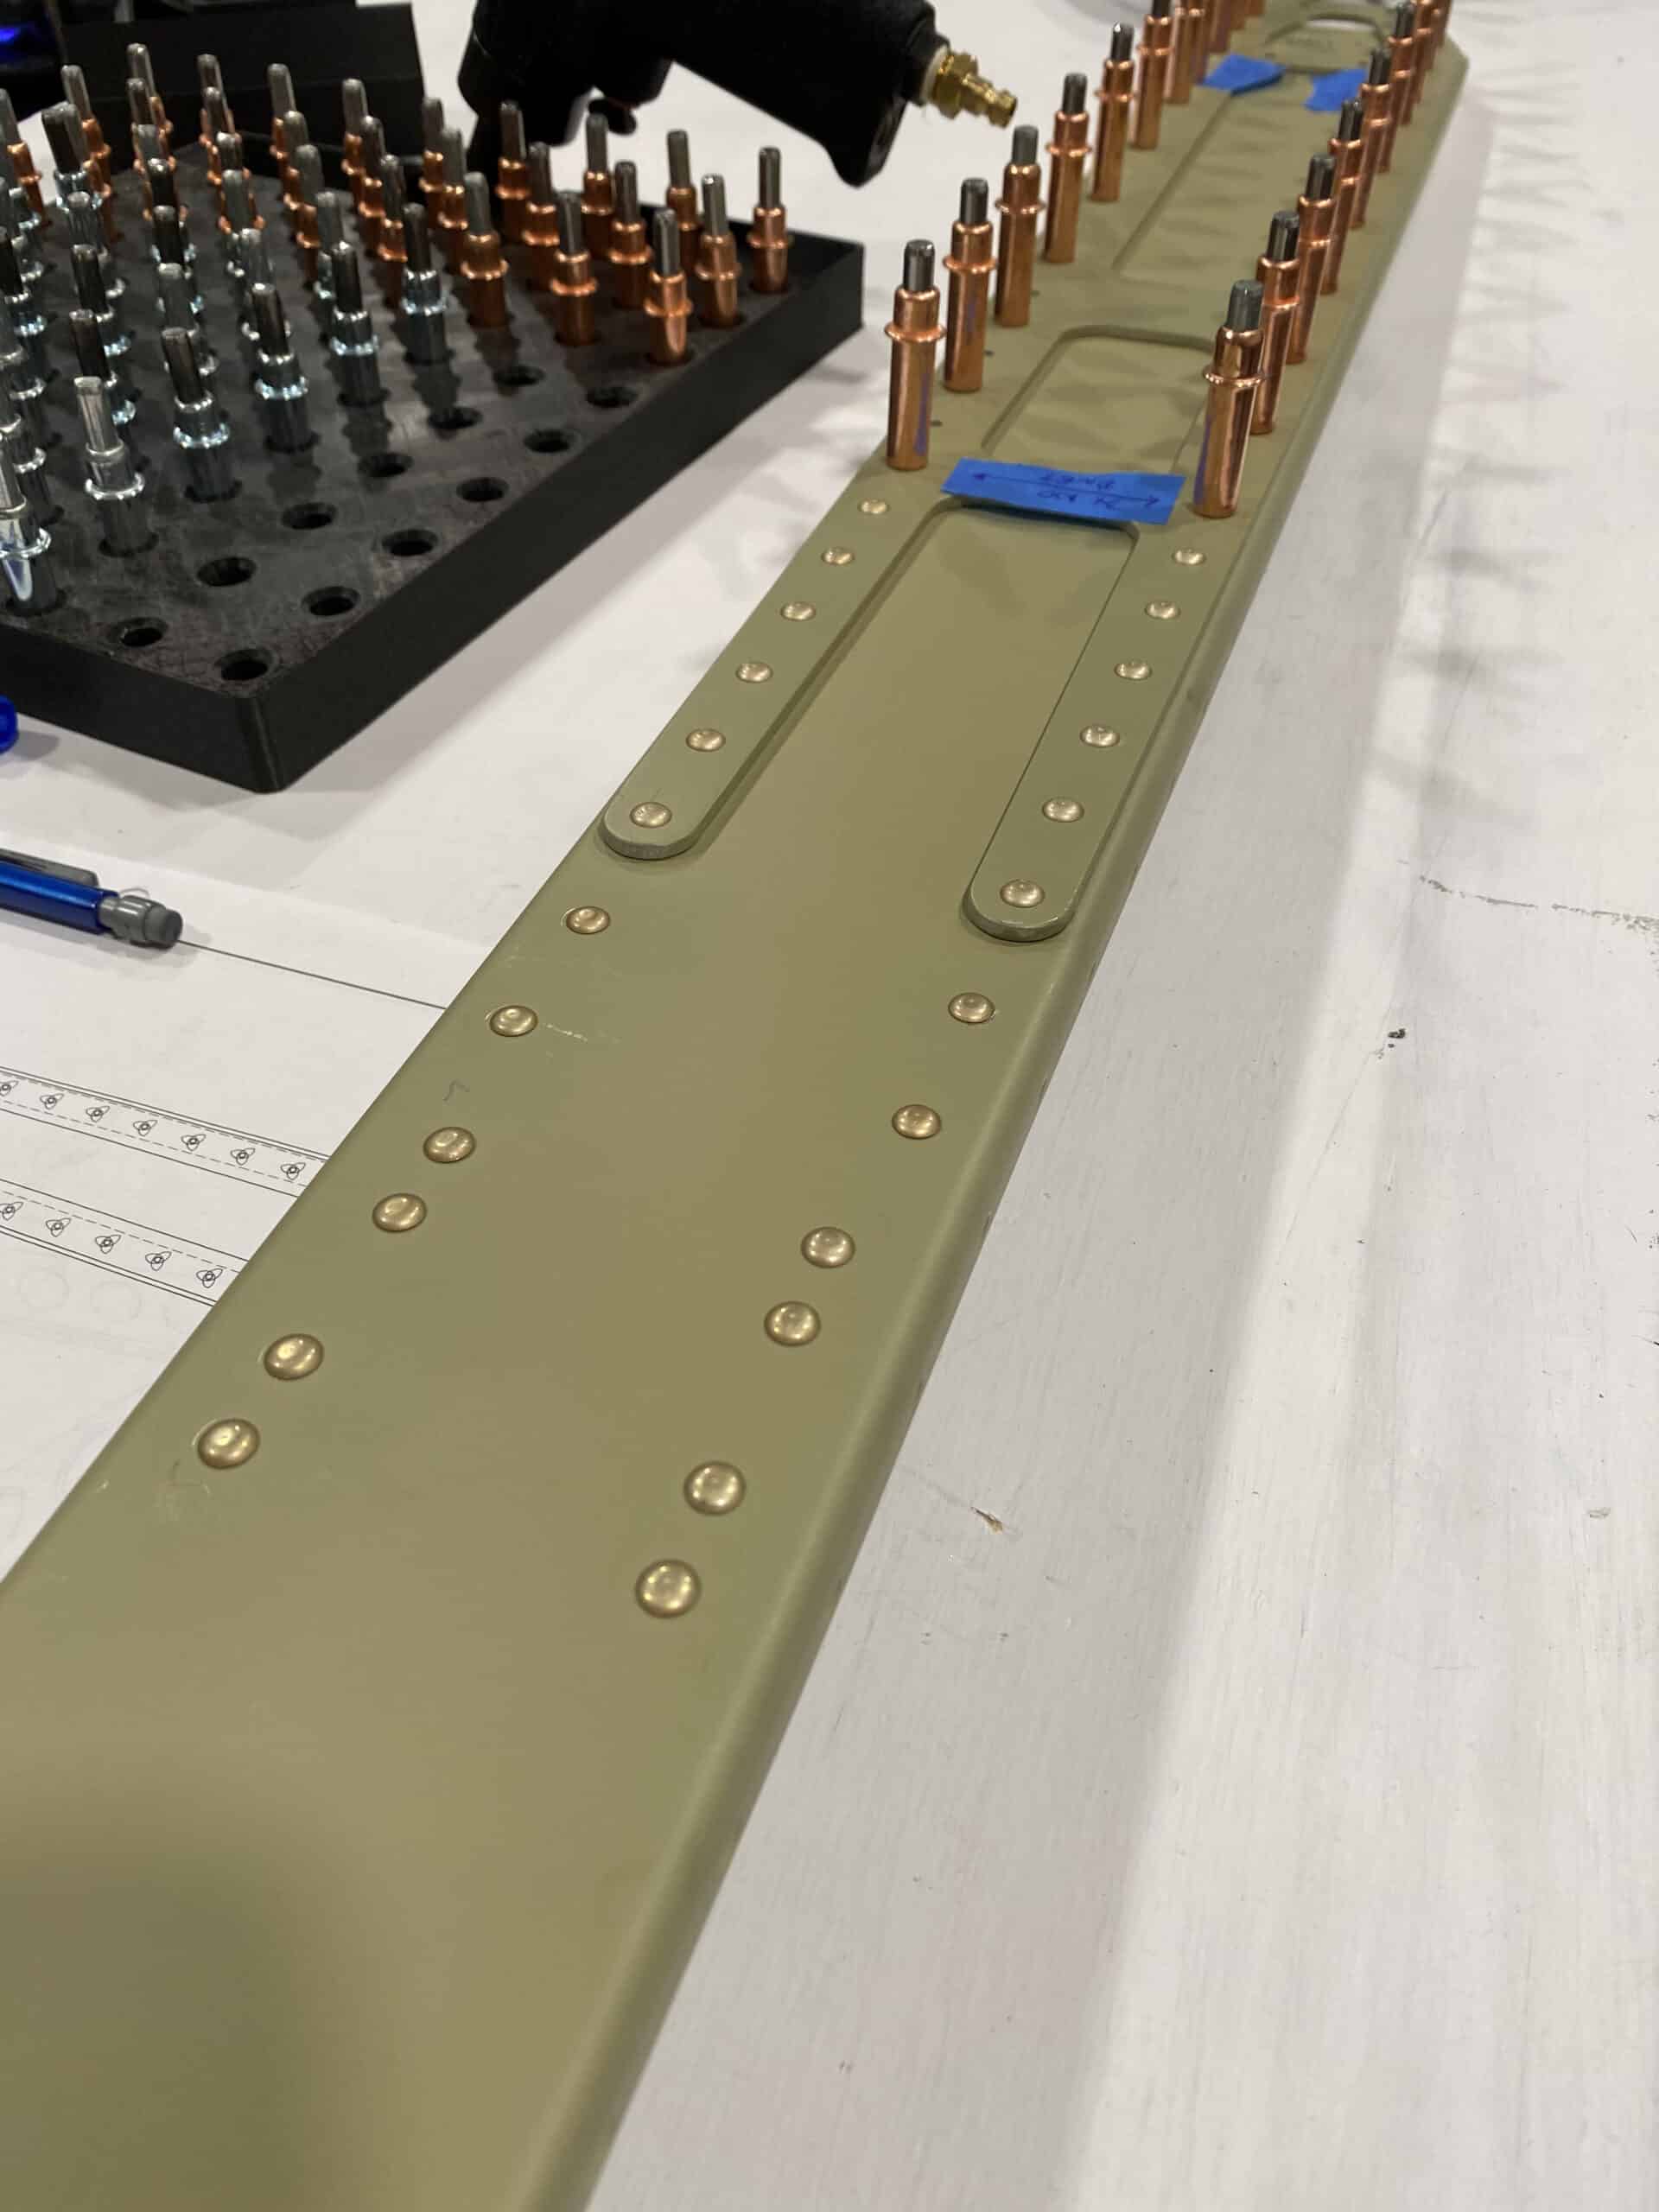
With the DRDT-2 tables all built from yesterday, I was excited to make some progress on starting to close up the VS and continue on the rudder assembly. I started with the Vertical Stabilizer, and put everything back together (6-6, #1). I debated on whether to start riveting the skin on, but decided against it as my Tech Counselor wants to see everything prior to fully closing things up. Since the directions want me to rivet the vertical stabilizer along the middle ribs first, then upper, then spars (effectively, closing it up quickly), I decided to hold off after clecoing it all together. (Note to self: order more clecos)
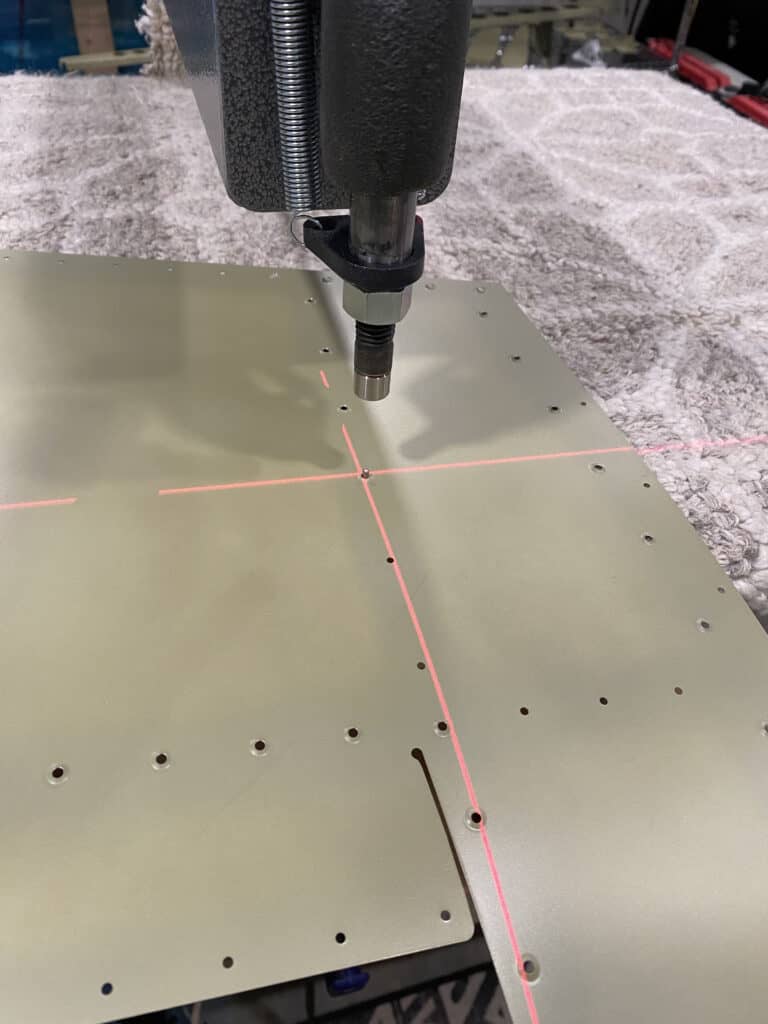
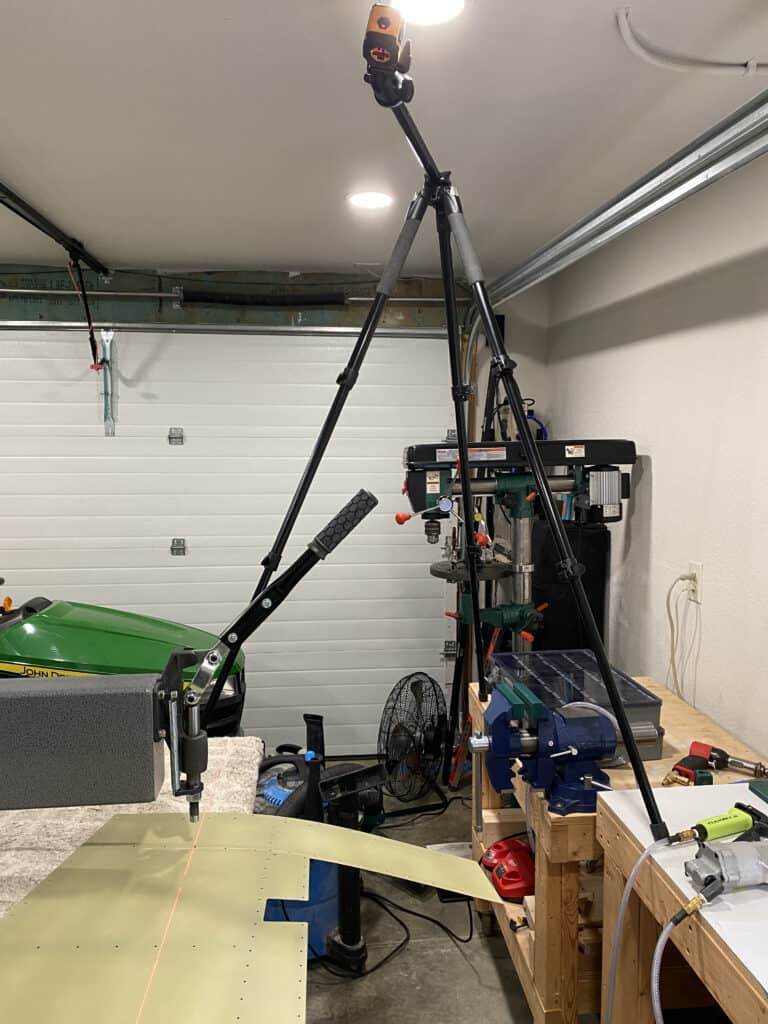
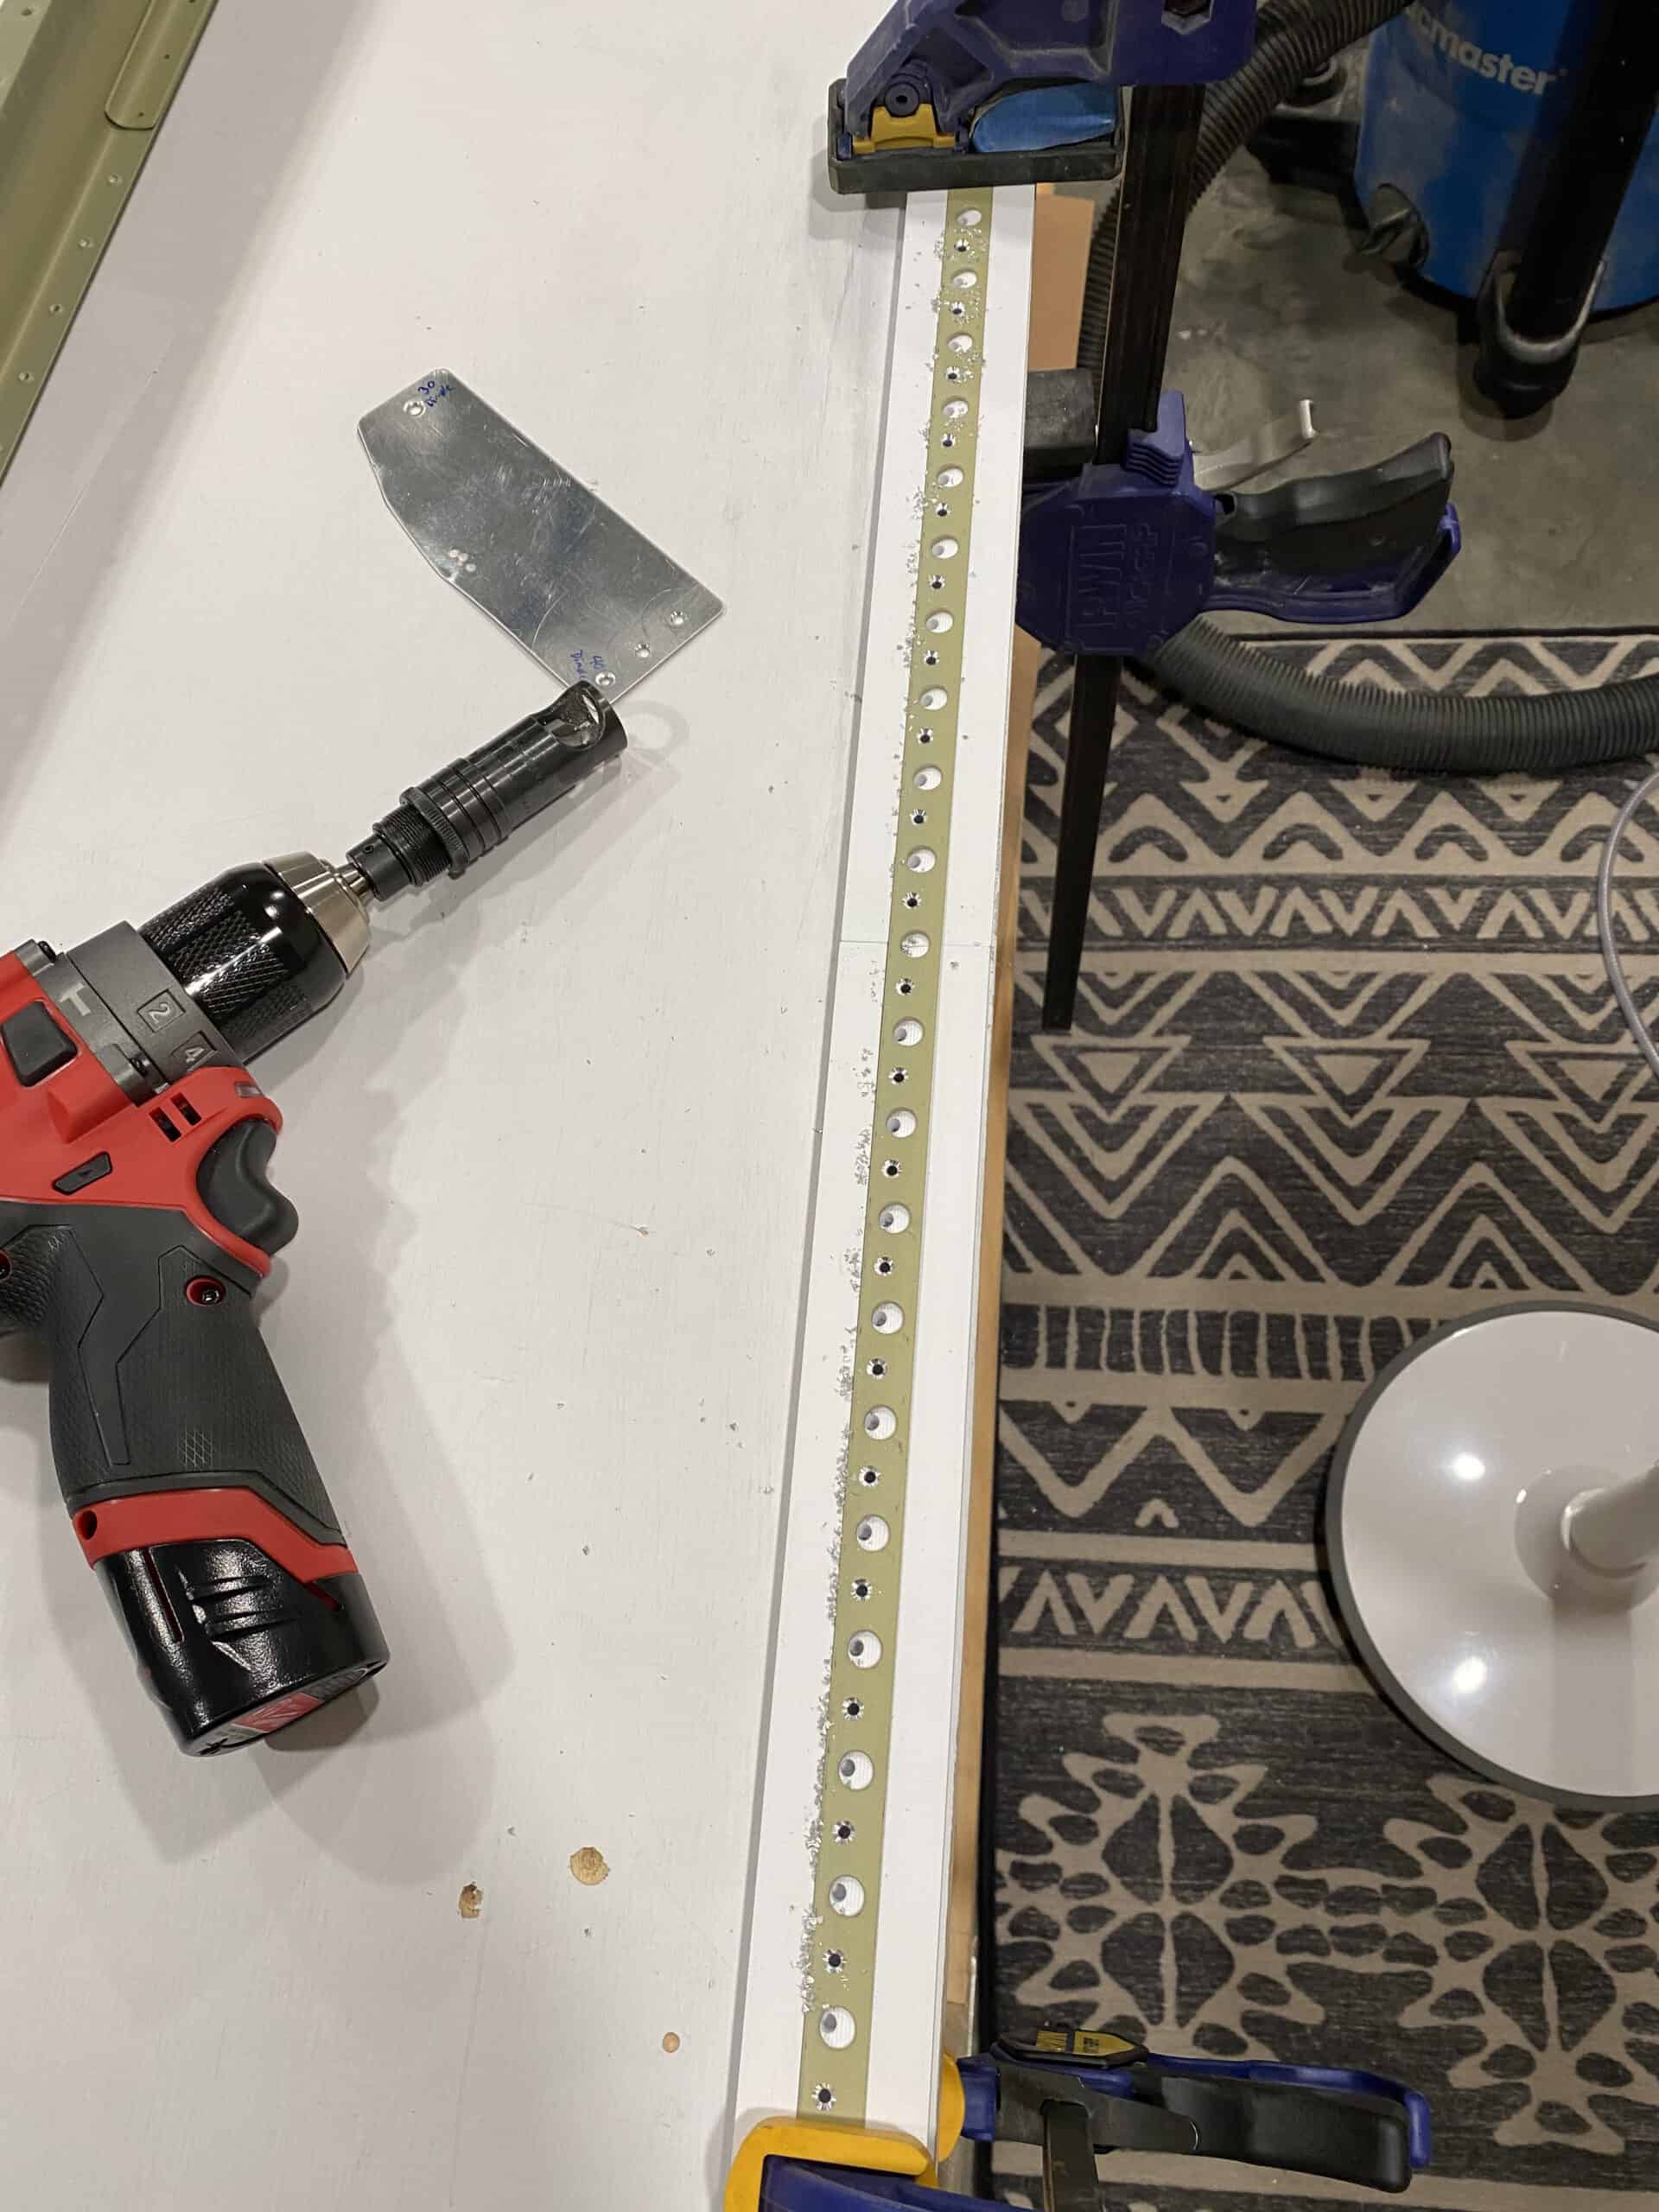
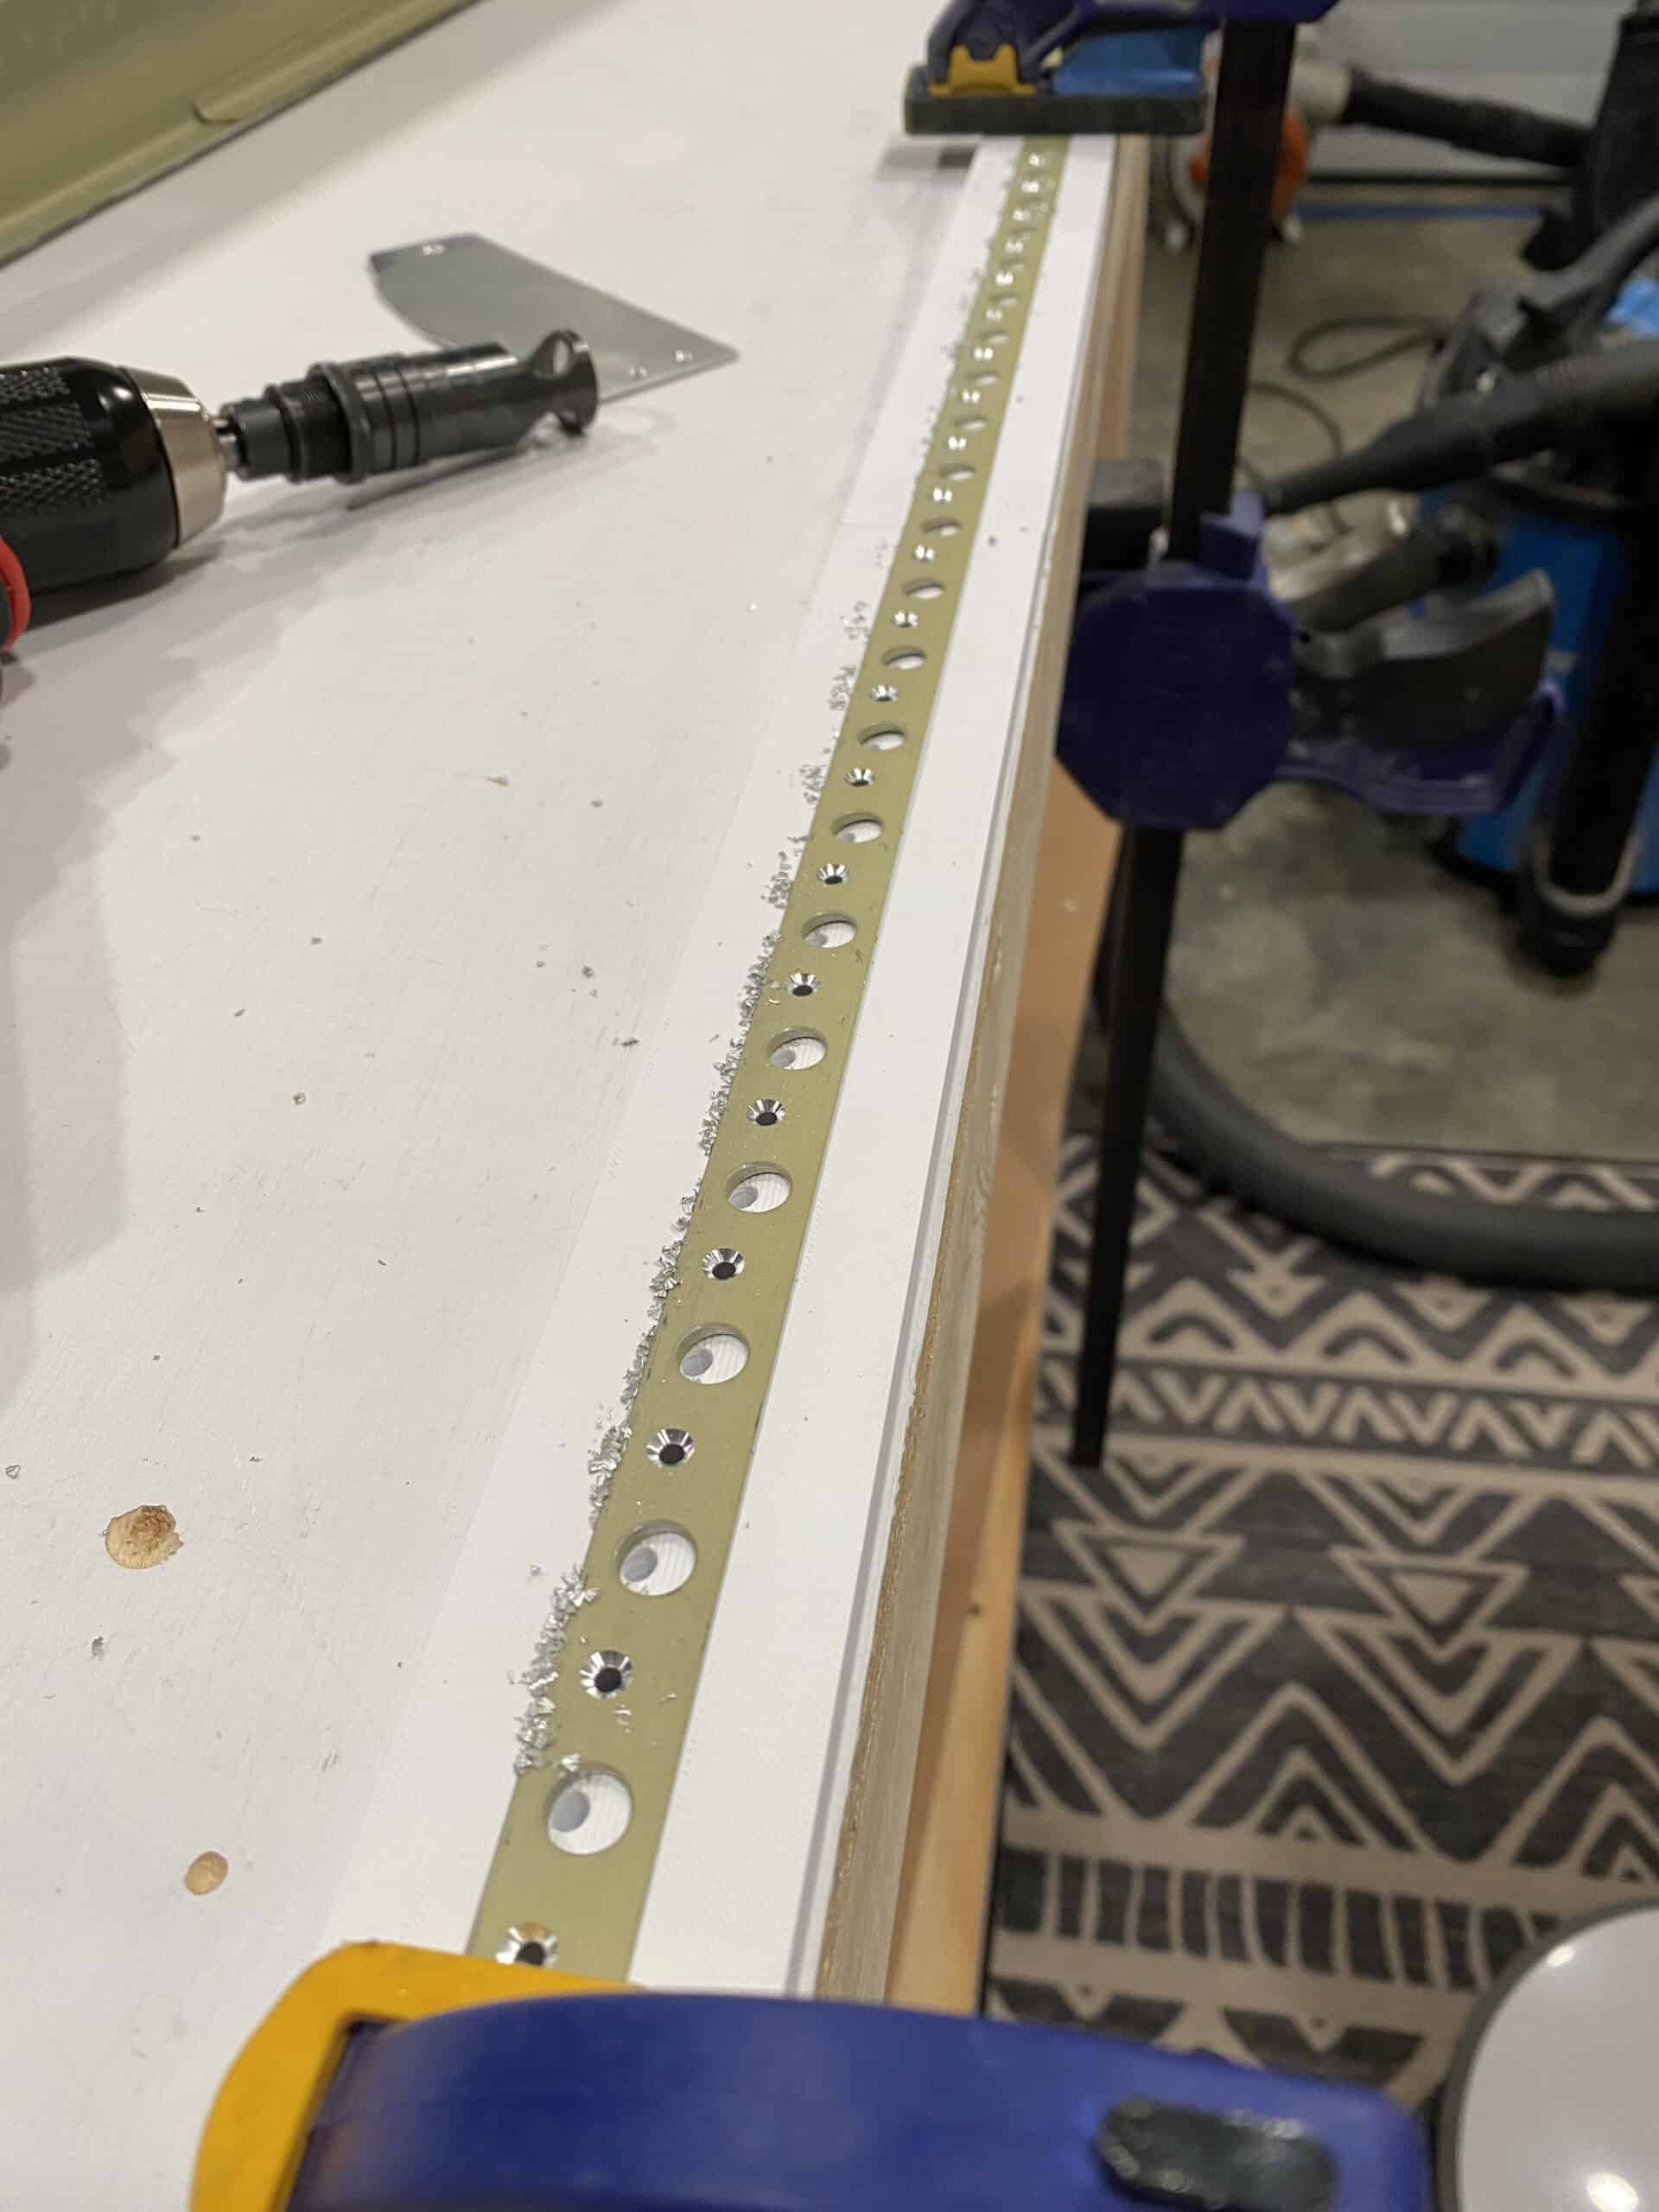
After that, I moved on to step 7-6 #11, and then 7- 7#5; this meant I had to dimple the rudder skins. I recall reading somewhere of others using a laser pointer to serve as a guide of where to drop the skin onto the pointy side of the dimple die (since the whole, “slide the metal around on the dimple die looking for the hole” is a recipe for scratches all over the skins). I decided to make a dodgy proof of concept using a laser level and a tripod. This method worked surprisingly well and made the dimpling process MUCH quicker.
After dimpling both skins (at least, the majority of them, since not all holes have been final drilled yet) I moved on to back-riveting the stiffeners onto each rudder skin. I forgot just how satisfying (and fast) back riveting is – when I did it on the practice kits I only did it for 1 or 2 rivets at a time. This time, the ability to line up 12 or 13 rivets at a time (thanks, btw, riveting tape) meant that riveting went ultra-fast. I messed up a few rivets along the way, 4 of them, all over-driven (doh!). Luckily, I’m getting better at drilling out rivets, so this wasn’t a big deal, I slightly over-sized two of the holes, but I selected the next size rivet and that covered the mil-specs for head depth, width, and hole coverage.

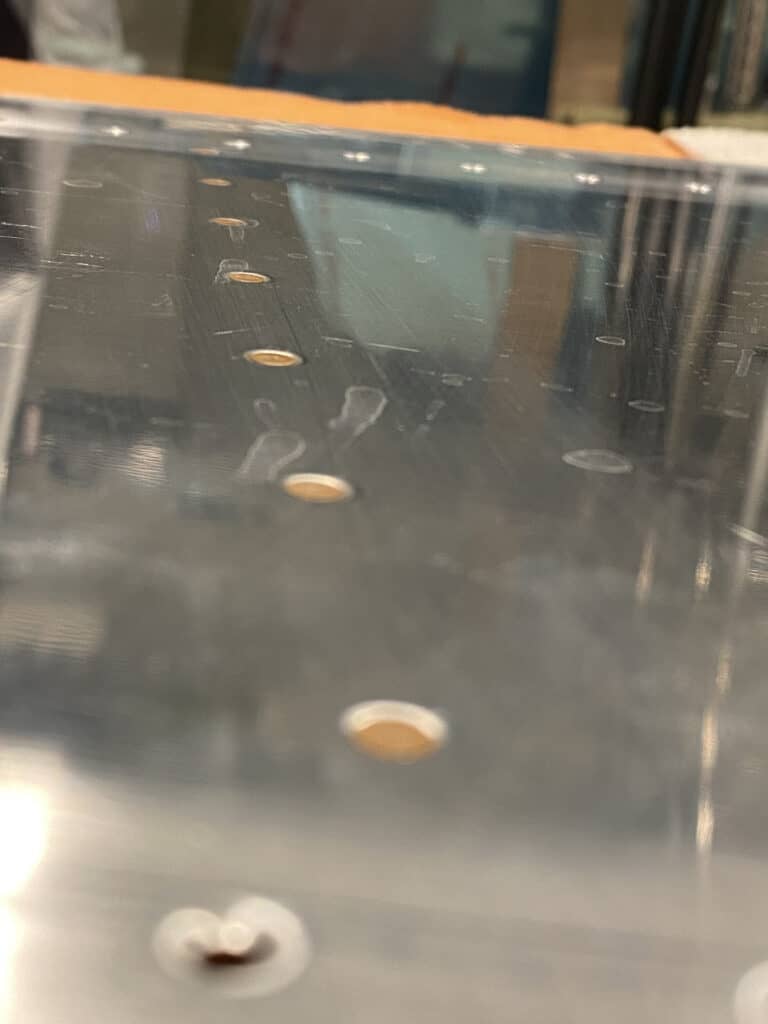
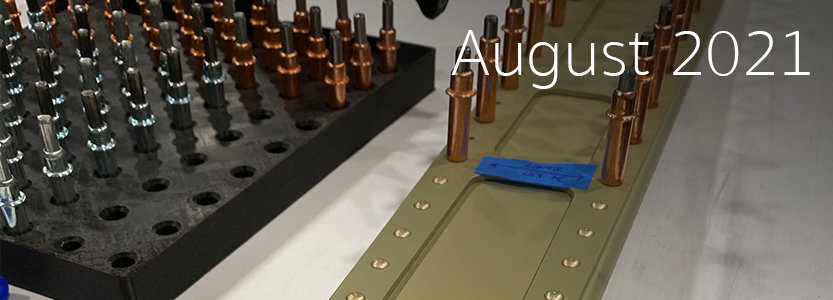
Water spots from when I accidentally cleaned BOTH sides with PreKote…my bad
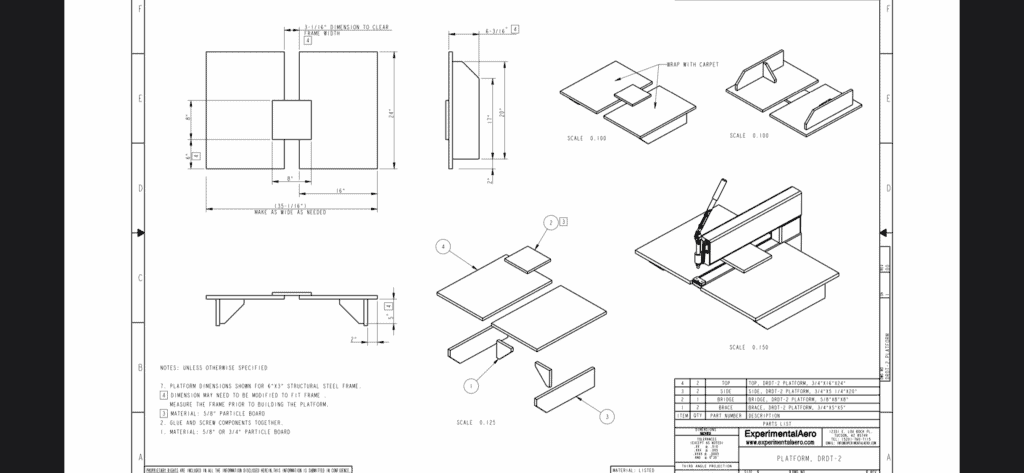
August 28, 2021
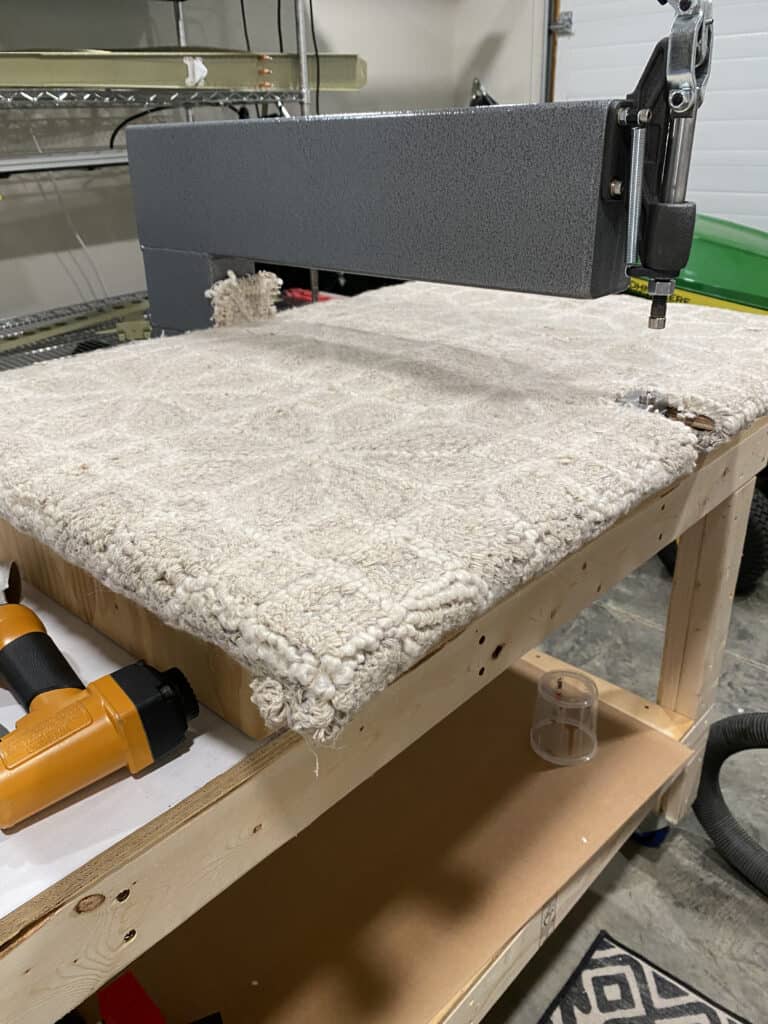
I had been putting off the dimpling of the VS skin and the rudder skins as I hadn’t yet built a table for the DRDT-2. I was originally thinking of an ‘in-between’ mount for it, where it was be cradled between two of my workbenches (an idea conceived prior to receiving my empennage kit). However, after getting used to my shop and the way that everything flows, I decided that the plans suggested for the DRDT-2 work tables was an excellent place to start.
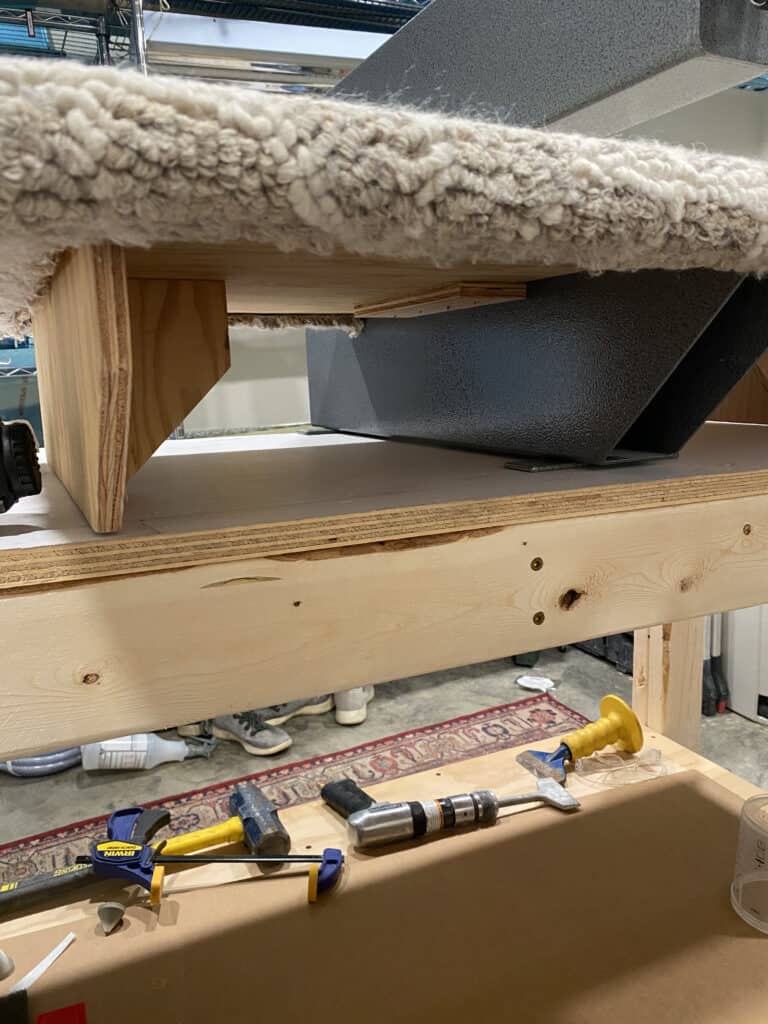
I had some leftover marine-grade 1/2″ plywood, so I used that to build the tabbles. I built to the spec of the plans mostly, the only deviation was that I created two bottom strips to mount under the 8×8″ spanner that runs between the two sides of the table. These strips allowed me to use the 1.5″ screws I had on hand to attach the 8″ spanning piece, and also serve as guides to keep the table tight to the middle of the DRDT. As much as gluing and pre-drilling holes bug me in woodworking, I decided to do this right, and pre-drilled, glued, and screwed everything together. After 20 minutes or so, I stapled a piece of an old area-rug to it to serve as the cushioning/scratch-resistant surface for the skins, then put it to the test with dimpling the skins.
After building the DRDT-2 tables, I spent sometime setting everything up and getting the hang of using the DRDT-2 now with it’s fancy tables – then got to work on dimpling the VS skin and the two rudder skins. I ended up squeezing the sides of the VS skins (as I hadn’t yet figured out a good way of easily locating the pointy-side of the dimple die), and then dimpled the VS skin. After a busy day of woodworking (building the DRDT-2 tables), I called it for the day.
August 27, 2021
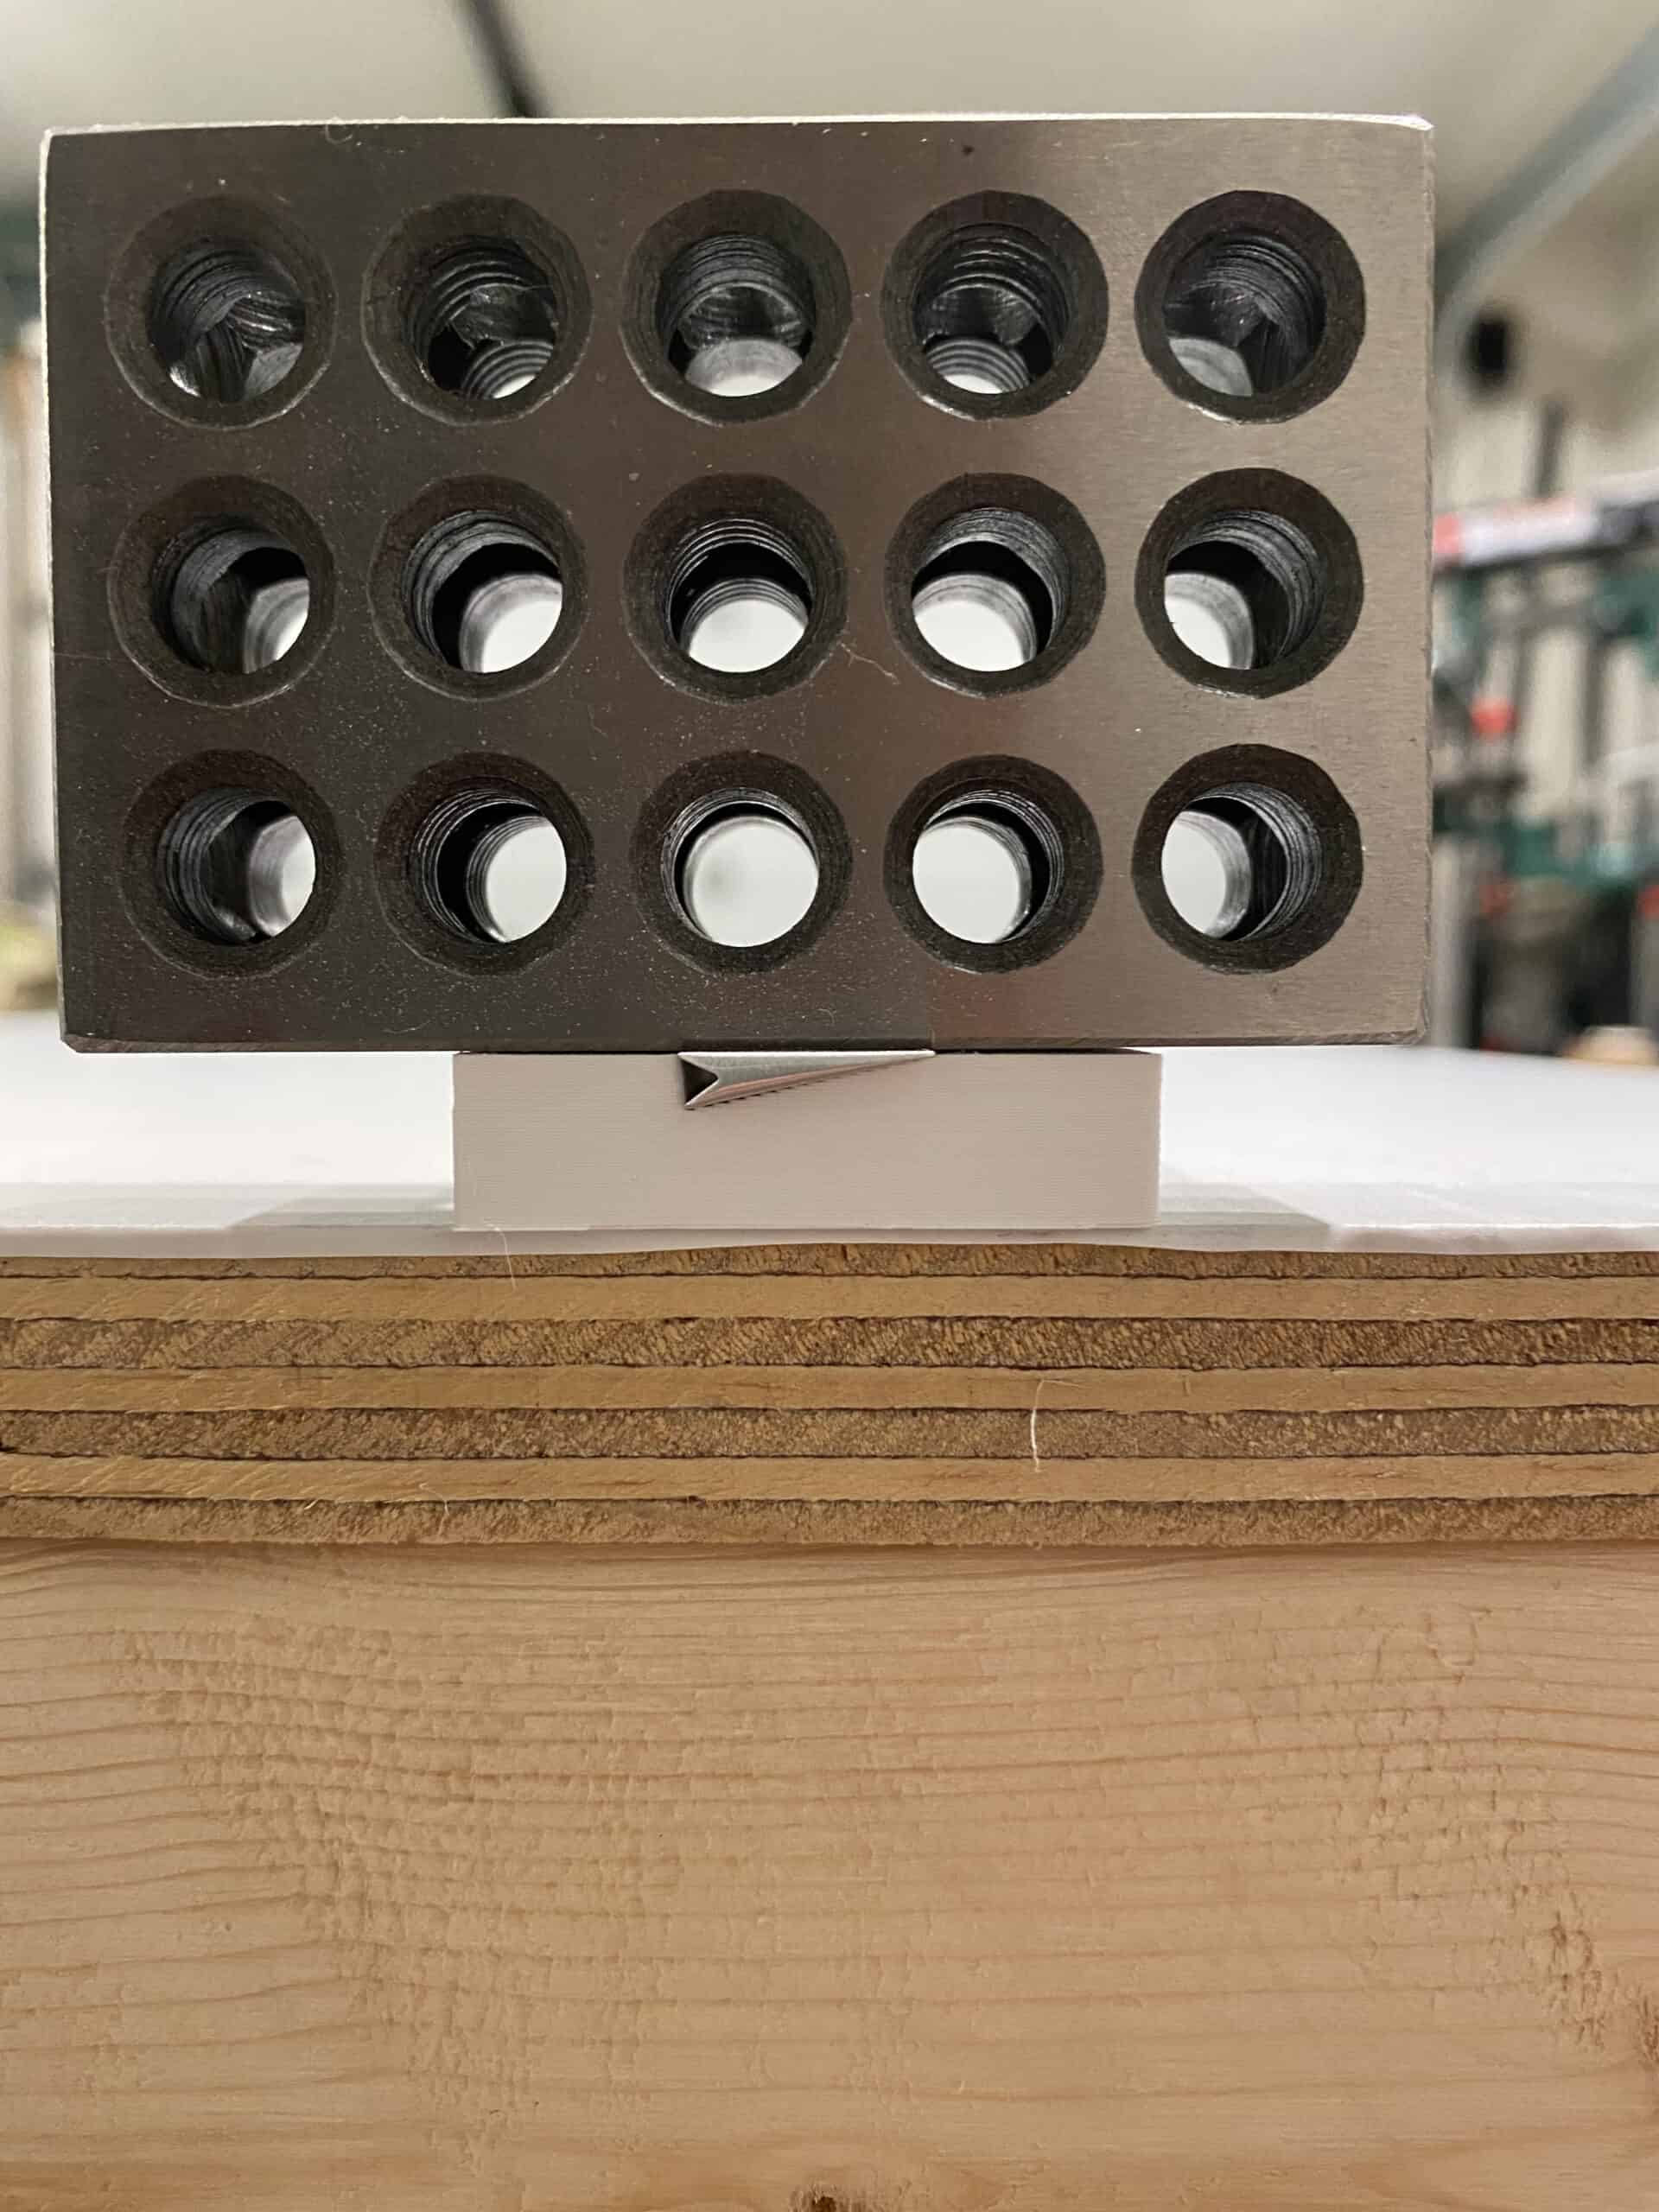
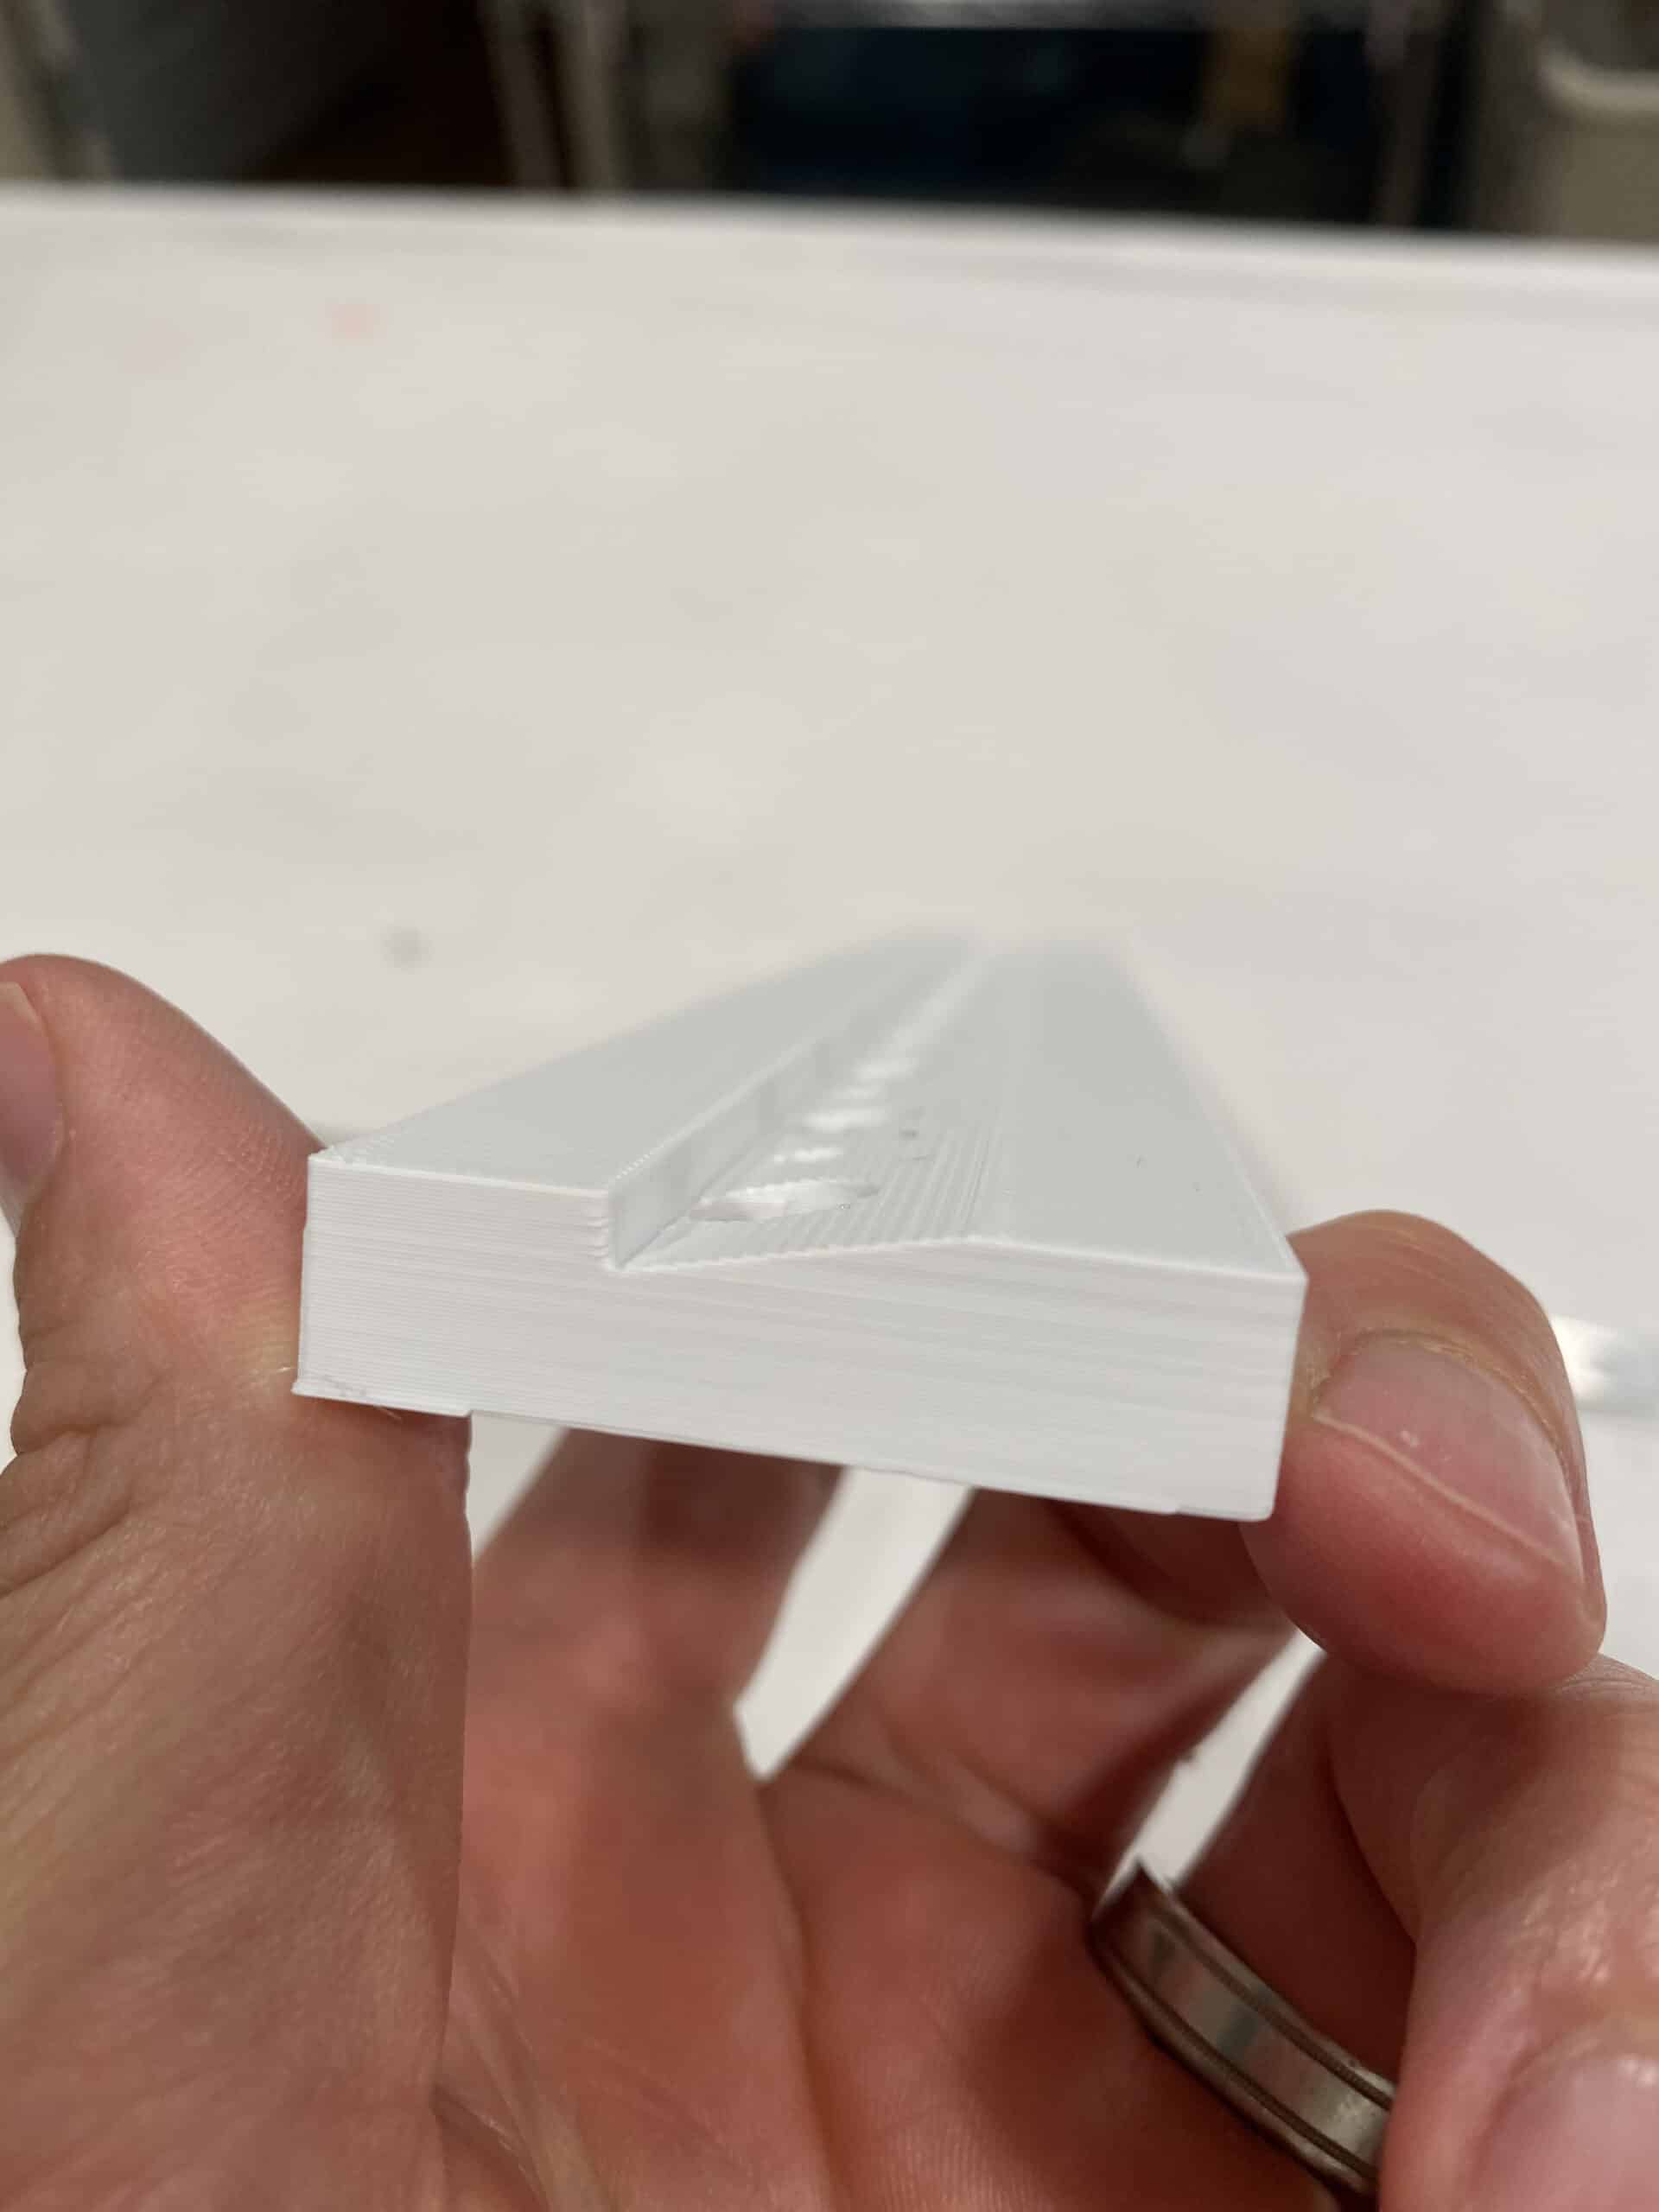
Finished dimpling the few pieces that needed in on the spars, ribs, and stiffeners. After that, I setup the countersink for countersinking the trailing edge. I wasted about 20 minutes trying to set it up on the drill press, at which point I realized that I’d probably be better off chucking the countersink in my handheld drill and doing it that way – glad I did, much better feel and great results. I must say, I was quite happy with the trailing edge wedge I designed and printed for this – I ended up using both 12″ pieces butted up to each other. I clamped the wedge to the jig, and then was able to countersink about 20″ of wedge at a time.
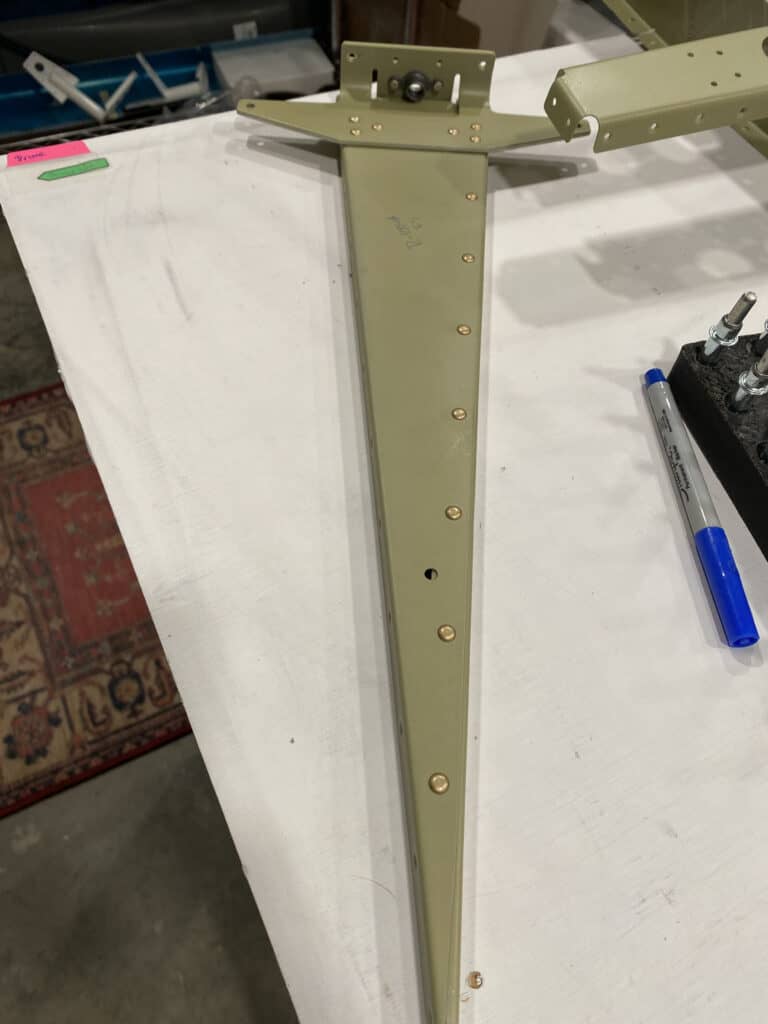
After that, I attached the rudder stops to the bottom bracket (VS-01010) and called it a night.
August 26, 2021
Finished riveting the bottom rudder rib together and then looked through for what was next – which reminded me I hadn’t dimpled the rudder parts yet (I dimple after priming to ease the application of primer)…and then I realized that I would have to remove at least some of the rivets I had just finished setting in the VS bottom spar to dimple the 4 forward most holes (as there simply isn’t any clearance to get a dimple die in there, not even a close fit (unless you have a perfectly sized mandrel you can feed through the opposing side hole). So I drilled out four rivets which gave me enough play to squeeze in the dimples on the bottom rib. I also dimpled the the Rudder Spar (R-1002).
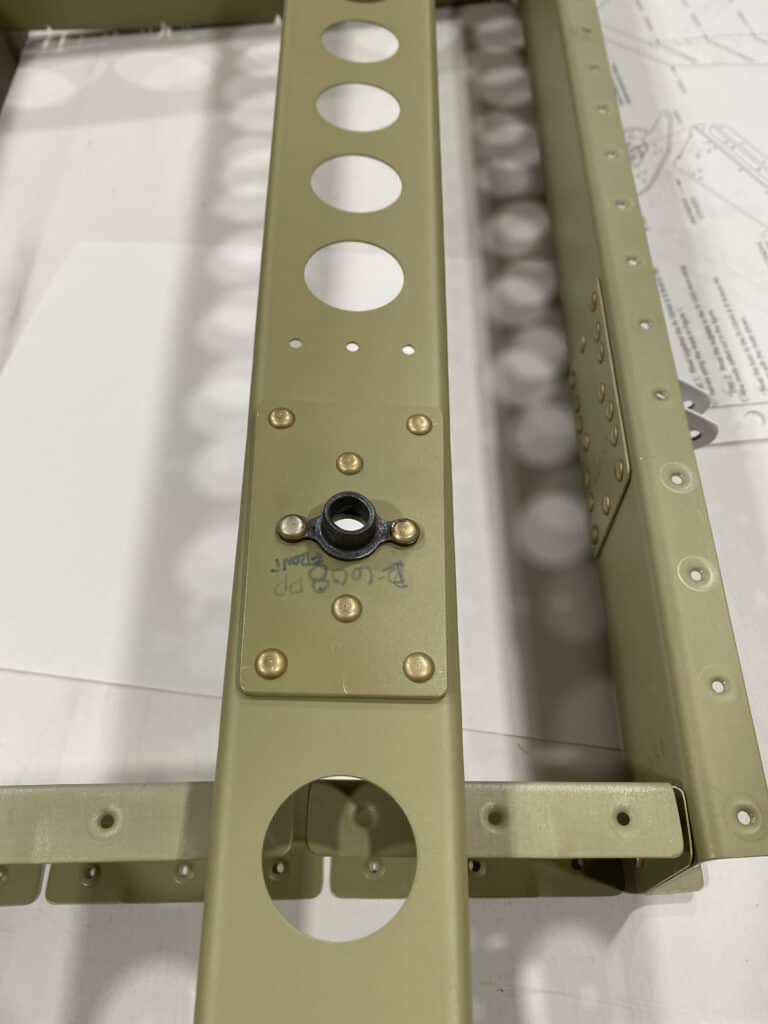
After that, I moved on to the reinforcement plates and nutplates and got those all attached to the rudder – squeezed all those rivets except the nutplates – the nutplate was interfering with the nose of my squeezer yoke, so I just bucked those rivets instead.
August 25, 2021
Worked on putting together the VS spars (except, of course, the bottom two, since I’ll need to remove those to rivet the VS skin on). I was really trying to make my squeezer work in this scenario – but it wasn’t really going to be ideal, so I busted out the rivet gun and bucking bar. First order of business was drilling out the 3 rivets from the top of the VS spar that I had foolishly riveted before; then I started the riveting process. I was happy I picked up another thinner and longer tungsten bar (in addition to the 1″x1″x1.5″ bar I have) as it fit really well in the tight areas I was riveting.
I messed up 1 rivet because I let the rivet gun slip off the top of the rivet (doh!), but aside from that things went pretty well with the rivet gun – I had 1 rivet that was over-driven according to the rivet guide, but I measured the diameter and height of the shop head and was still within the mil-spec, so I left the one rivet in place. After the 11 rivets were done on the VS, I moved on to the rudder skeleton work (as I haven’t built tables for my DRDT-2 yet).
Amusingly (annoyingly?) enough, the rudder-stops aren’t deburred until after the ‘priming’ step in the instructions (I thought I had caught all of these surprises… but I missed this one). So I deburred the stops, cleaned them with PreKote, and then used my rattle-can of SEM etching primer (which I was very thankful I had purchased for just these kinds of scenarios where I don’t want to setup for a full priming session with my usual 2-part primer). The colors of the primer are a bit different, which I’m good with as I can easily tell which primer was used where.
In between coats of primer, I worked on riveting one of the Rudder ribs and started wrapping my head around riveting on the nutplate to the rudder horn. Finally, while writing this entry, I realized I also missed priming the R-1007 Striker plates, so I’ll work that into my next priming session too.
August 24, 2021
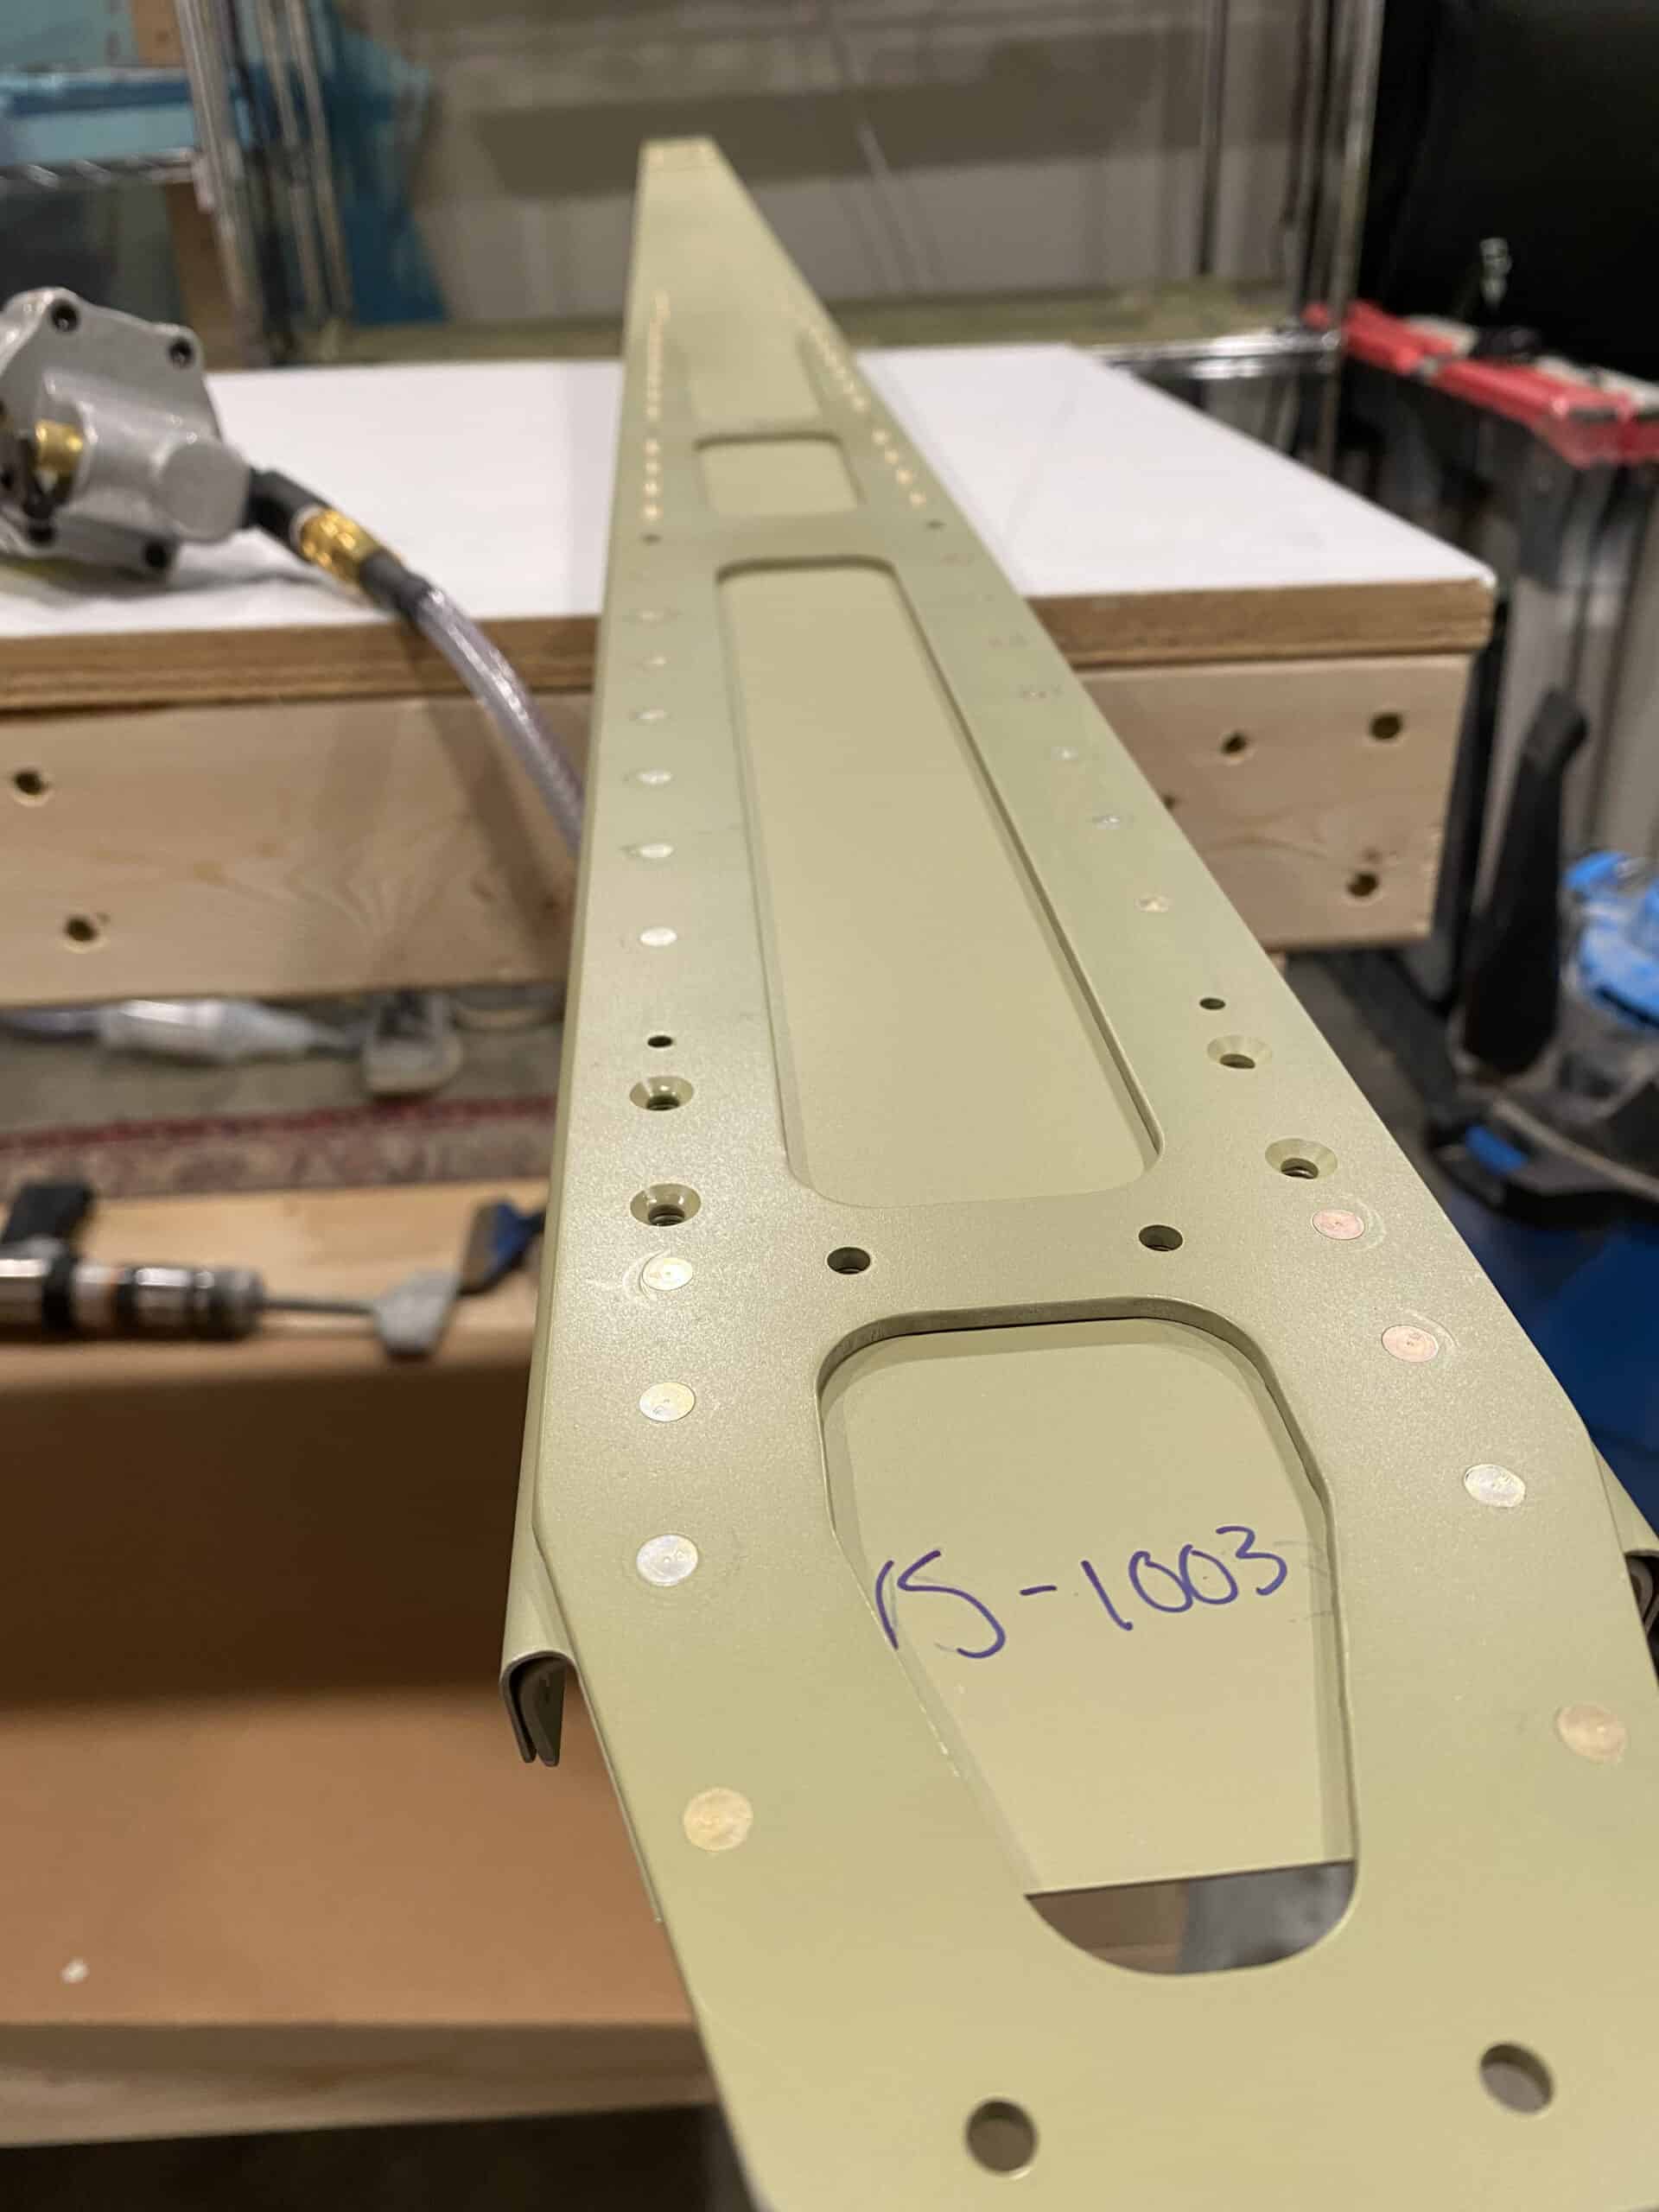
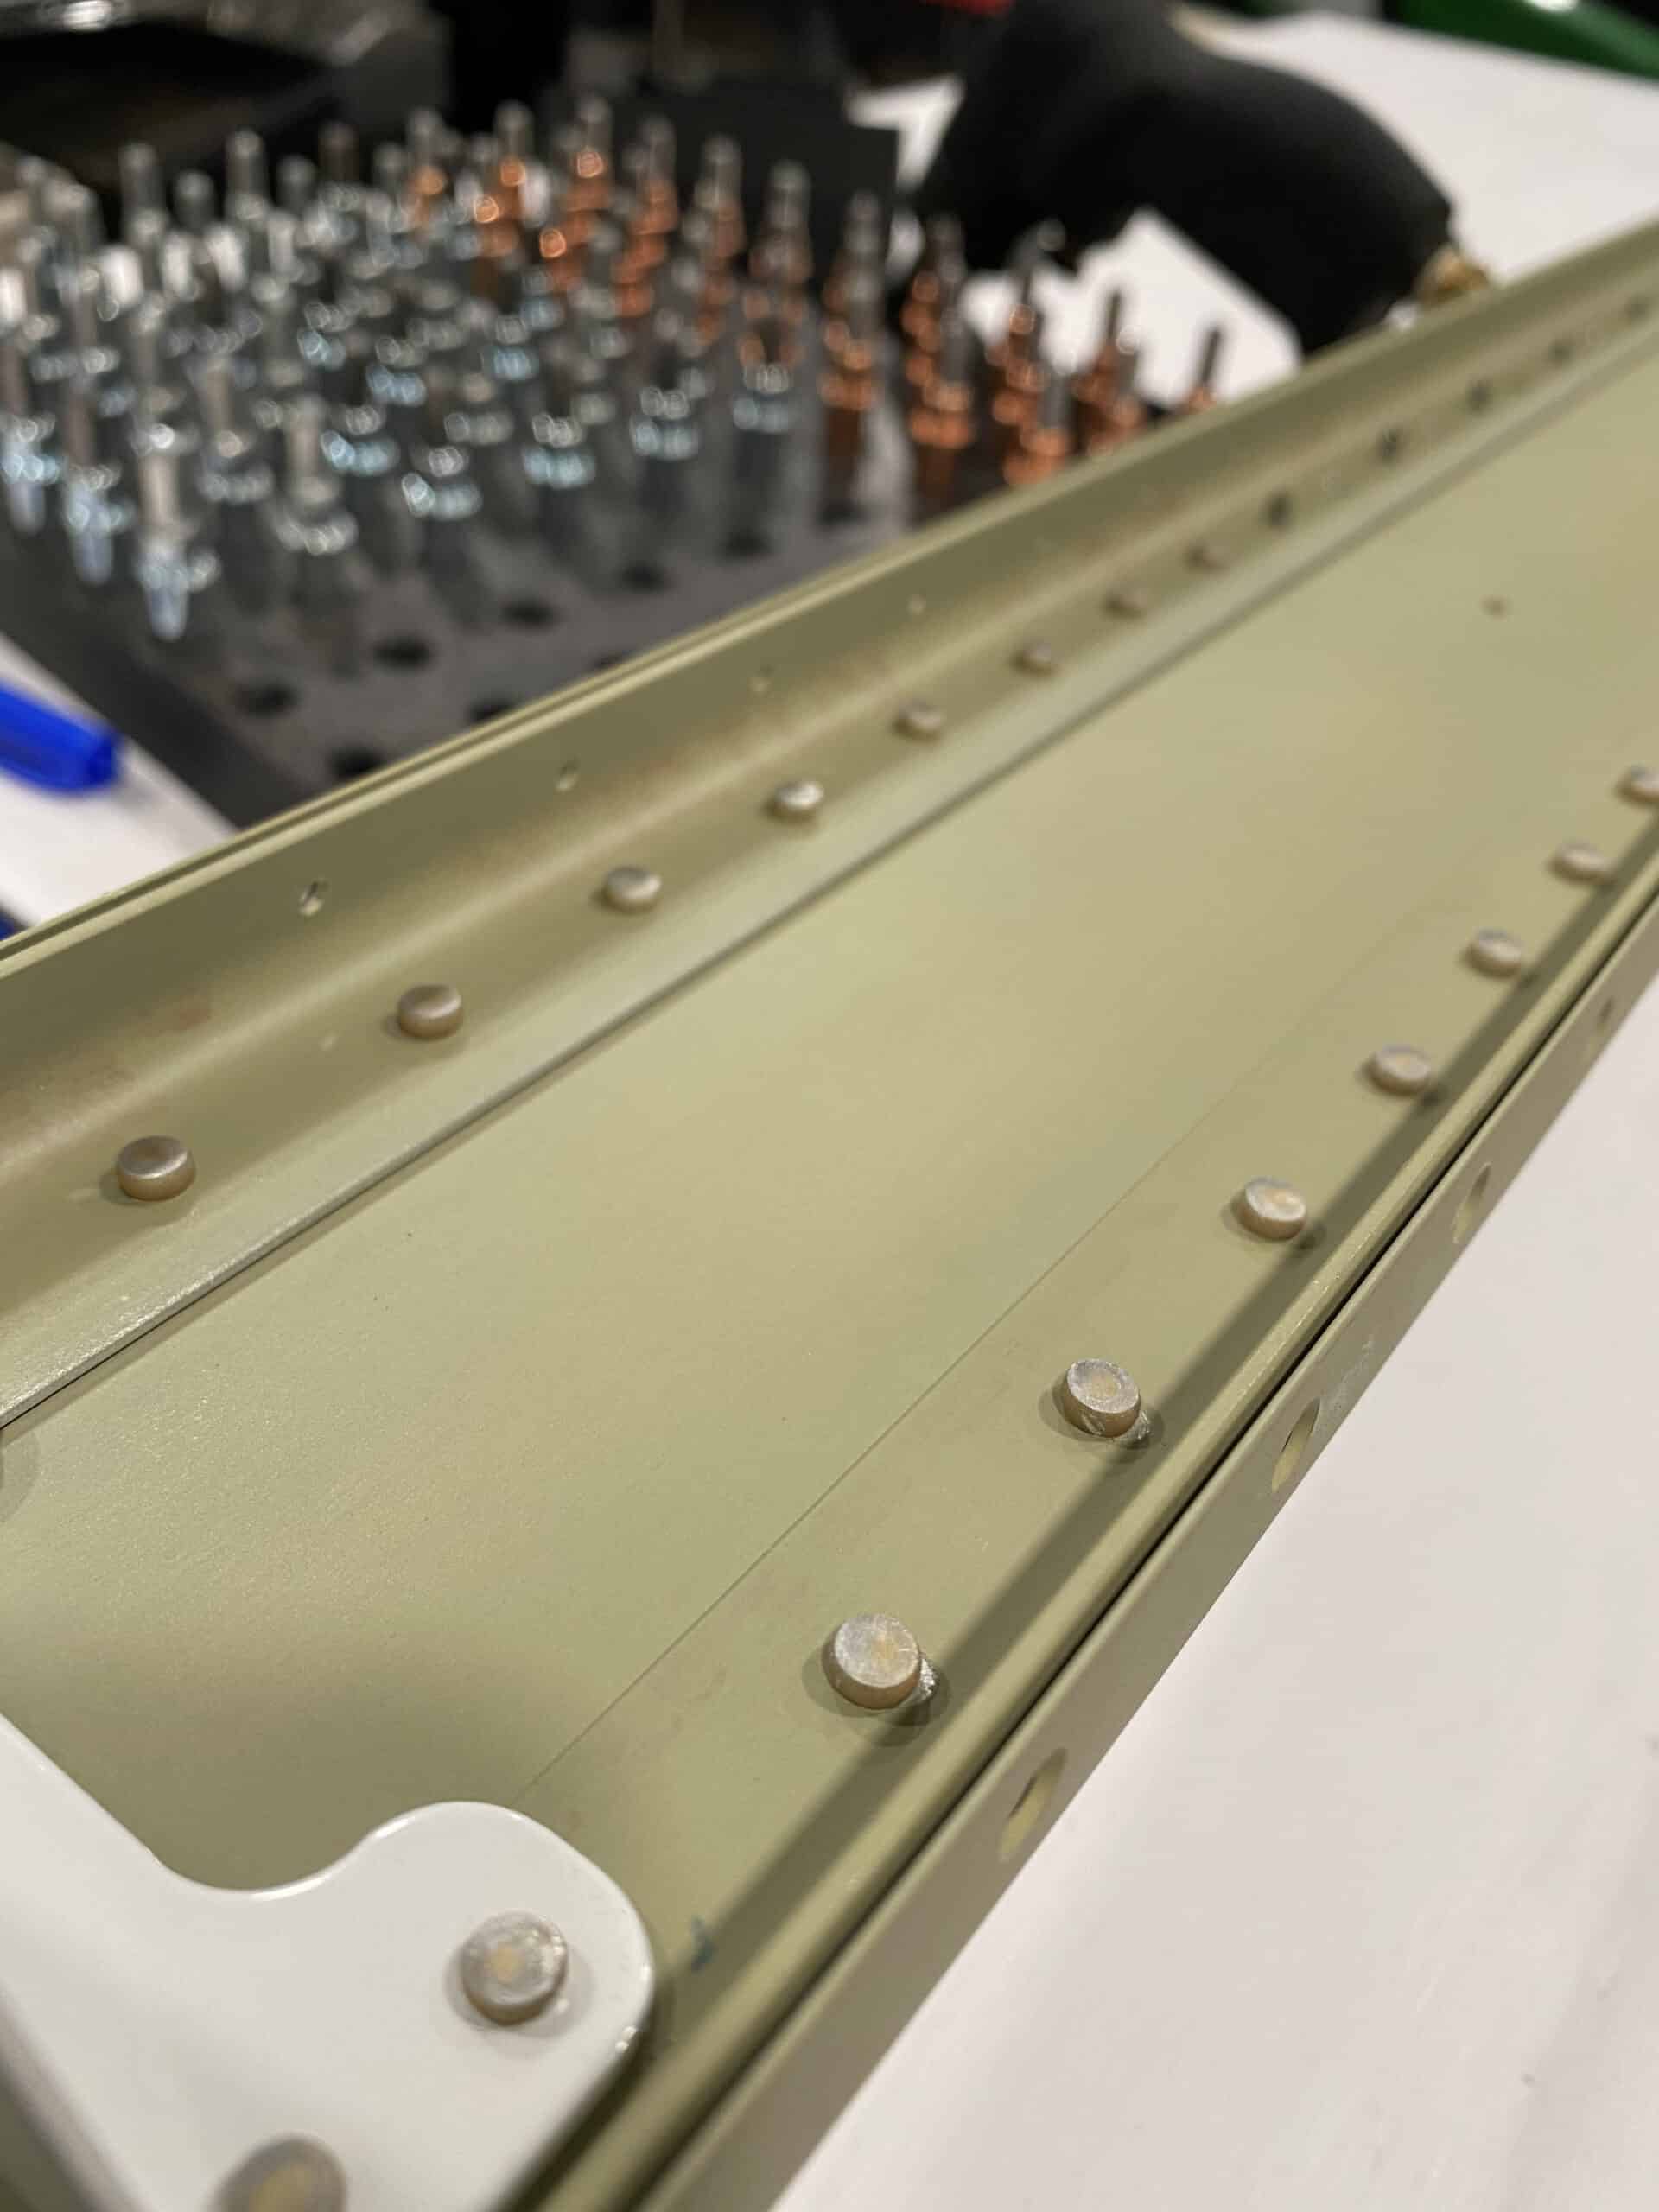
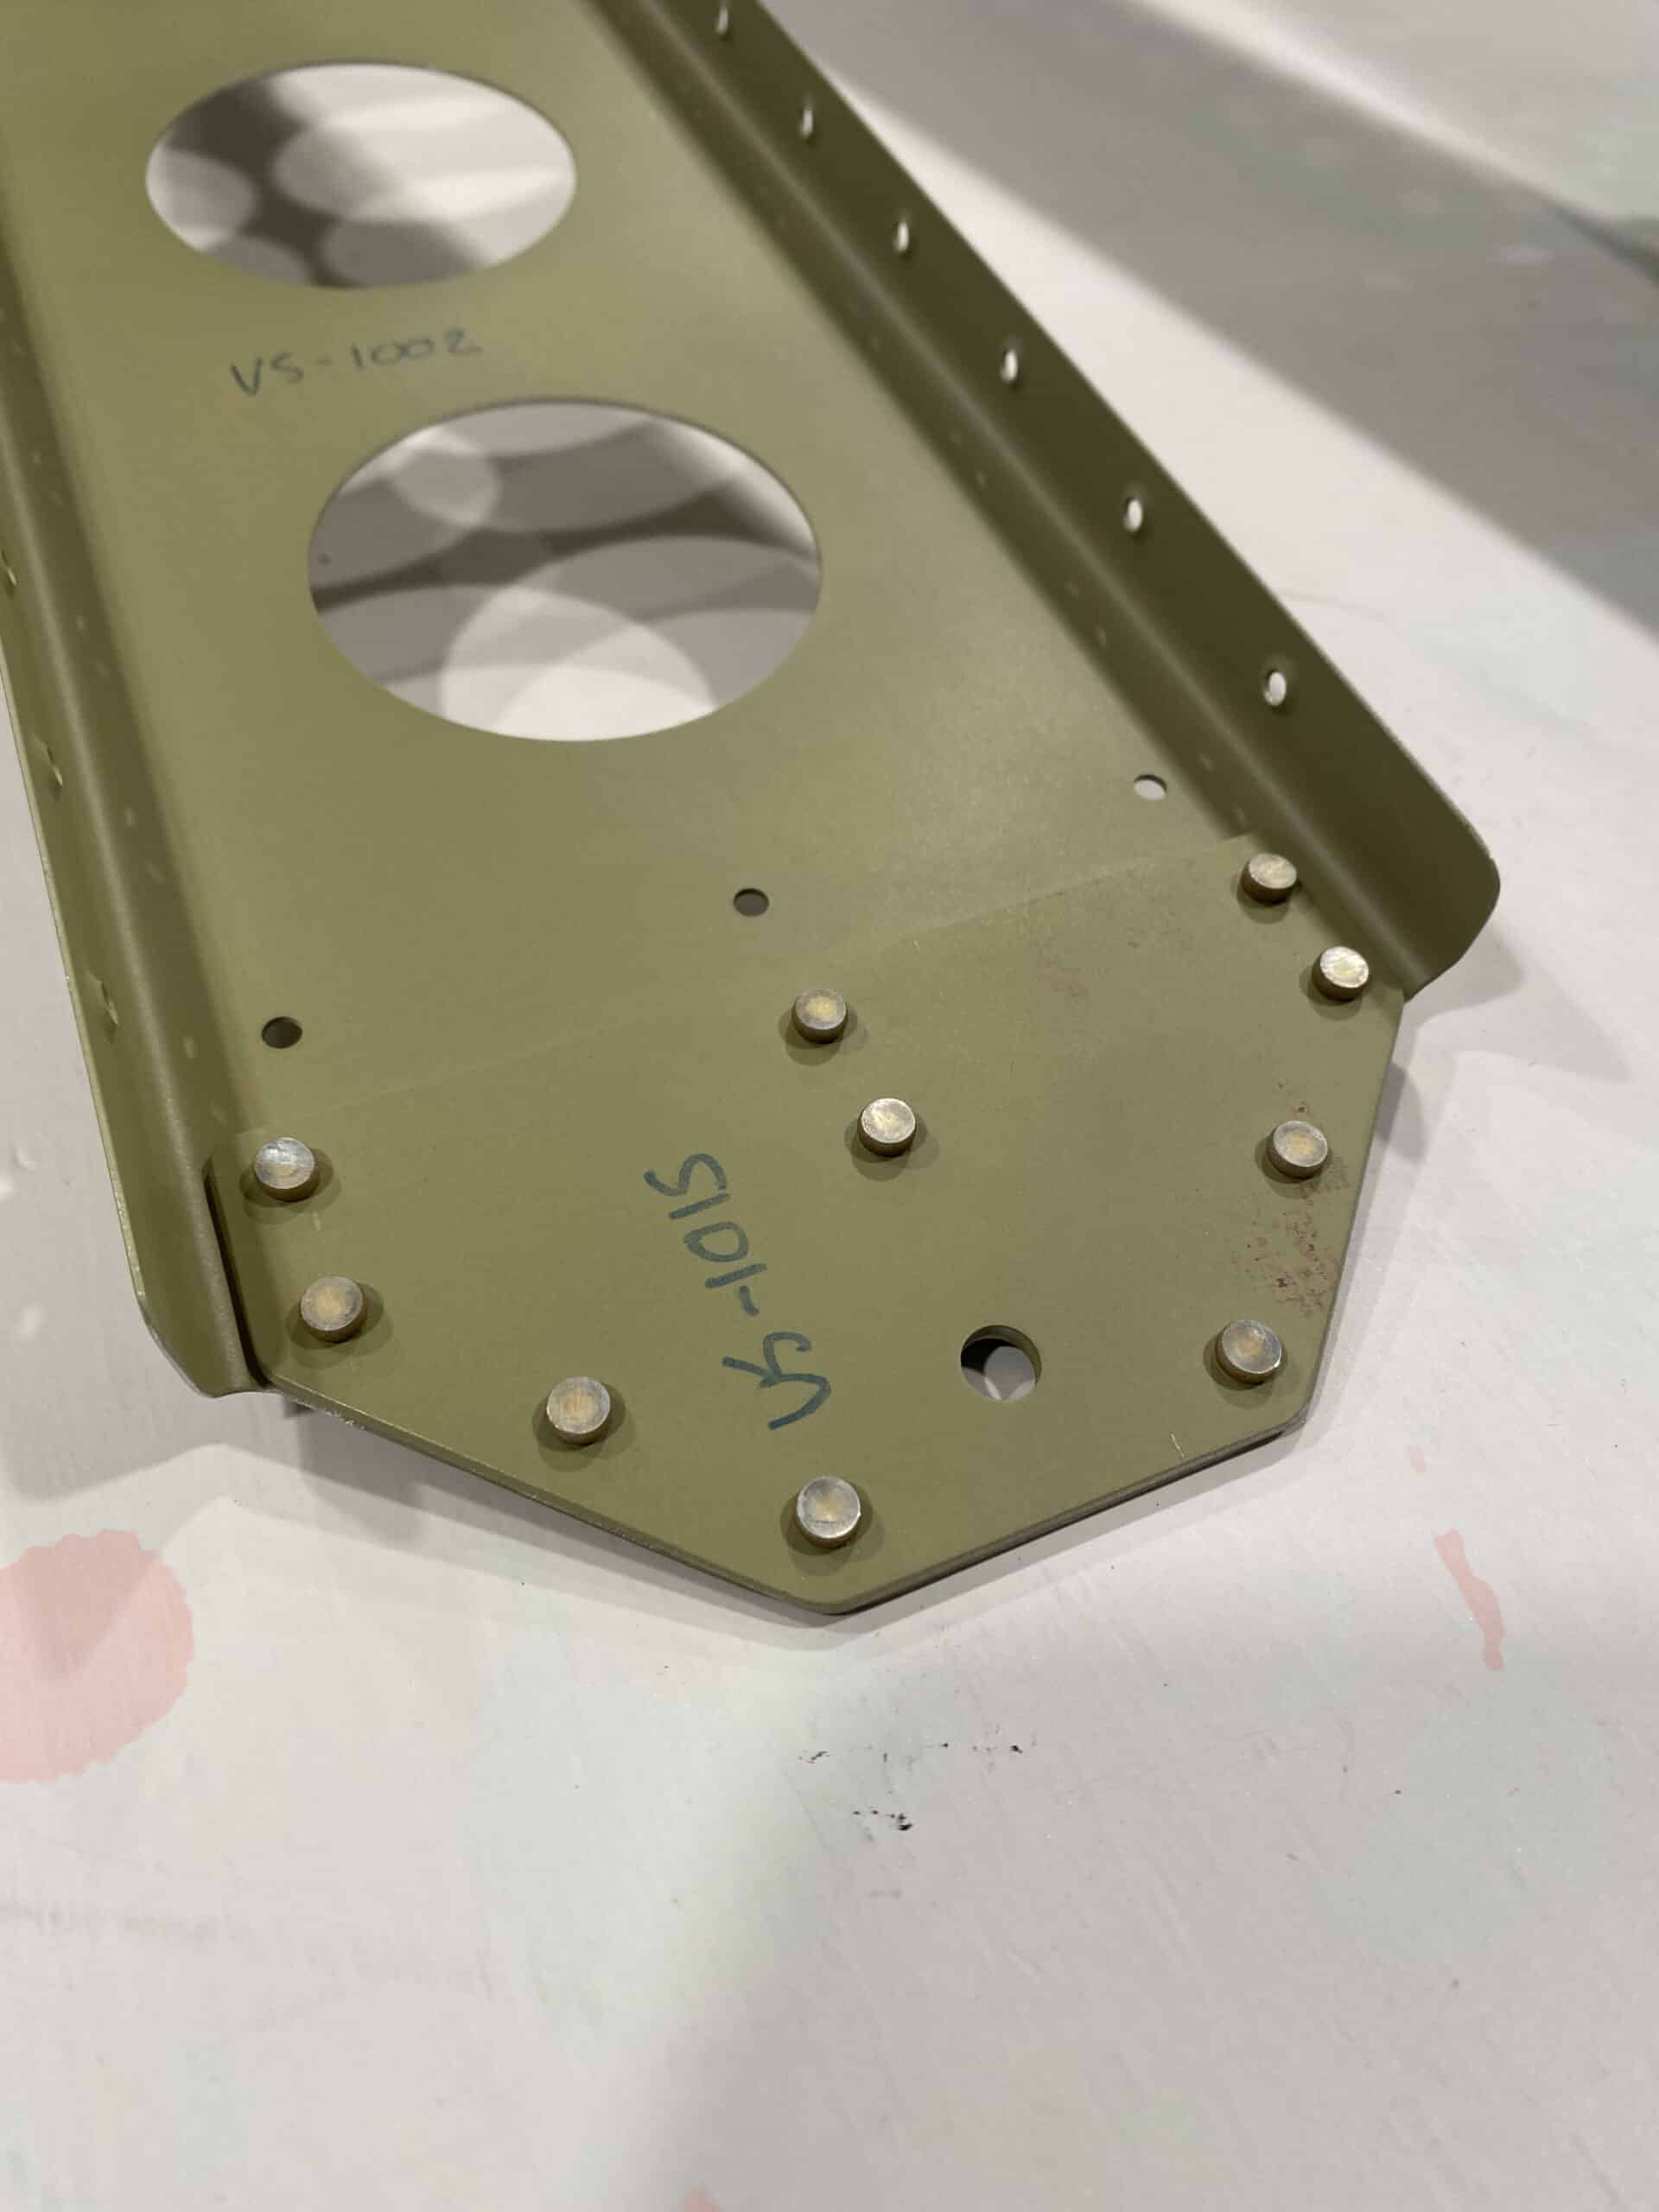
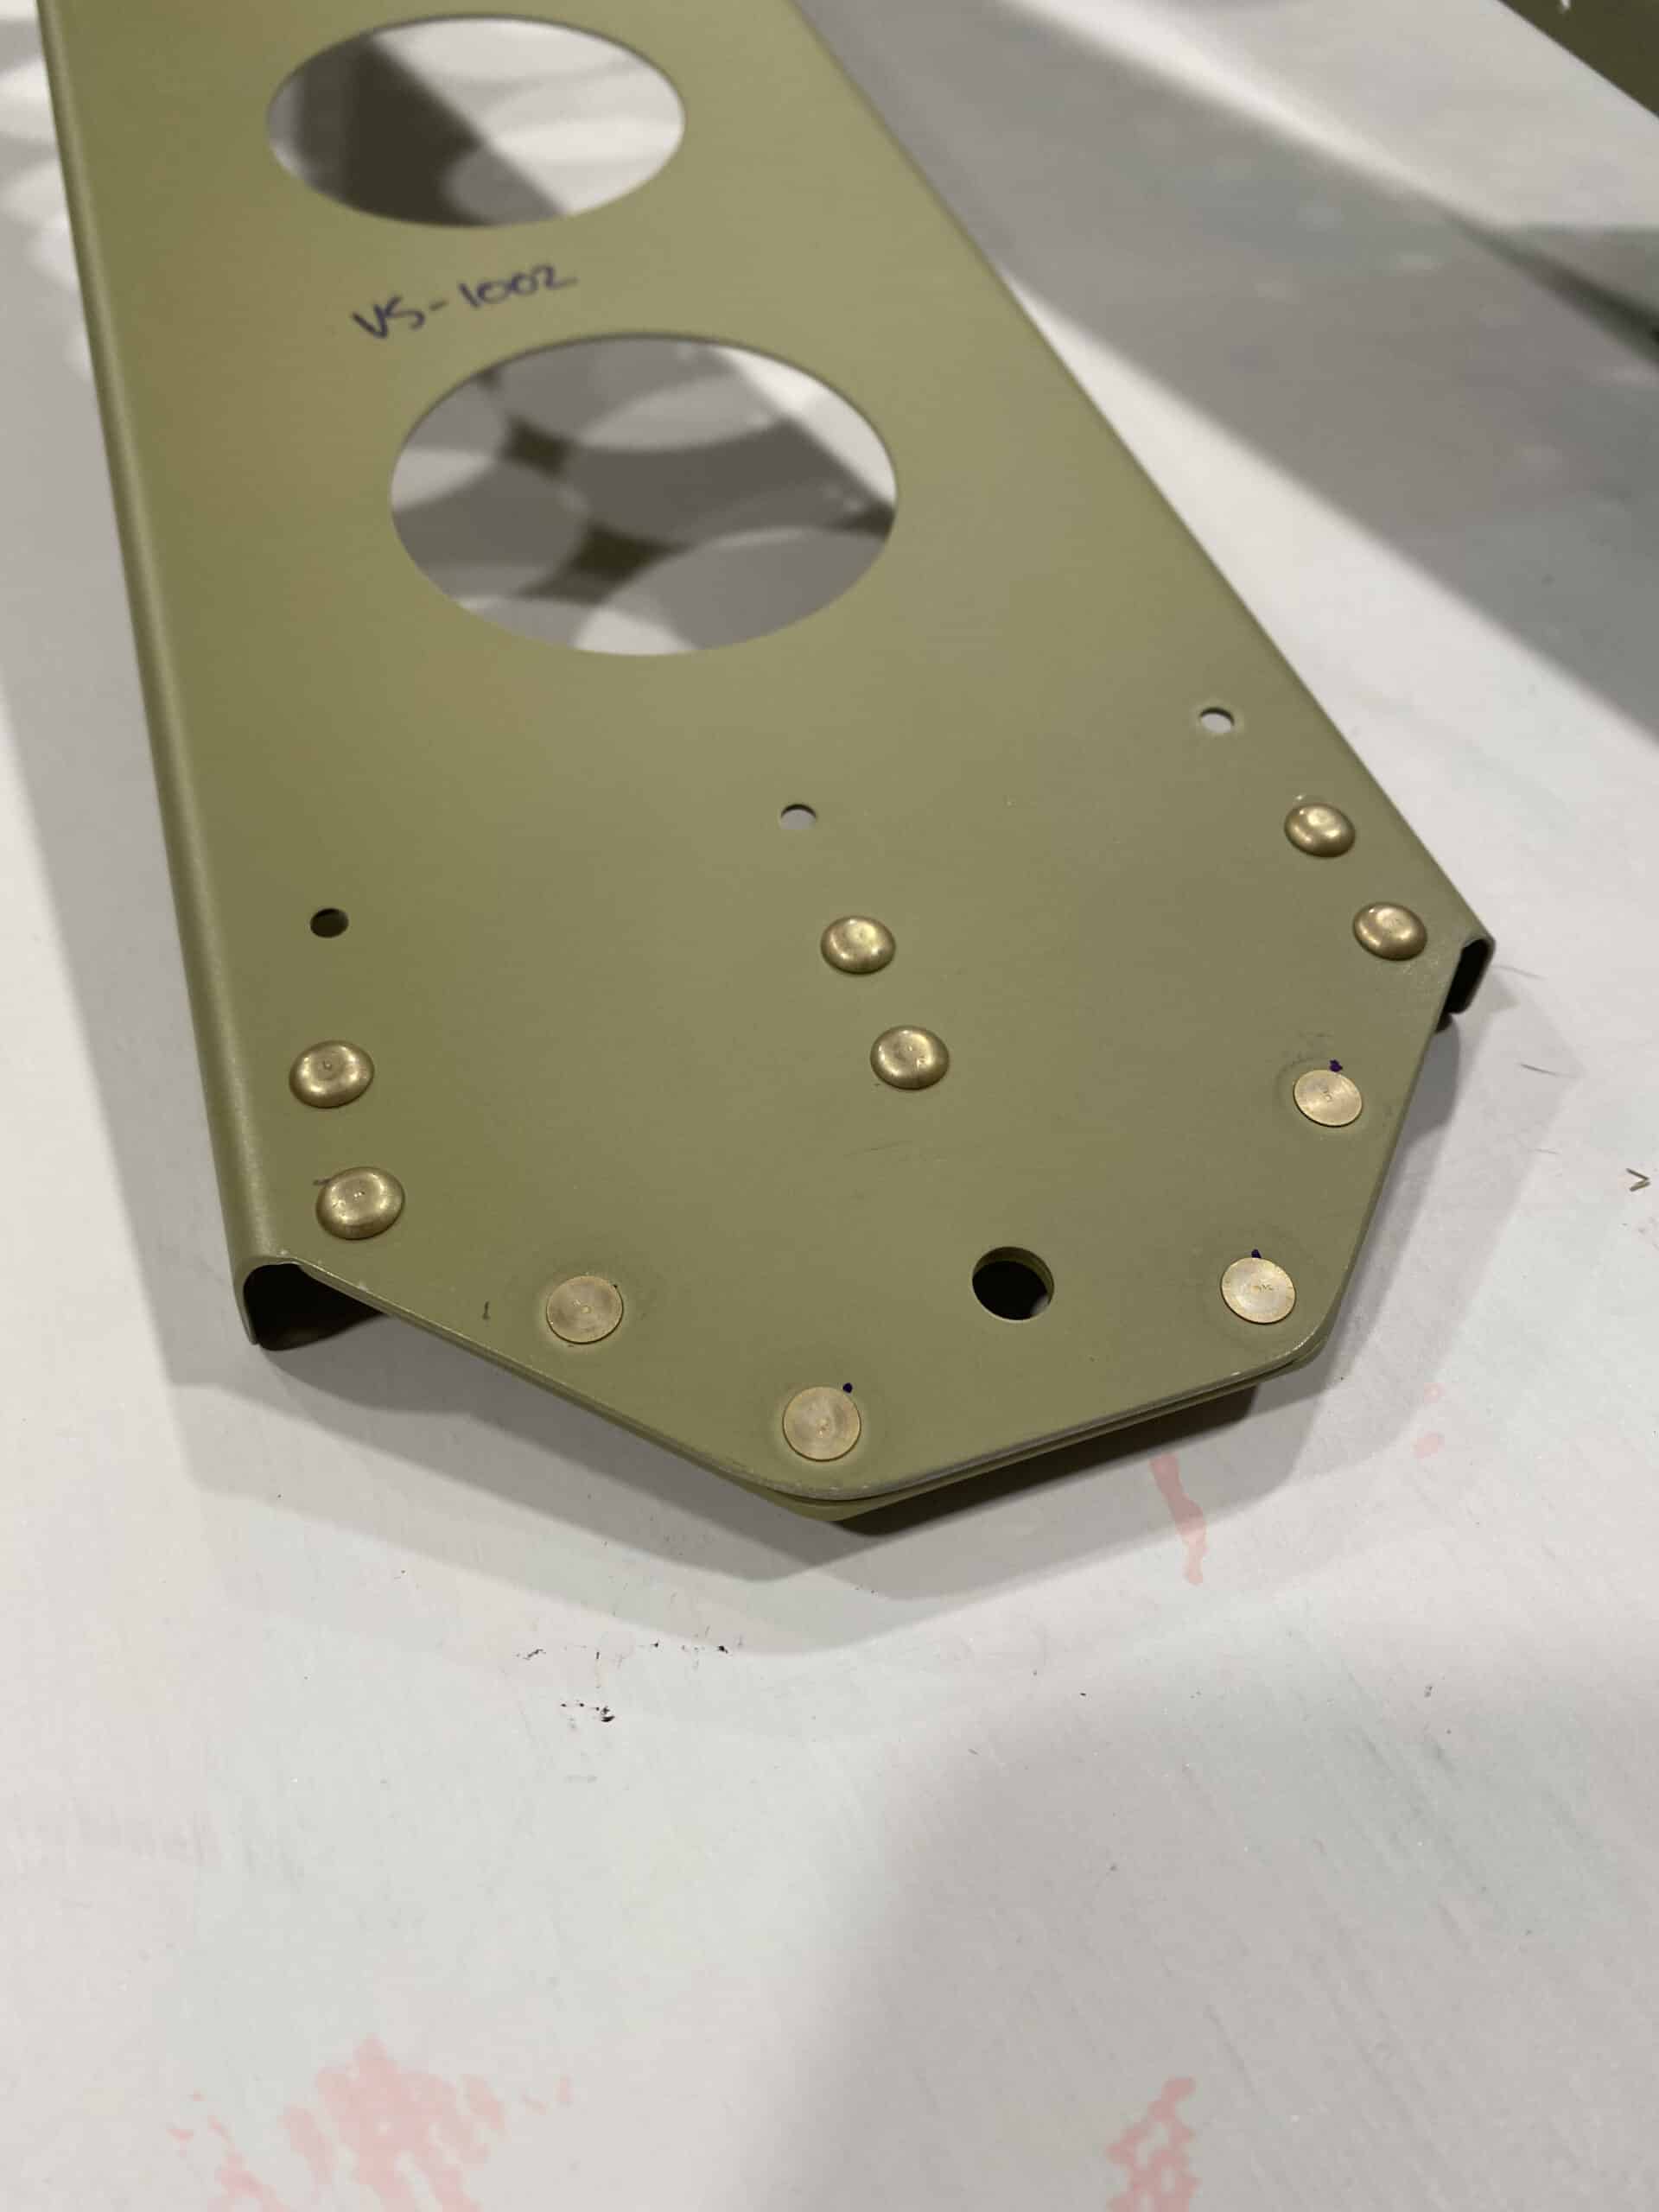
Finished up the 30 remaining rivets on the rear spar (so completed 6-4, #6); I was quite pleased with the flush rivets – the time spent setting up the machine countersink to just the right depth paid off as the finish is super smooth between the part and the rivet. Getting a bit quicker at setting rivets as well with the squeezer now that I’ve gotten the routine down a bit more too. After setting the rivets on the rear spar, I moved on to the next step (putting the VS spars together in prep for riveting, when I noticed that the last three rivets I set on the spar doubler custom piece I made shouldn’t have been set…So I’ll be drilling those out next I’m in the shop 🤦♂️.

August 23, 2021
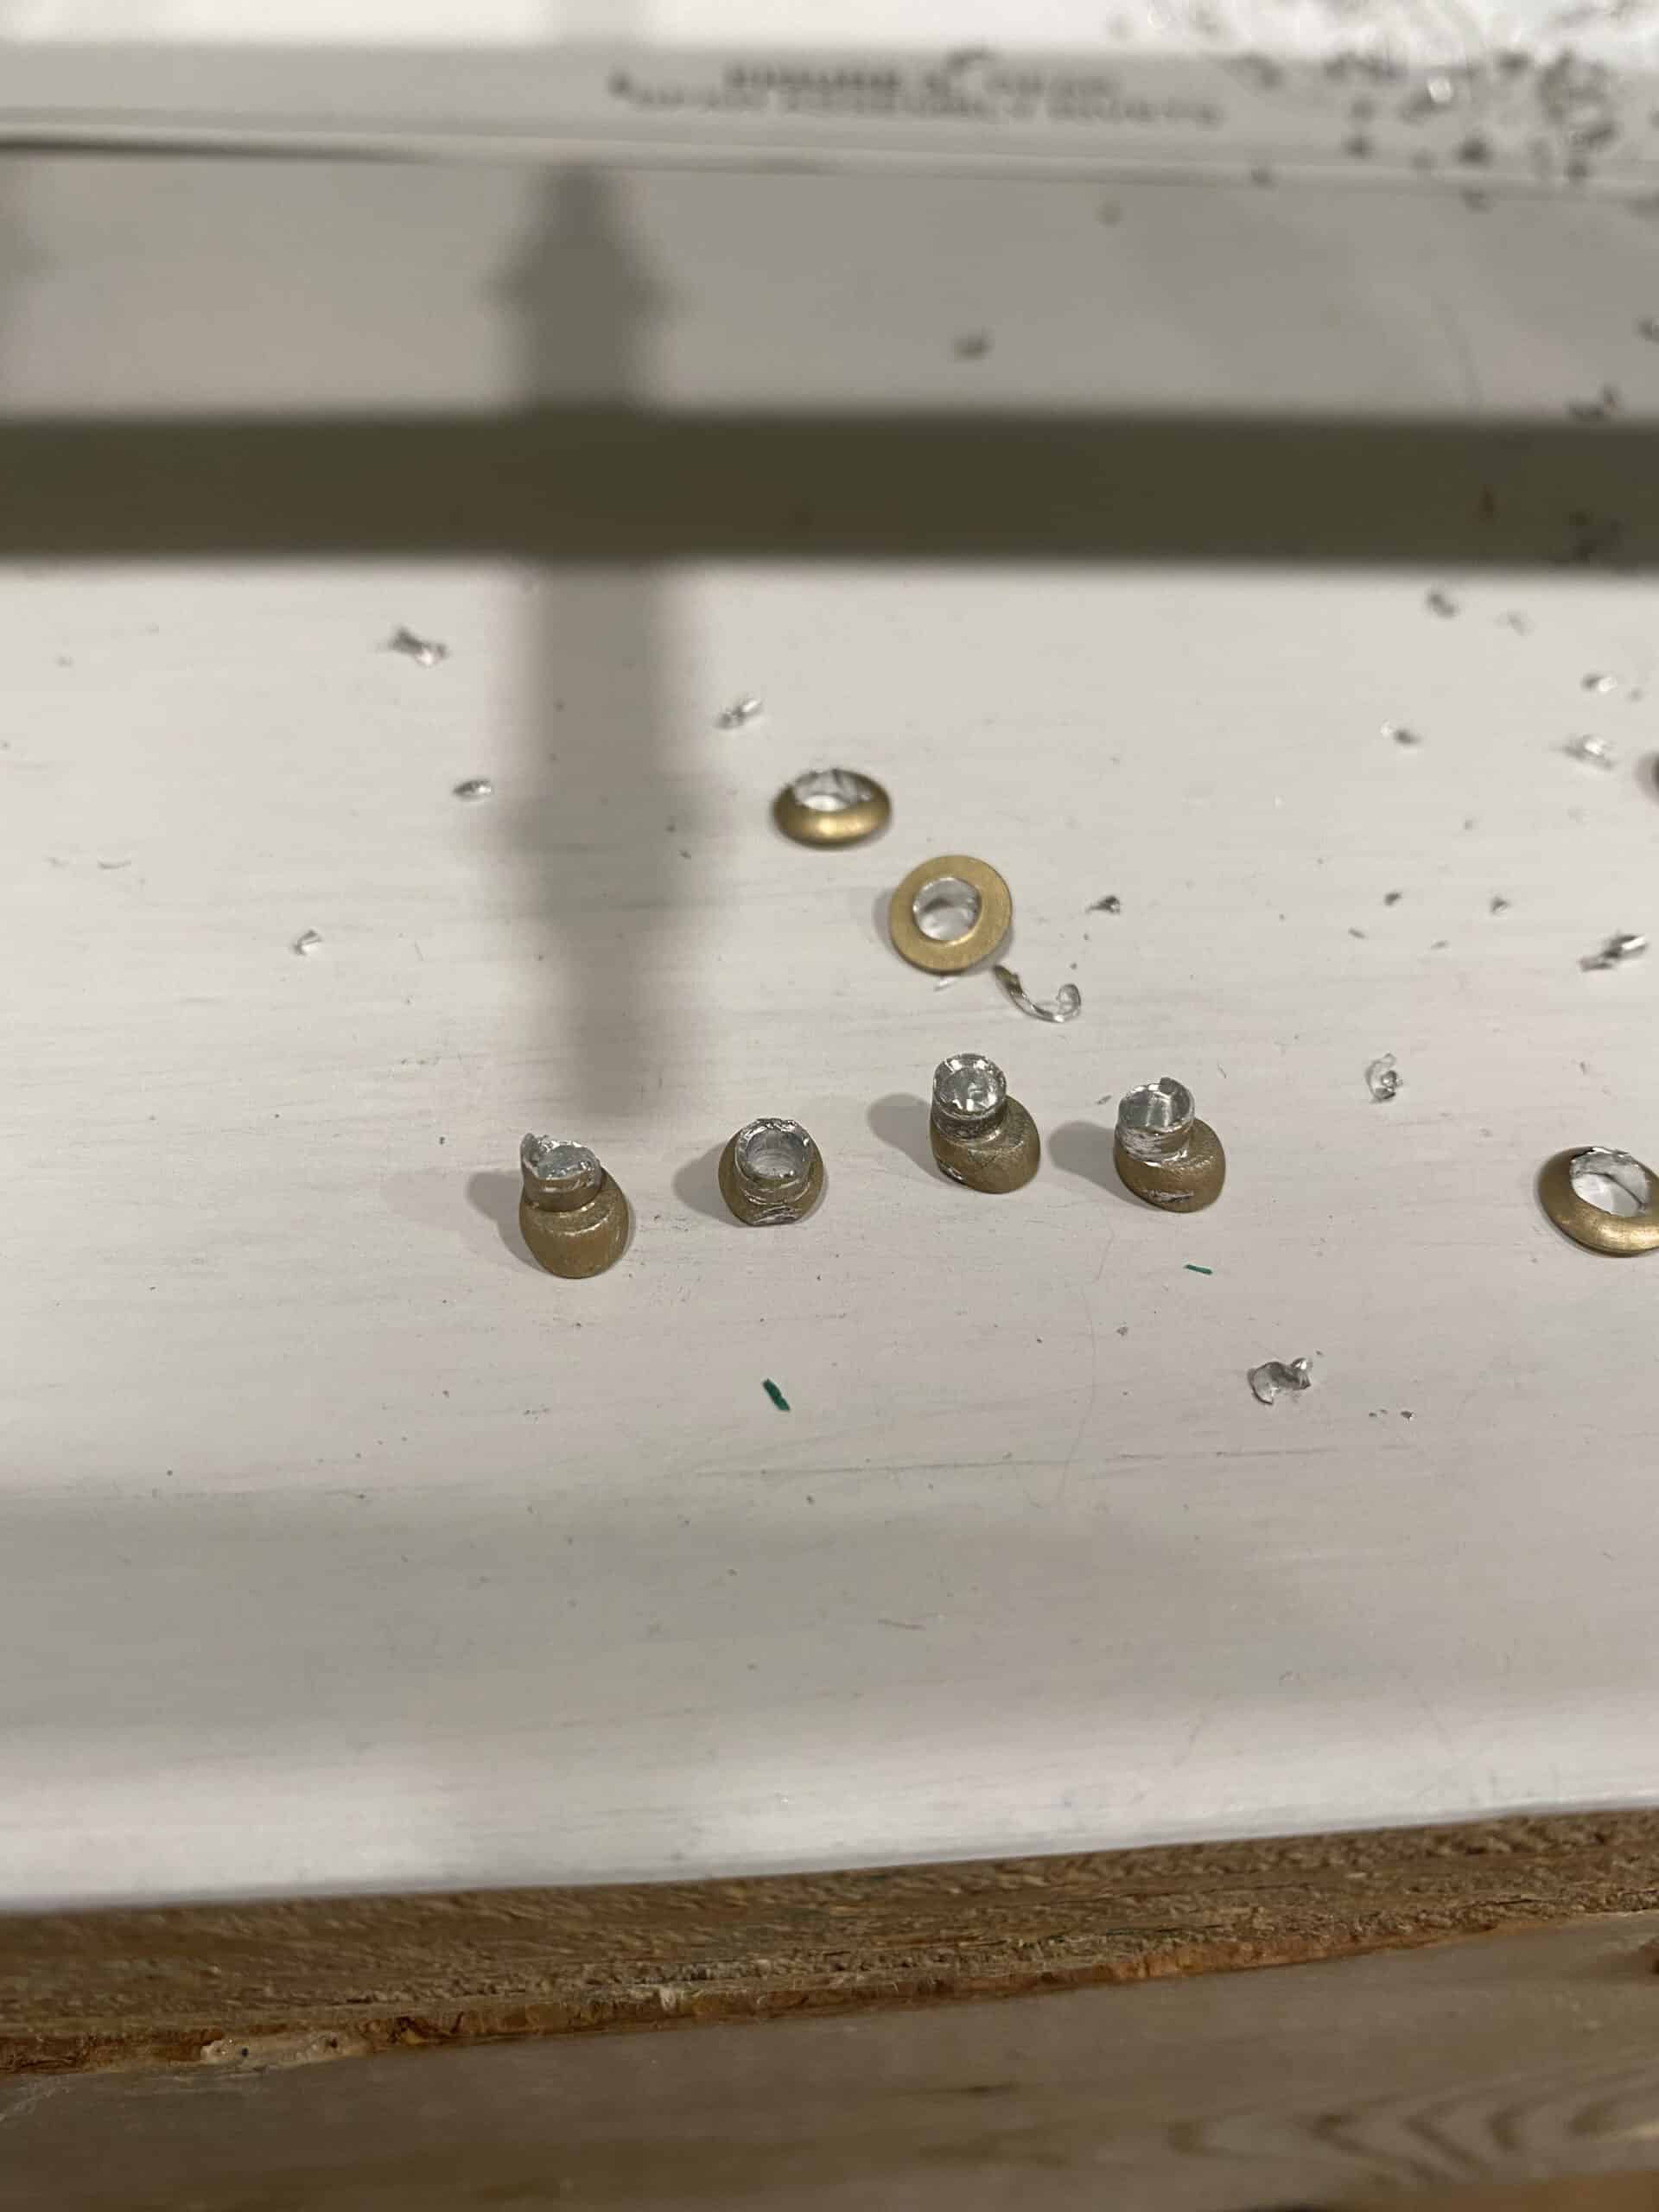
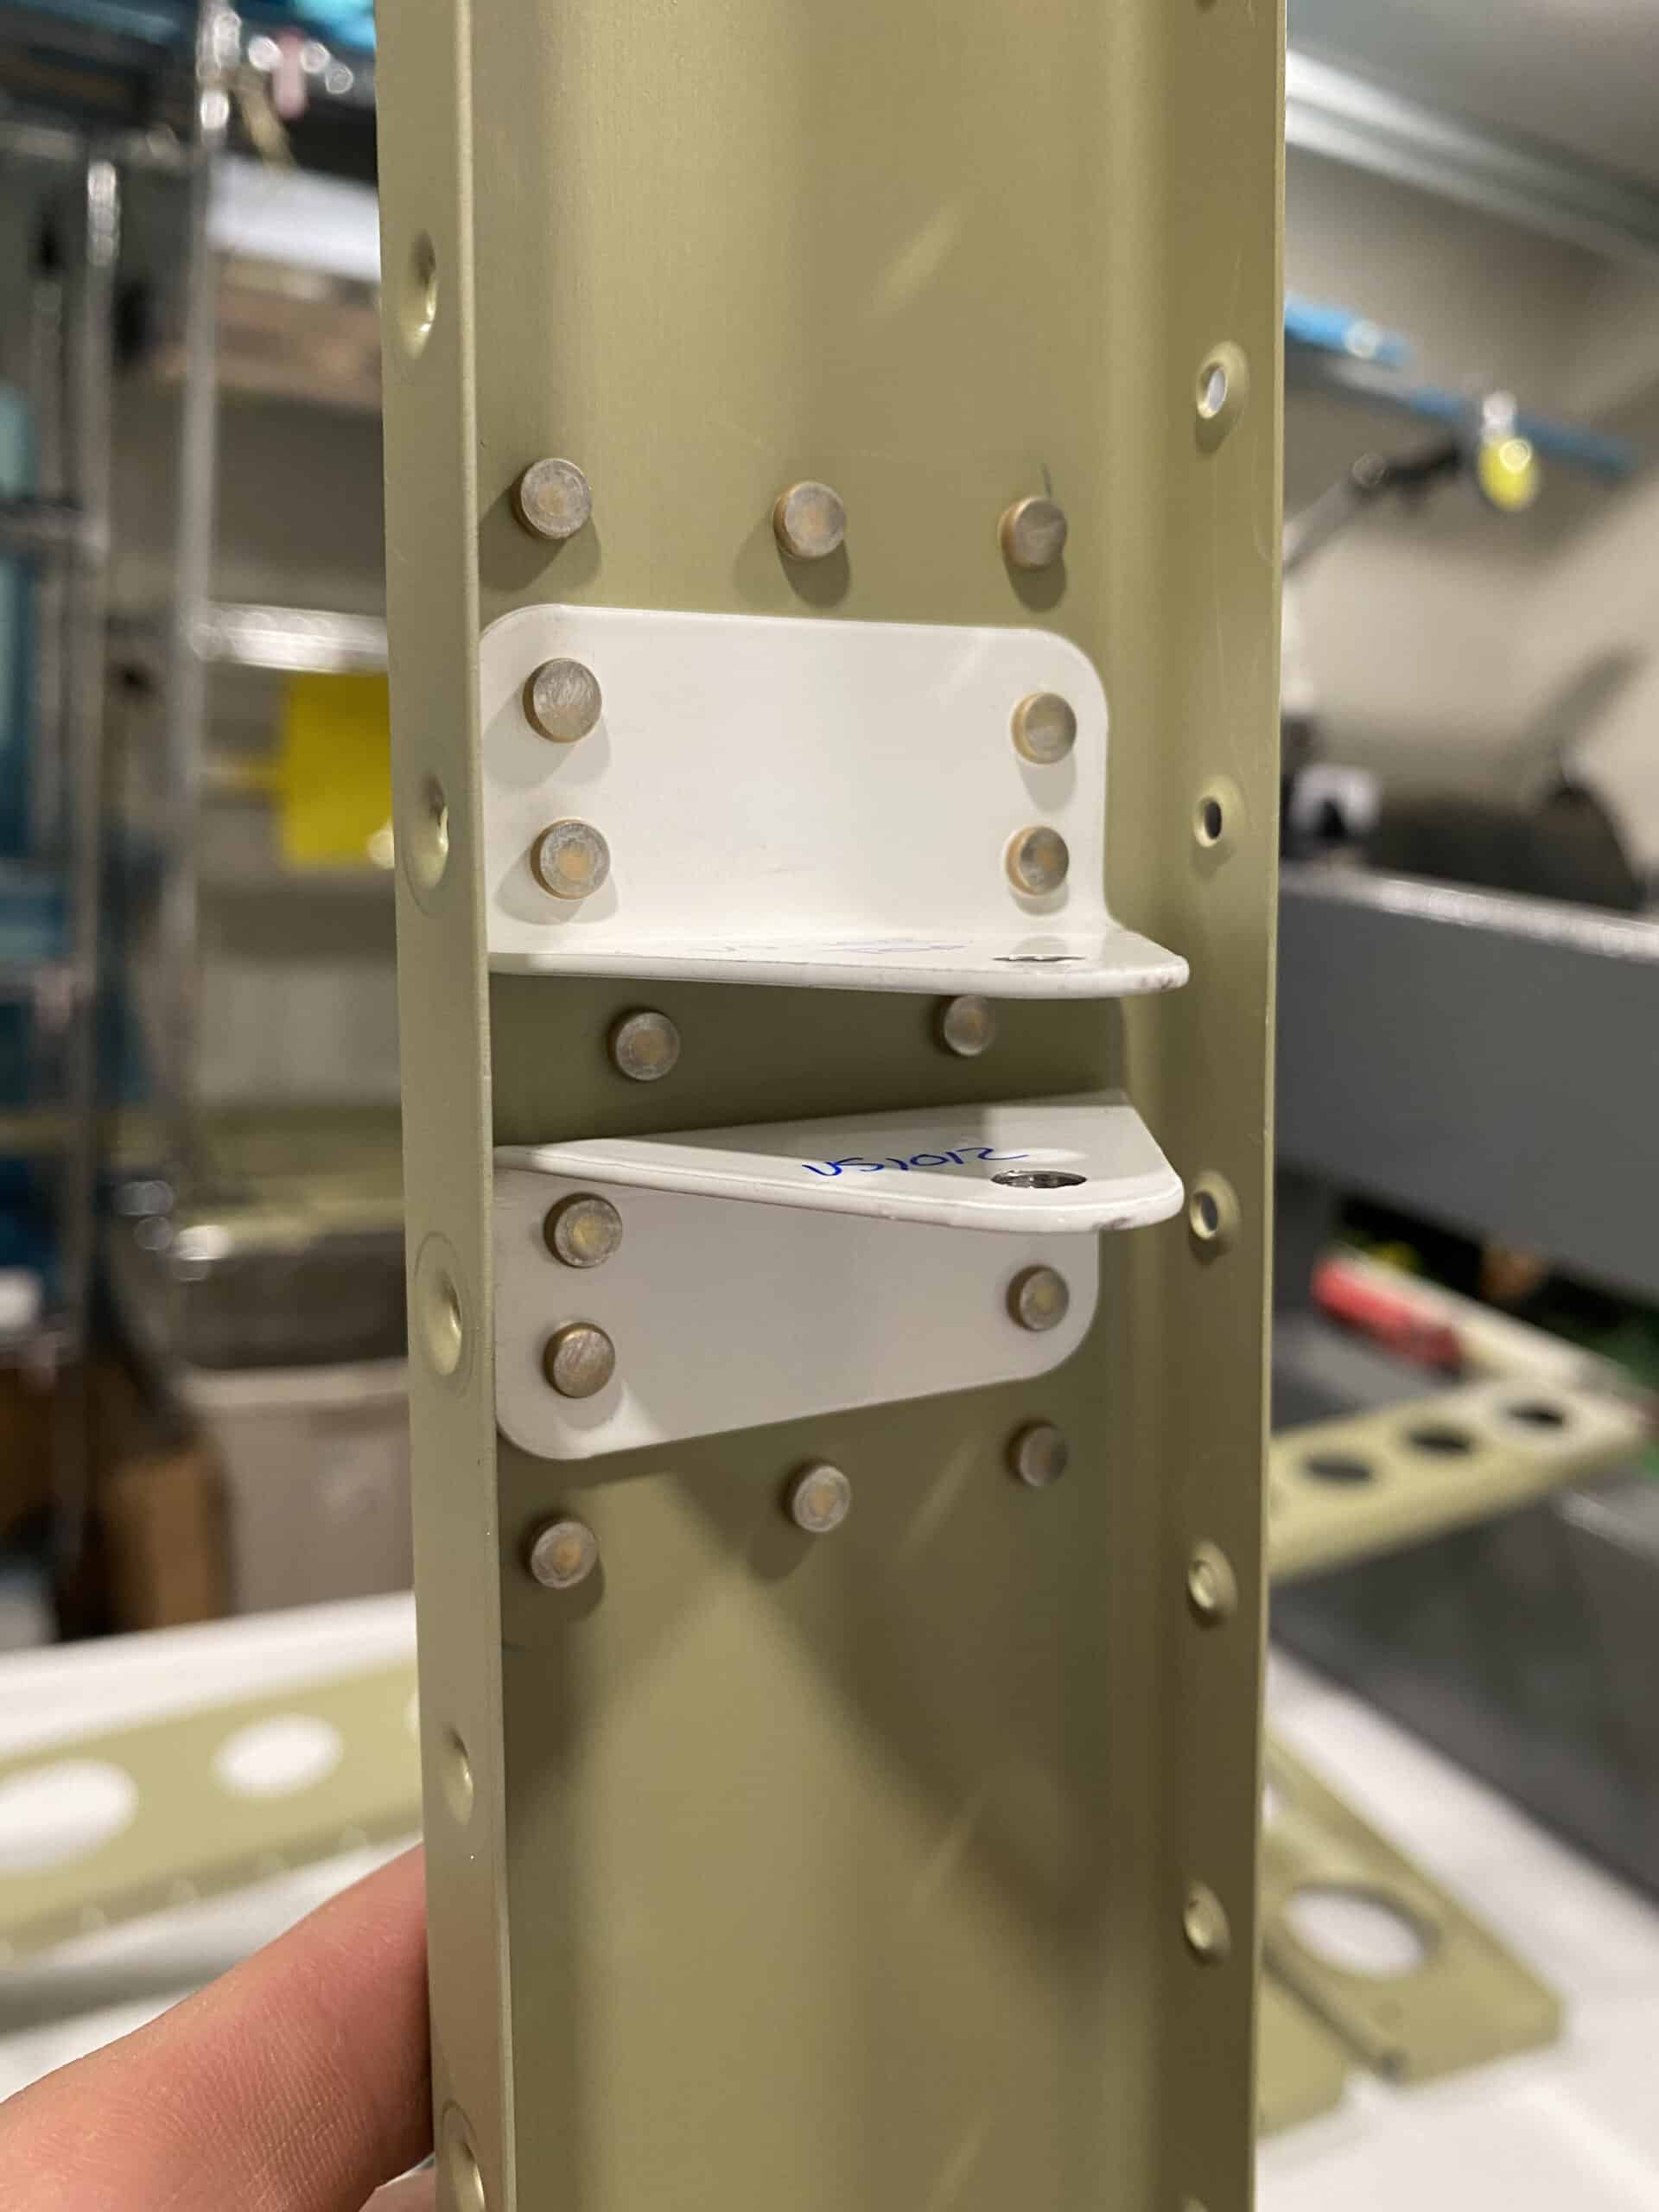
Took some time this evening to do some more rivets on the rear spar, I chose to start at the middle hinge (VS-1011) and then work down. I set the first rivet and it appeared to be a non-ideal set..I marked it for later removal and set the next three on the VS-1011 bracket edge (2 each from the top and bottom brackets). Upon closer inspection, I wasn’t happy with the rivets – they all had a clenching tendency. So I drilled them out (you can see the drilled out picture below with what I mean about the rivets, they were all clenched over… Walked away from the parts for a bit and did some research and realized that I was assuming the pneumatic squeezer was mainly on autopilot upon reaching the compression portion of its stroke – couldn’t be more wrong. So, I made some changes, namely:
- Put the parts in my vise so I could use two hands on the squeezer and or squeezer+part.
- This made it easier to verify my squeezer was normal to my work, I could also feather the trigger in a bit and steer the squeezer’s direction to keep it normal
- Success – SOOOOO much better.
Not a bad night overall, drilled out my first rivets of the plane and got 24 of them set.
August 22, 2021
Started today off with a bunch of dimpling, namely of all the spars for the vertical stabilizer. (6-3, steps #7 and #10). I’m using the substructure dyes from Cleaveland to make the skin to structure mating even closer – and the dyes work great. I appreciate that the substructure die is even a smaller diameter than the ‘normal’ skin dies, enabling it to get into tighter areas a bit more easily. Most of the dimpling was done with the pneumatic squeezer as the DRDT-2 just wasn’t the right tools for this job (since, y’know, the ram would have to go through the other side of each spar for it to work). After dimpling all of the spars, taking special note to NOT dimple the areas called out (my marking for this is an S right by the hole), I moved on to riveting.
I riveted the upper bracket onto the VS spar, as well as the doubler plate (6-4 #4 and #5), then reassembled the doublers on the VS spar. Upon doing this, I discovered that the VS-1014 L/R pieces somehow weren’t final drilled (doh), so I final drilled and deburred those, then got everything cleco’d together in prep for riveting that assembly.
August 21, 2021
As the primer was fully cured and showing excellent adhesion, I was excited to get into the shop and remember how to rivet again (it’s been a while since my practice kits). Since it had been a while, I made a little practice piece using some of the cutoffs from the rudder assembly (the angle aluminum) and some of the scratch aluminum pieces from the “TRIM KIT” to make sure I remembered how to squeeze rivets (thankfully, I did). After some quick practice there, I set about doing some really quick dimpling on the nutplates, doubler, and skin, then set the first 11 rivets of the airframe! Amusingly enough, these rivets were for my first plans-deviation (which is a simple doubler to support the hole I made in VS-1006 for potential future electrical wire pass through).
August 15, 2021
This was the big primer day, check out my larger post on it here: Prime (time)
August 10, 2021
Deburred all of the holes using the single flute debur tip on all of the ribs/spars, and 3M pads (maroon and then gray) on the skins. After that, I put the bend in the trailing edge with the most excellent edge former tool from Cleaveland tool.
Finished up the evening with a quick test fit of the simple jig I designed for the machine-countersinking of the trailing edge wedge – made 2 of them out of PLA (little bit stiffer than ABS) that are each 12″ long. Will test them out next I’m in the shop, but in the meantime, here’s a few pictures of the jigs (the large holes of the jig align with the small holes of the wedge to give plenty of countersink clearance) and the small jig holes are easily visible through the larger lightening holes of the wedge.
August 9, 2021
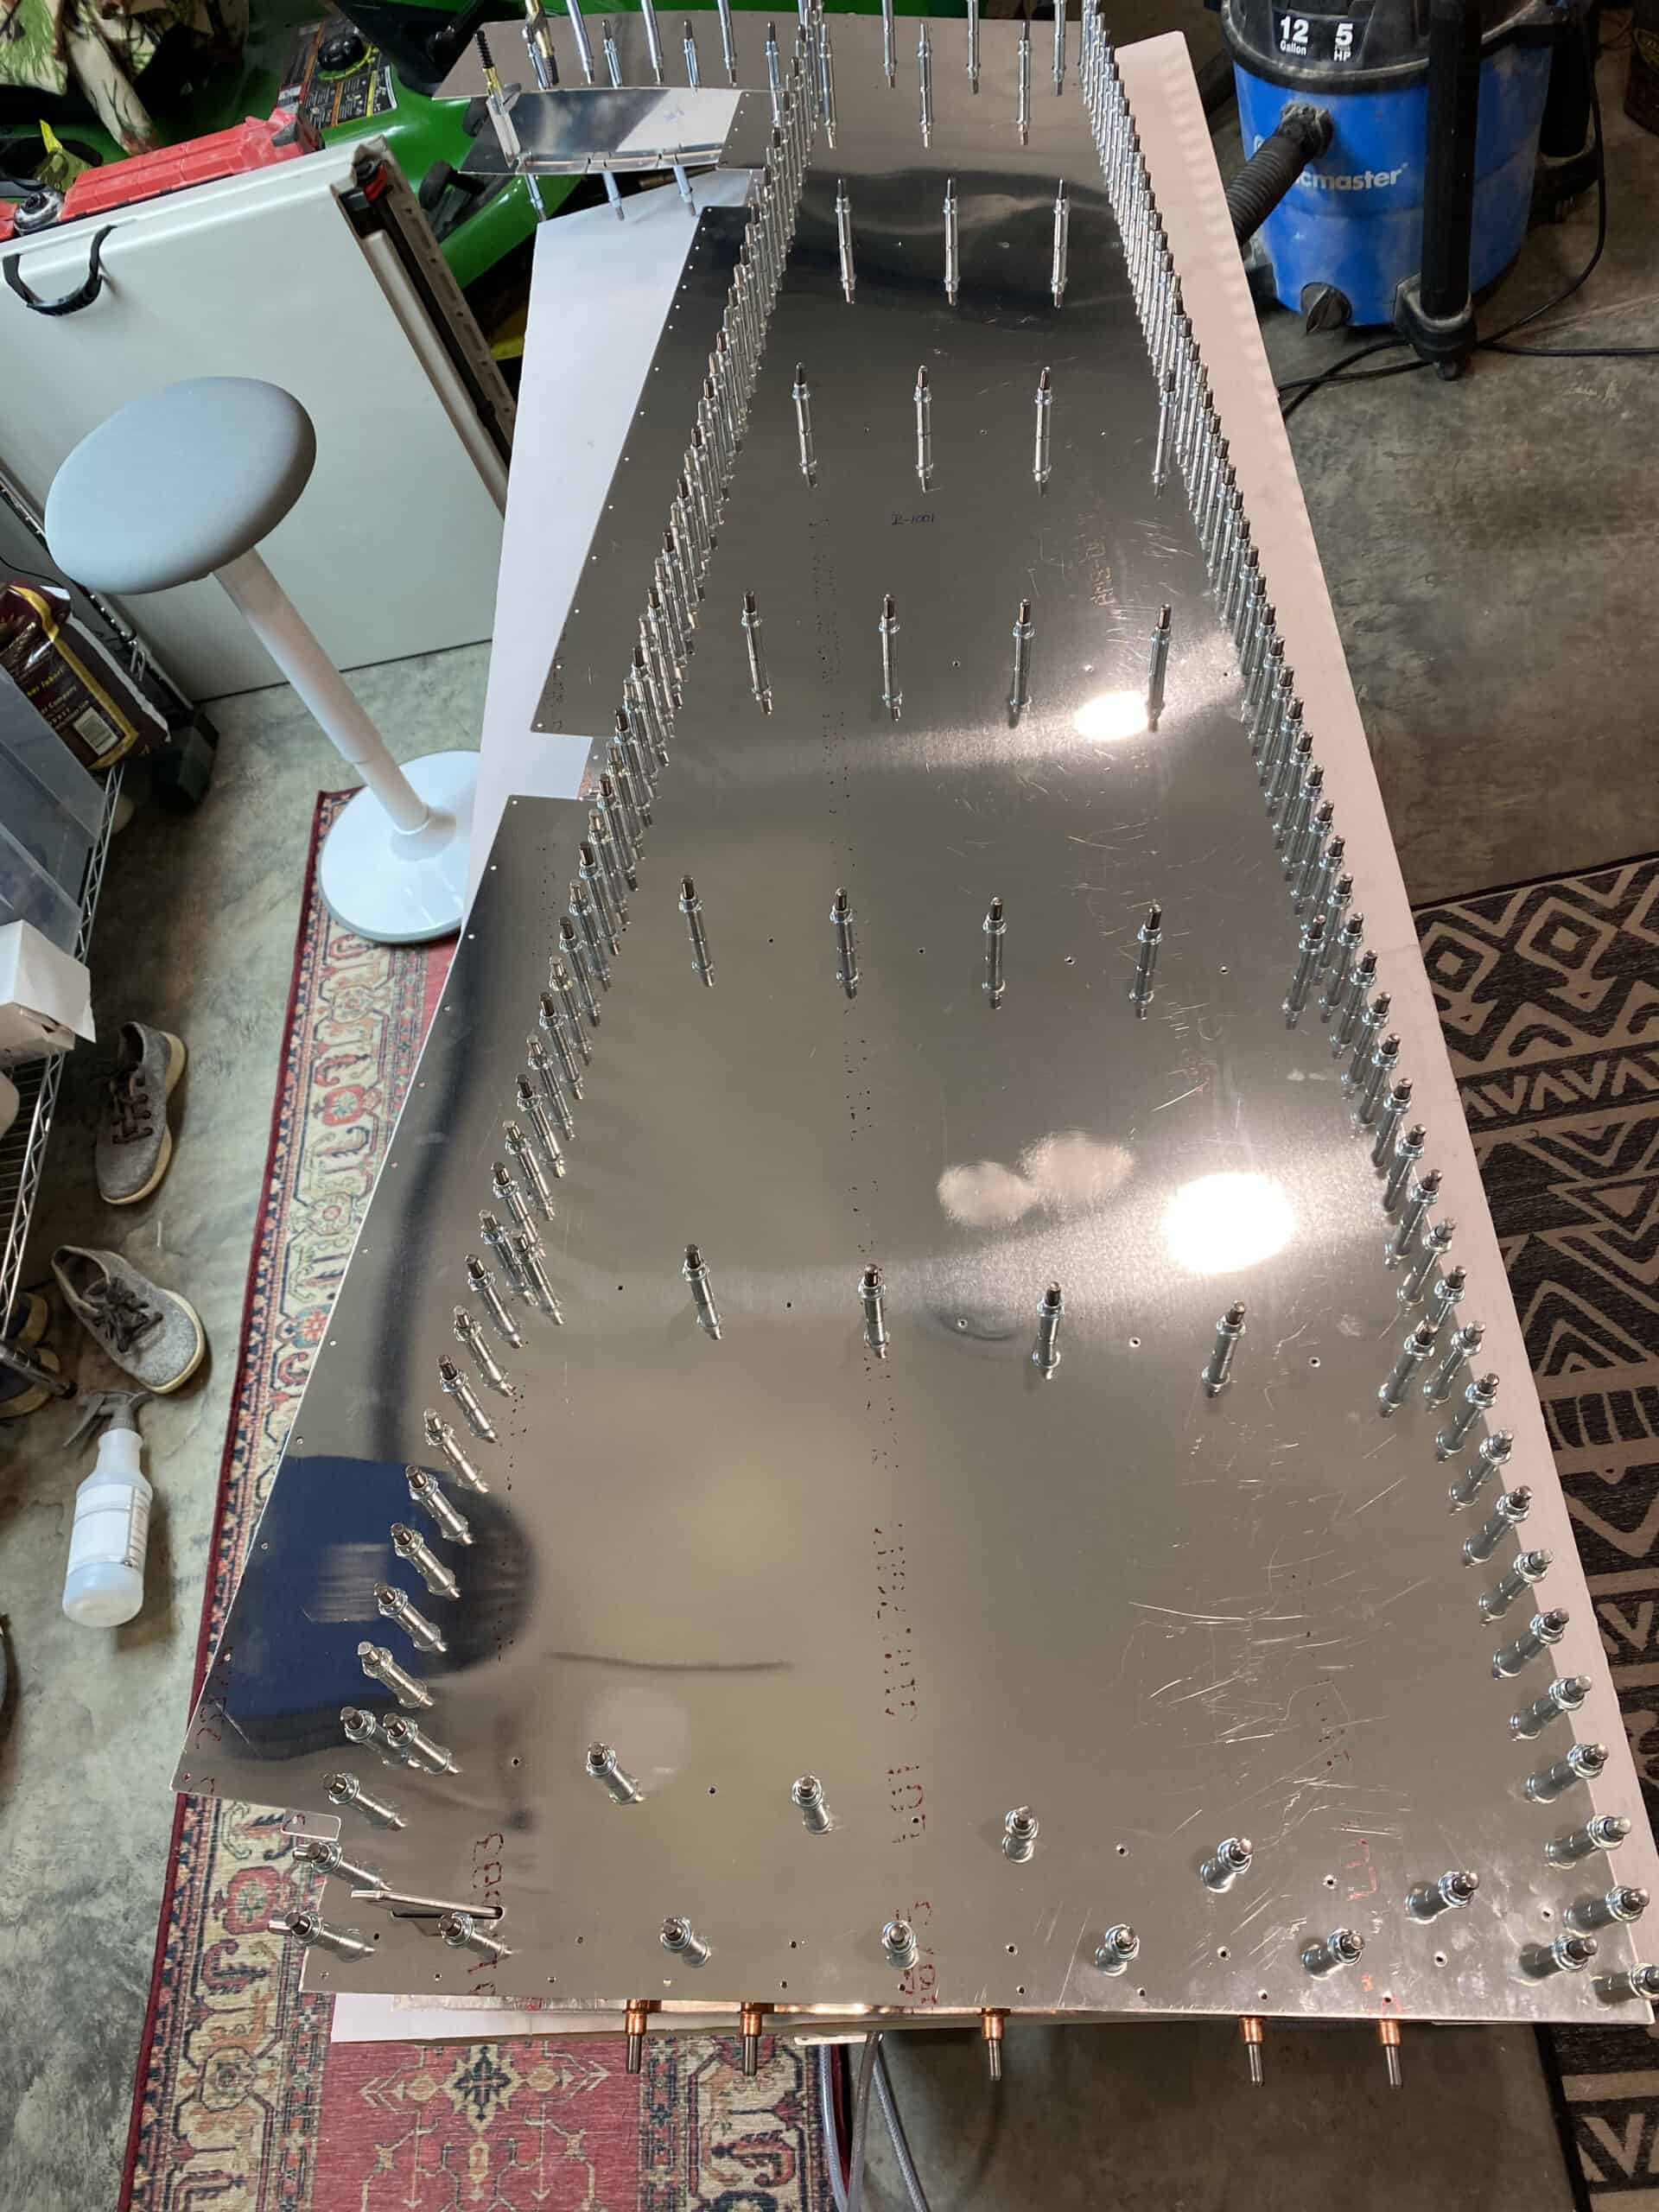
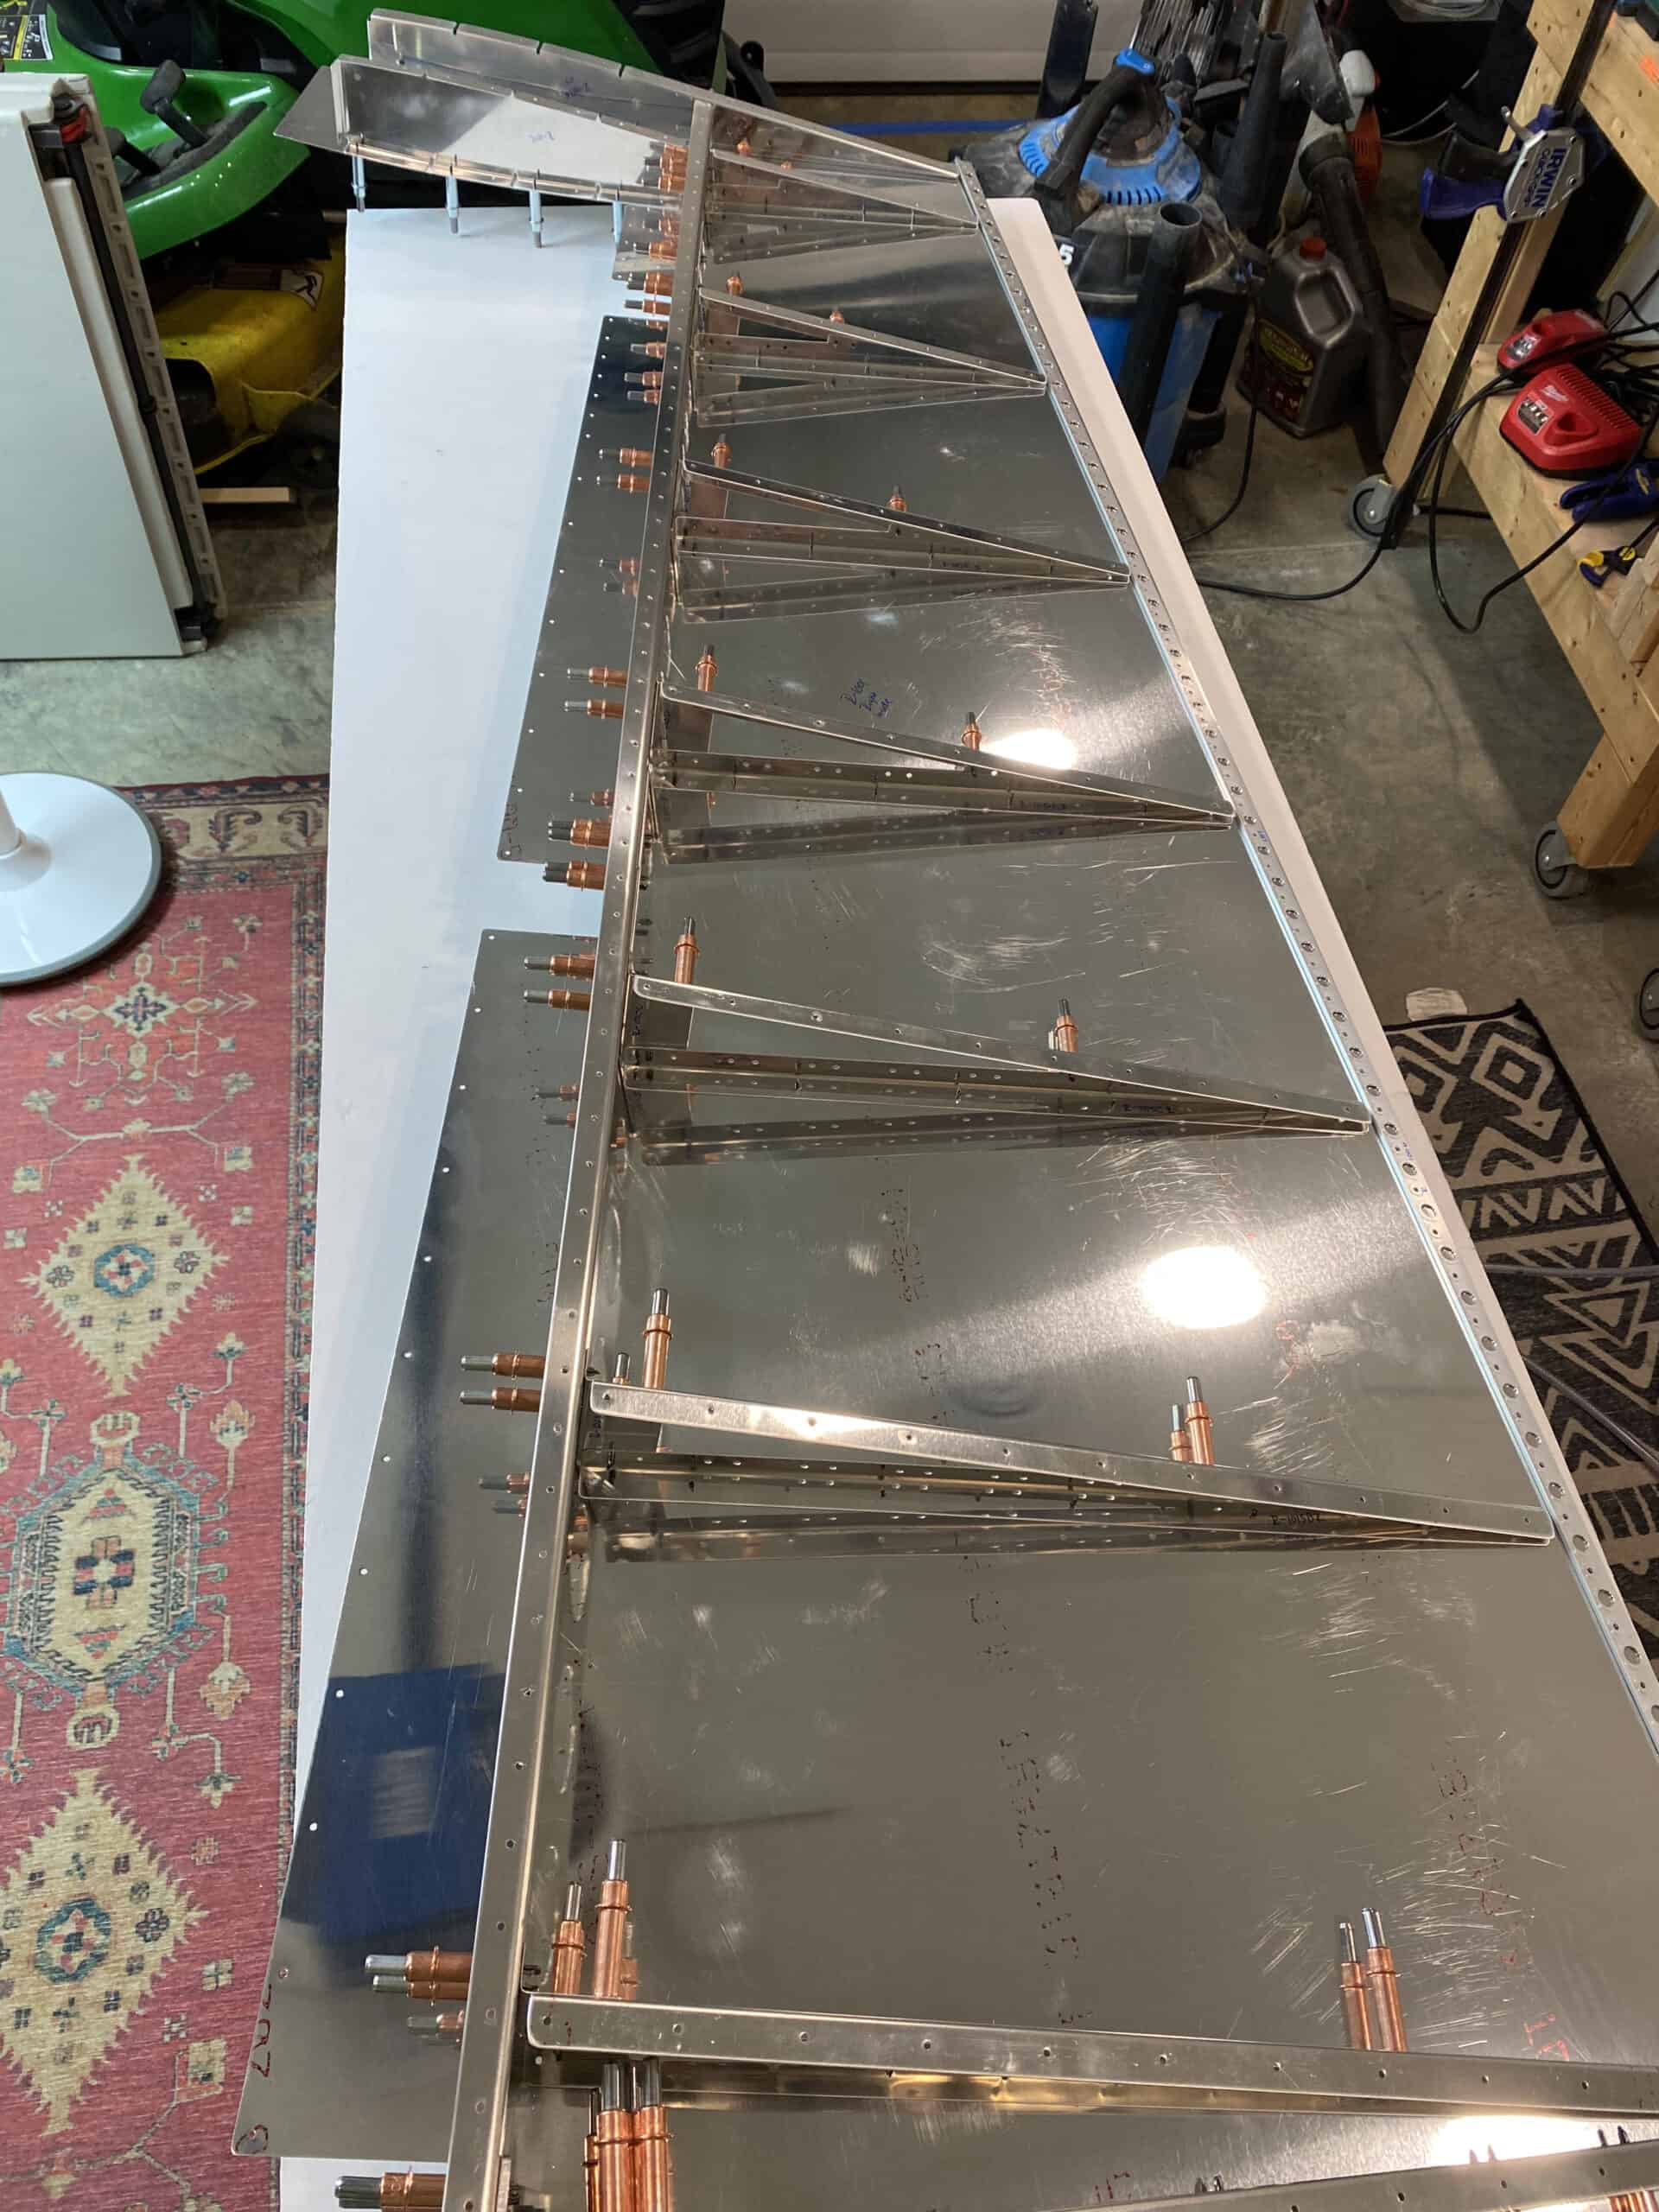
Finished up the (for me at least) epically long Step 6 on 7-6, which entailed much match (final) drilling, lots of cleco moving around, and (finally) disassembling the entire assembly for deburring (which will happen another day). But hey, at least I got to check off steps 6,7, and 9 on page 7-6!
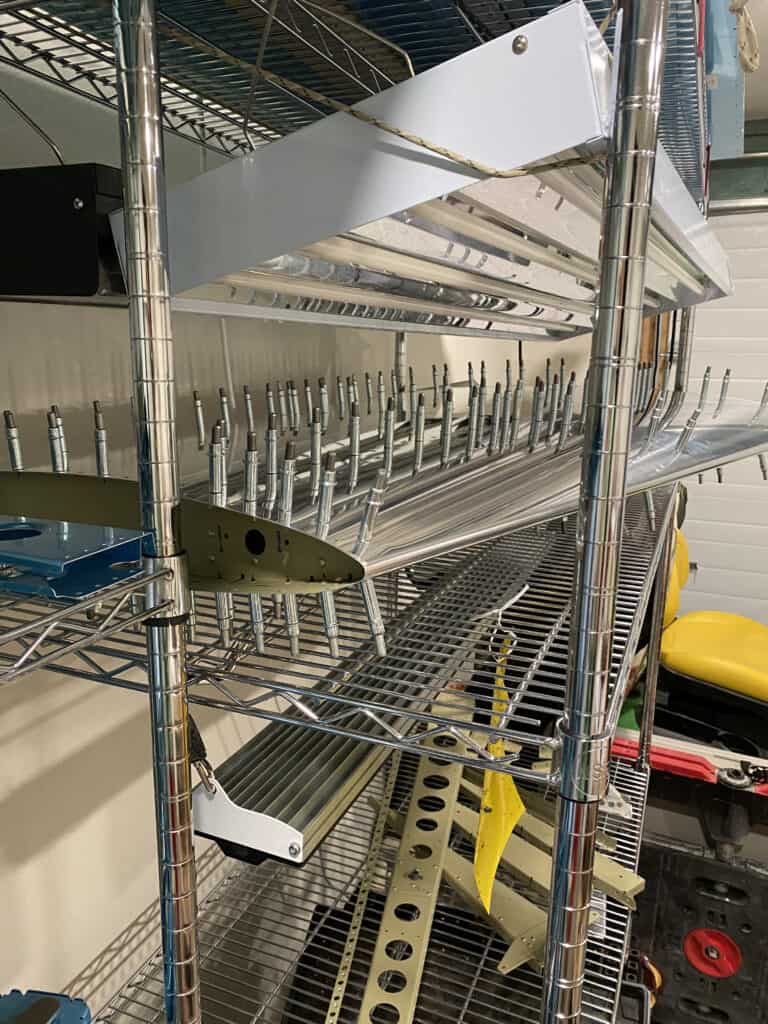
Snapped a few pics of the process, rudder on its side, with 1 skin off, and then the individual parts awaiting deburring.
